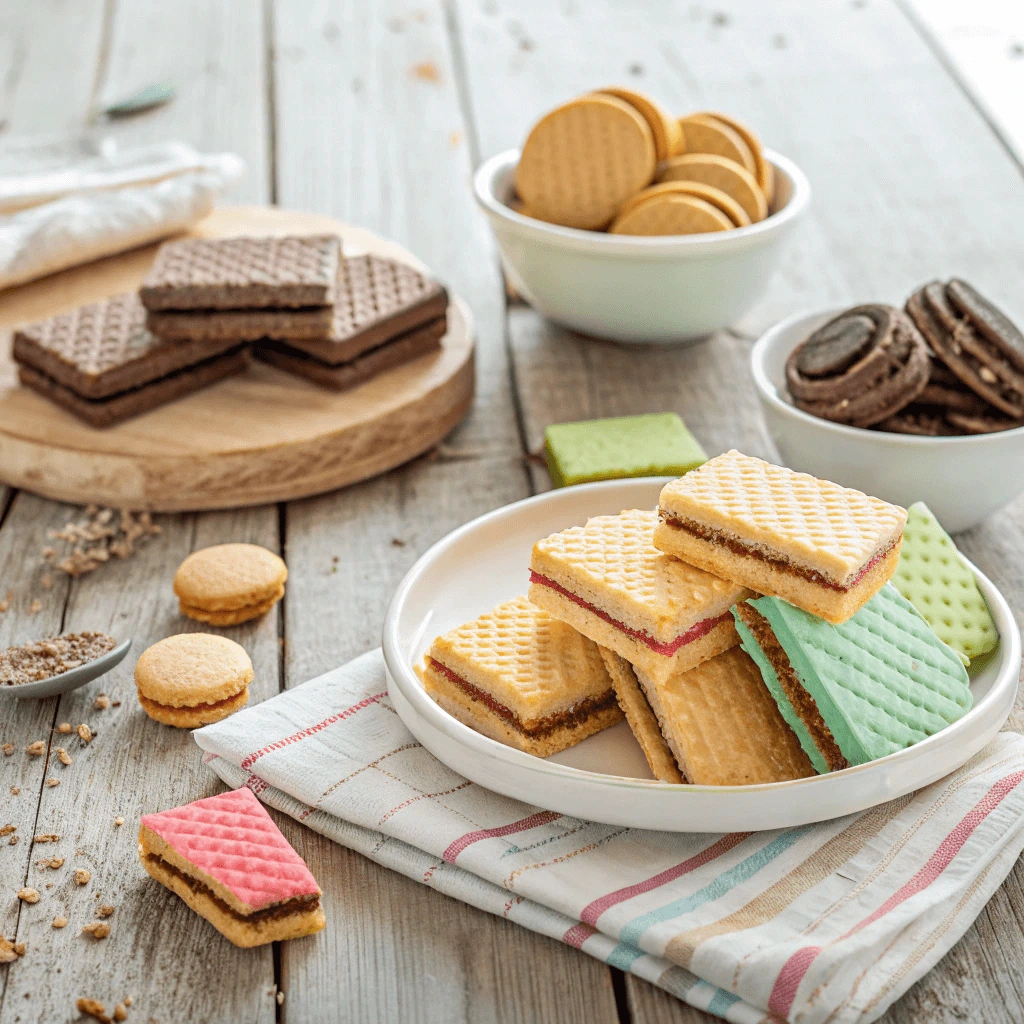
Wafer cookie recipes are the perfect go-to for anyone looking to indulge in a delicious, crispy treat. These simple yet irresistible cookies can be customized in countless ways, making them ideal for any occasion. Whether you’re craving a sweet snack or a show-stopping dessert, these wafer cookie recipes will satisfy every craving. In this post, we’ll explore 10 easy-to-make wafer cookie recipes that are sure to impress your family and friends.
Classic Homemade Wafer Cookie Recipes
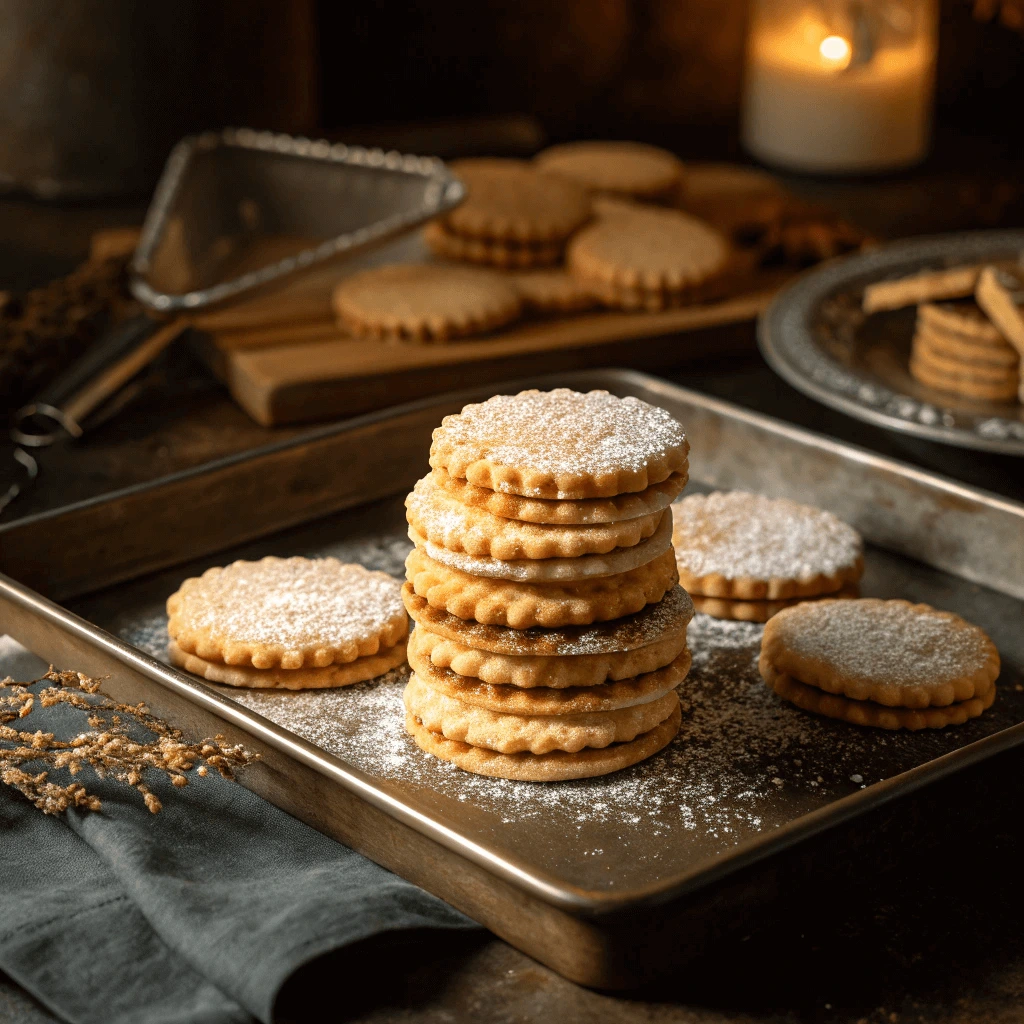
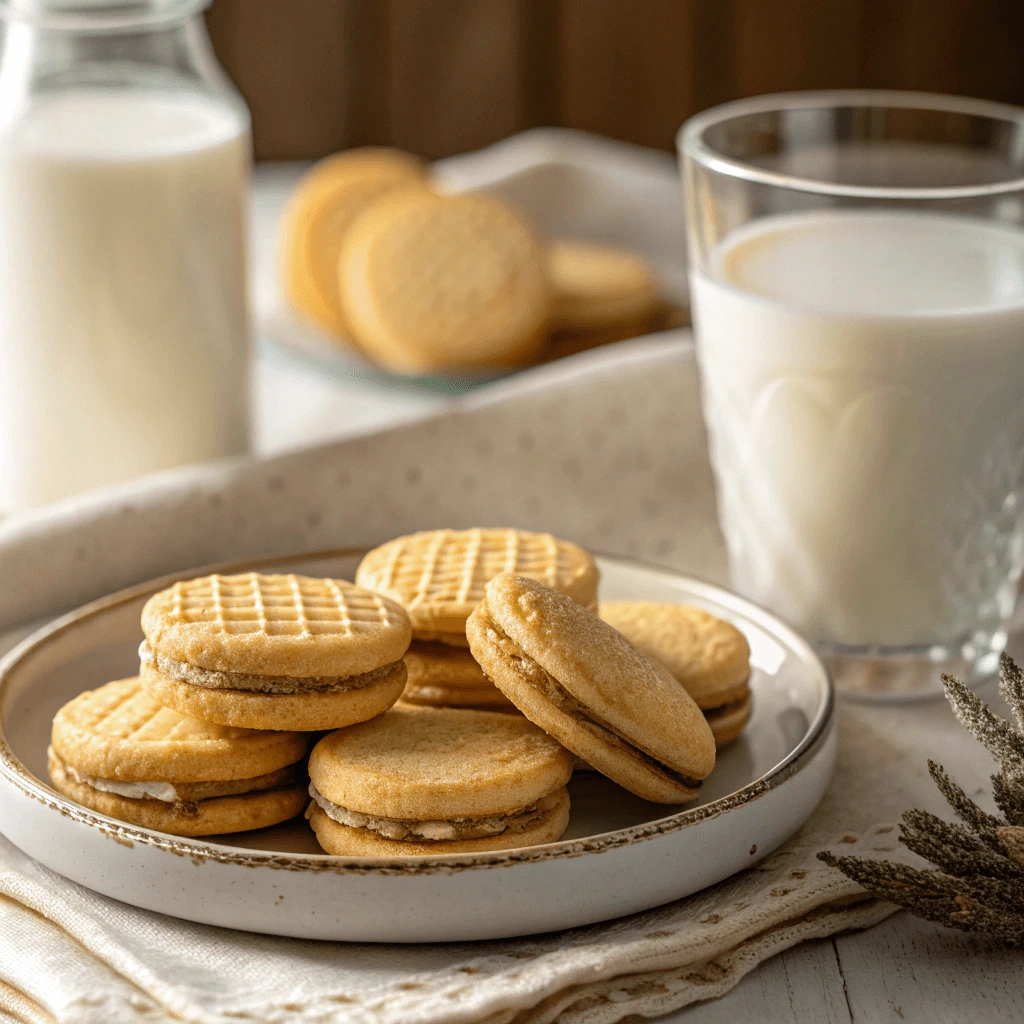
Classic Vanilla Wafer Cookie Recipe with a Crisp Finish
Vanilla wafer cookies are light, crispy, and full of sweet vanilla flavor. They’re perfect as a snack or base for other desserts like trifles and parfaits. These cookies are easy to make, with a crisp finish that everyone loves.
Ingredients
- 1 ½ cups all-purpose flour
- ½ cup granulated sugar
- 1 teaspoon vanilla extract
- ¼ cup unsalted butter, softened
- 1 egg
- ¼ teaspoon baking soda
- Pinch of salt
How to Make Vanilla Wafer Cookies
- Mix Dry Ingredients:
Whisk flour, baking soda, and salt in a bowl. - Cream Butter and Sugar:
Beat the softened butter and sugar until light and fluffy, then add the egg and vanilla extract. - Combine and Shape:
Gradually add dry ingredients to the wet mixture. Roll dough into small balls and flatten them on a baking sheet. - Bake:
Bake at 350°F (175°C) for 8-10 minutes until the edges are golden.
Why These Cookies Are So Crispy
The balance of butter and flour, along with the moderate baking time, creates a perfect crisp texture. The cookies are light and just sweet enough, offering the ideal crunch.
How to Enjoy
These cookies are great on their own, but also make an excellent base for layered desserts or can be paired with dips.
Storage
Store in an airtight container for up to a week, or freeze for longer storage.
Simple Chocolate Wafer Cookie Recipe
Chocolate wafer cookies are a simple yet indulgent treat that combines the crispness of wafers with the rich, deep flavor of chocolate. Perfect for those who crave a sweet snack, these cookies are easy to make and can be customized with your favorite chocolate or toppings.
Ingredients You’ll Need
To make these delicious chocolate wafer cookies, gather the following ingredients:
- 1 ½ cups all-purpose flour
- ½ cup unsweetened cocoa powder
- 1 teaspoon baking powder
- 1 cup unsalted butter, softened
- ½ cup granulated sugar
- 1 teaspoon vanilla extract
- Pinch of salt
How to Make the Chocolate Wafer Cookies
- Prepare the Dough:
Start by mixing the dry ingredients (flour, cocoa powder, baking powder, and salt) in one bowl. In another bowl, beat the softened butter and sugar until light and fluffy. Add the vanilla extract and combine. Gradually mix the dry ingredients into the wet ingredients until a dough forms. - Shape and Chill:
Roll the dough into a log shape, wrap it in plastic wrap, and chill it in the fridge for at least 30 minutes. Chilling makes it easier to slice the dough into thin, crisp wafers. - Slice and Bake:
After chilling, slice the dough into thin rounds using a sharp knife or a cookie cutter. Arrange the slices on a baking sheet lined with parchment paper, ensuring they don’t touch. Bake at 350°F (175°C) for 8-10 minutes, or until the edges are firm and slightly crispy.
Optional Add-Ins and Variations
While these chocolate wafer cookies are delicious on their own, you can add a twist by mixing in extras like:
- Mini chocolate chips for extra sweetness.
- Chopped nuts such as almonds or hazelnuts for crunch.
- A dusting of powdered sugar after baking for a decorative touch.
Why These Cookies Are So Easy to Make
One of the best things about these chocolate wafer cookies is how straightforward they are. With just a few simple steps and ingredients, you can create a batch of cookies that are perfect for any occasion. These cookies also store well, so you can make them in advance for parties or as a homemade gift.
Nutella-Filled Wafer Cookie Sandwiches
Nutella-filled wafer sandwiches are a perfect blend of crispy wafers and creamy Nutella. These treats are simple to make and are guaranteed to satisfy any chocolate lover.
Ingredients
- 2 packs of thin wafer cookies (store-bought or homemade)
- ½ cup Nutella or chocolate-hazelnut spread
- Powdered sugar (optional for dusting)
How to Make Nutella-Filled Wafer Sandwiches
- Spread Nutella: Take one wafer and spread a generous layer of Nutella on its flat side.
- Make the Sandwich: Place another wafer on top to form a sandwich, gently pressing them together.
- Chill (Optional): If desired, refrigerate the sandwiches for 10-15 minutes for a firmer filling.
Customizing Your Sandwiches
- Add Fruit: Sliced bananas or strawberries complement the Nutella nicely.
- Incorporate Nuts: Chopped hazelnuts or almonds add a crunchy texture.
Storage Tips
Store the sandwiches in an airtight container for up to a week. For longer storage, you can freeze them, but they are best enjoyed fresh.
Creative Wafer Cookie Dessert Recipes You’ll Love
No-Bake Strawberry Wafer Cookie Cake
This no-bake strawberry wafer cake is a simple, delicious treat that combines crispy wafer cookies with fresh strawberries and a creamy filling. It’s perfect for a light dessert that doesn’t require baking, making it ideal for warmer days.
Ingredients
- 1 pack of thin wafer cookies (vanilla or strawberry preferred)
- 2 cups fresh strawberries, sliced
- 1 cup heavy whipping cream
- 1 tablespoon powdered sugar
- 1 teaspoon vanilla extract
- ½ cup cream cheese, softened
- ½ cup sweetened condensed milk
How to Make No-Bake Strawberry Wafer Cake
- Prepare the Cream Filling:
Whip heavy cream with powdered sugar until stiff peaks form. Mix cream cheese and sweetened condensed milk until smooth, then fold in the whipped cream and vanilla extract. - Assemble the Cake:
Layer wafer cookies, spread cream, and top with sliced strawberries. Repeat until all layers are stacked. - Chill:
Refrigerate the cake for at least 4 hours or overnight to allow the layers to set and soften. - Serve:
Slice and enjoy with extra strawberry slices or a dusting of powdered sugar for a beautiful finish.
Why It’s Special
This dessert offers a delicious balance of textures with the crunch of wafers, the creaminess of the filling, and the fresh sweetness of strawberries. It’s quick, easy, and perfect for any occasion.
Customizations
- Use other fruits like blueberries or peaches.
- Add cocoa to the cream for a chocolate twist.
Storage
Store in the fridge for up to 3 days. For longer storage, freeze individual slices.
Layered Chocolate Wafer Cookie Bars
Layered chocolate wafer bars are an easy and delicious treat, combining crispy wafer cookies with smooth layers of chocolate. These no-bake bars are perfect for anyone who loves a sweet, crunchy snack.
Ingredients
- 1 pack of wafer cookies (vanilla or chocolate)
- 2 cups semi-sweet chocolate chips
- ½ cup unsalted butter
- ½ cup sweetened condensed milk
- 1 teaspoon vanilla extract
- Pinch of salt
How to Make Layered Chocolate Wafer Bars
- Melt the Chocolate:
Melt the chocolate chips, butter, and sweetened condensed milk in a bowl. Stir in vanilla extract and salt once smooth. - Layer the Cookies:
Place a layer of wafer cookies on a baking sheet and spread a thin layer of melted chocolate over them. Add another layer of cookies, then repeat. - Chill:
Refrigerate the bars for at least 2 hours until the chocolate is set. - Cut and Serve:
After chilling, cut the bars into squares or rectangles and enjoy!
Why These Bars Are So Irresistible
The combination of crispy wafers and creamy chocolate offers the perfect texture contrast. The sweetened condensed milk makes the chocolate layer extra smooth and indulgent.
Customizations
- Add chopped nuts like almonds or walnuts for extra crunch.
- Swap in white chocolate for a sweeter version.
Storage
Store the bars in an airtight container in the fridge for up to a week. You can also freeze them for longer storage.
Peanut Butter Wafer Cookie Stackers
Peanut butter wafer stackers are a simple yet satisfying treat that combines the crunch of wafer cookies with creamy peanut butter. They’re easy to make and perfect for satisfying your sweet and savory cravings.
Ingredients
- 1 pack of wafer cookies
- 1 cup smooth peanut butter
- 2 tablespoons honey (or maple syrup for a vegan option)
- ¼ cup powdered sugar
- A pinch of salt (optional)
How to Make Peanut Butter Wafer Stackers
- Make the Filling:
Mix peanut butter, honey, powdered sugar, and salt in a bowl until smooth. - Assemble the Stackers:
Spread peanut butter on one wafer, top with another wafer, and repeat to form stacks. - Chill:
Refrigerate for about 30 minutes to firm up the filling. - Serve:
Slice and enjoy as a delicious snack or treat.
Why You’ll Love These Stackers
The crispy wafers and creamy peanut butter come together in perfect harmony. The hint of honey and powdered sugar adds sweetness, while the salt enhances the flavors.
Storage
Keep your stackers in an airtight container in the fridge for up to 5 days.
Healthy and Gluten-Free Wafer Cookie Recipes
Almond Flour Wafer Cookie Recipe
Almond flour wafer cookies are a gluten-free alternative that brings a nutty twist to traditional wafer cookies. With their rich flavor and light, crispy texture, they’re perfect for those with dietary restrictions or anyone looking to try something new.
Ingredients
- 2 cups almond flour
- ¼ cup powdered sugar
- ¼ cup melted butter
- 1 egg
- 1 teaspoon vanilla extract
- Pinch of salt
- 2 tablespoons almond milk
How to Make Almond Flour Wafer Cookies
- Make the Dough:
Combine almond flour, powdered sugar, and salt. Add egg, melted butter, vanilla, and almond milk. Mix until smooth. - Roll and Cut:
Roll out the dough between parchment paper to about ¼ inch thick. Cut into square or rectangular shapes. - Bake:
Bake at 350°F (175°C) for 10-12 minutes or until golden brown. Let cool.
Why You’ll Love These Almond Flour Wafers
These cookies have a nutty flavor and a light, crispy texture. They’re gluten-free and offer a slightly richer taste than traditional wafers, making them an indulgent yet healthy treat.
Storage
Store in an airtight container at room temperature for up to a week or in the fridge for up to two weeks.
Sugar-Free Vanilla Wafer Cookie Treats
Sugar-free vanilla wafer treats offer a healthier alternative for those looking to enjoy a sweet snack without the sugar. With a light, crispy texture and the familiar vanilla flavor, these treats are perfect for those on a sugar-free or low-carb diet.
Ingredients
- 1 ½ cups almond flour
- ¼ cup erythritol (sugar substitute)
- 1 teaspoon vanilla extract
- ¼ cup butter, softened
- 1 egg
- Pinch of salt
- 2 tablespoons almond milk
How to Make Sugar-Free Vanilla Wafer Treats
- Make the Dough:
Mix almond flour, erythritol, and salt. Add egg, butter, vanilla, and almond milk, and stir until smooth. - Roll and Cut:
Roll out the dough between parchment paper and cut into squares or rectangles. - Bake:
Preheat oven to 350°F (175°C). Bake the cookies for 10 minutes until lightly golden. - Cool and Serve:
Let them cool on a wire rack before serving.
Why You’ll Love These Wafer Treats
These sugar-free wafer cookies are light, crispy, and flavorful. The almond flour gives them a nutty twist, while the erythritol ensures a sweet taste without the sugar. Perfect for satisfying sweet cravings without the guilt!
Storage
Store in an airtight container at room temperature for up to a week.
Dairy-Free Chocolate Wafer Cookie Sandwiches
Dairy-free chocolate wafer sandwiches are a delightful treat for those avoiding dairy but still craving something sweet. These crunchy wafer cookies are paired with a rich, creamy dairy-free chocolate filling, creating a perfect balance of textures and flavors.
Ingredients
For the Wafers:
- 1 ½ cups almond flour
- ¼ cup cocoa powder (unsweetened)
- ¼ cup coconut flour
- 2 tablespoons maple syrup
- 1 egg (or egg substitute)
- 1 teaspoon vanilla extract
- Pinch of salt
- ¼ cup coconut oil (melted)
For the Dairy-Free Chocolate Filling:
- ½ cup dairy-free chocolate chips
- 2 tablespoons coconut oil
- 1 tablespoon maple syrup (optional)
How to Make Dairy-Free Chocolate Wafer Sandwiches
- Prepare the Wafers:
Mix the dry ingredients and add the wet ingredients. Stir until the dough comes together, then roll out the dough and cut into desired shapes. - Bake the Wafers:
Preheat your oven to 350°F (175°C). Bake the wafers for 10-12 minutes, then allow them to cool. - Make the Chocolate Filling:
Melt the dairy-free chocolate chips and coconut oil. Stir in maple syrup for extra sweetness, then let the mixture cool to a spreadable consistency. - Assemble the Sandwiches:
Spread the chocolate filling between two wafers to create a sandwich. Repeat for all wafers.
Why You’ll Love These Sandwiches
These dairy-free wafer sandwiches offer a satisfying chocolate treat with a crisp texture and rich filling. They’re perfect for anyone looking for a dairy-free, indulgent snack.
Storage Tips
Store in an airtight container in the fridge for up to a week.
International Wafer Cookie Recipe Inspirations
Ferrero-Inspired Hazelnut Wafer Cookie Balls
These Ferrero-inspired hazelnut wafer balls are a simple yet indulgent homemade treat. They combine crispy wafer, creamy hazelnut spread, and a crunchy chocolate coating for a flavor-packed snack that mimics the famous Ferrero Rocher chocolate.
Ingredients:
- 1 ½ cups crushed wafer cookies
- ½ cup hazelnut spread (like Nutella)
- ½ cup roasted hazelnuts (chopped)
- 2 tablespoons honey or maple syrup
- 1 teaspoon vanilla extract
- 1 cup dark chocolate (for coating)
- 2 tablespoons coconut oil (for melting)
- Chopped hazelnuts (for rolling)
Instructions:
- Prepare the Wafer Mixture:
Combine crushed wafers, hazelnut spread, chopped hazelnuts, honey, and vanilla in a bowl. Stir until smooth. - Form the Balls:
Roll the mixture into 1-inch balls, placing a whole hazelnut inside for extra flavor, if desired. - Chill:
Refrigerate the balls for 30 minutes to firm up. - Coat in Chocolate:
Melt dark chocolate with coconut oil and dip each ball in the chocolate, coating it completely. - Roll in Hazelnuts:
After coating, roll the balls in chopped hazelnuts. - Set and Chill Again:
Place the balls back in the fridge to allow the chocolate to harden.
Why You’ll Love Them:
These hazelnut wafer balls offer a perfect balance of crunch, sweetness, and rich chocolate. They’re an easy, customizable treat that can be enjoyed by all.
Storage:
Store in an airtight container in the fridge for up to a week, or freeze for longer shelf life.
KitKat-Inspired Chocolate-Covered Wafers
If you love the crispy, chocolatey goodness of a KitKat bar, you’ll adore these homemade KitKat-inspired chocolate-covered wafers. They replicate the famous candy bar’s signature layers of crispy wafer and rich chocolate coating, offering a simple yet indulgent treat you can make at home.
Ingredients:
For the Wafers:
- 1 ½ cups crushed plain wafers
- 2 tablespoons sugar
- 2 tablespoons butter, melted
- 1 tablespoon honey or maple syrup
For the Chocolate Coating:
- 1 ½ cups milk or dark chocolate (dairy-free if needed)
- 2 tablespoons coconut oil or butter (for smooth melting)
Instructions:
- Prepare the Wafer Layer:
In a bowl, mix the crushed wafers with sugar, melted butter, and honey until the mixture forms a dough-like consistency. Press the mixture into a lined baking dish to form a firm, even layer. - Chill the Wafer Layer:
Refrigerate the wafer layer for about 30 minutes to set. This step ensures that the wafer layer becomes firm and easy to coat with chocolate. - Melt the Chocolate:
In a microwave-safe bowl or over a double boiler, melt the chocolate and coconut oil (or butter) together. Stir until smooth and fully melted. - Coat the Wafers:
Remove the chilled wafer layer from the fridge. Cut it into bars or squares. Dip each piece into the melted chocolate, ensuring it’s fully covered. - Set the Chocolate:
After coating the wafers in chocolate, place them on a parchment-lined tray. Let the chocolate set for about 30 minutes in the refrigerator, allowing it to harden completely.
Why You’ll Love These Homemade KitKat Bars:
These homemade chocolate-covered wafers capture the essence of the classic KitKat bar while allowing you to adjust the ingredients to suit your preferences. You can experiment with different types of chocolate—dark, milk, or even dairy-free varieties—and customize the wafer layer to your taste. Whether you prefer a thick or thin chocolate coating, these KitKat-inspired treats can be made to suit your cravings.
Storage Tips:
Store the chocolate-covered wafers in an airtight container in the refrigerator to keep them fresh for up to a week. They also freeze well if you want to save them for later.
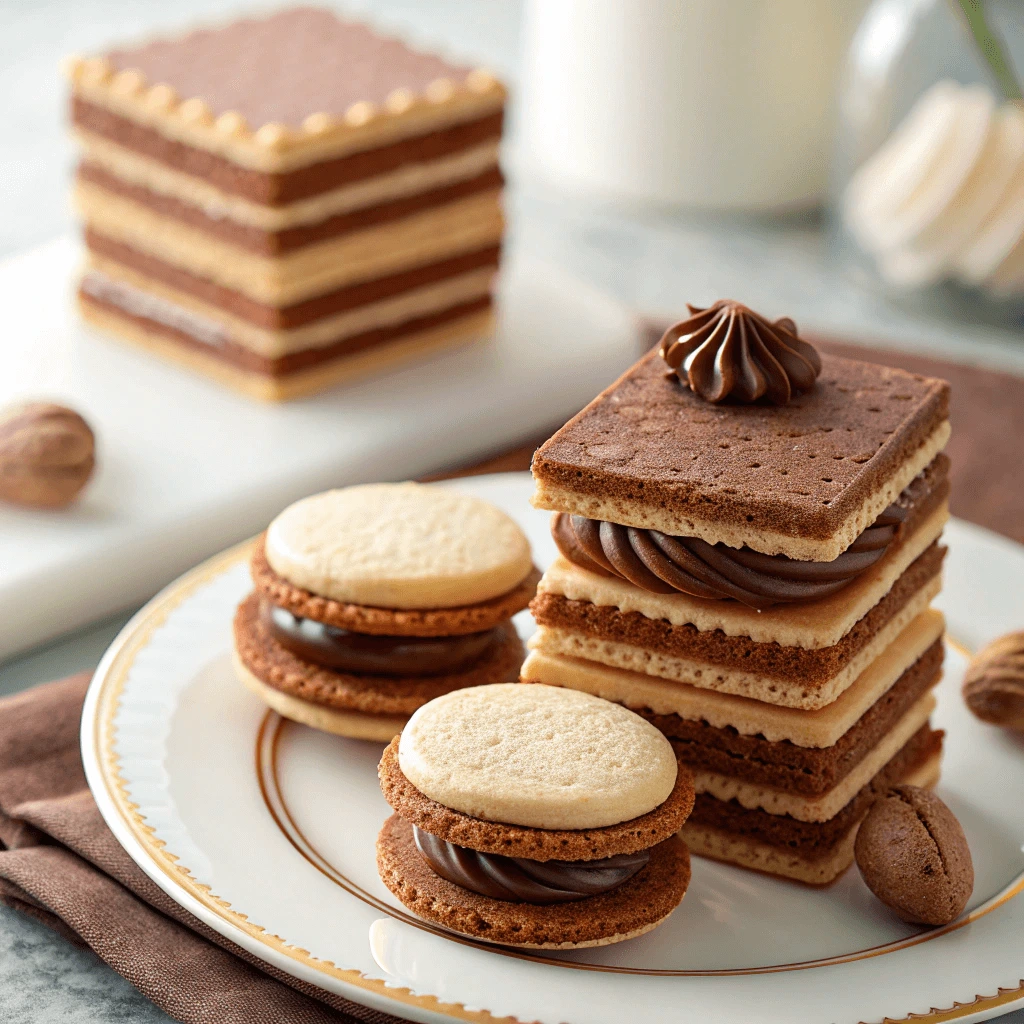
Polish Wafer Cake (Wuzetka style)
Polish wafer cake, also known as Wuzetka, is a beloved dessert featuring layers of crispy wafers and smooth, velvety chocolate cream. This treat is perfect for special occasions or as a homemade indulgence for any day.
Ingredients:
- For the Wafer Layers:
- 2-3 packages of thin wafer sheets
- For the Chocolate Cream:
- 2 cups heavy cream
- 200g dark chocolate
- 1 cup powdered sugar
- 1 tablespoon vanilla extract
Instructions:
- Prepare the Chocolate Cream:
Heat the heavy cream and pour it over the chopped dark chocolate. Stir until smooth, then add powdered sugar and vanilla extract. Let the mixture cool. - Assemble the Cake:
Layer the wafers and chocolate cream, starting with a wafer, then spreading a layer of chocolate cream, and repeating until you finish with a wafer layer on top. - Chill and Set:
Refrigerate the cake for 3-4 hours or overnight to allow the flavors to meld and the cake to firm up. - Decorate:
Dust with cocoa powder or garnish with chocolate shavings before serving.
Why You’ll Love This Cake:
The combination of crispy wafers and rich chocolate cream makes Wuzetka both indulgent and light. The cake’s simplicity and elegance make it a versatile dessert for any gathering.
Storage Tips:
Store in the refrigerator for up to 4 days for the best flavor. It often tastes even better after sitting for a day.
Tips for Making Perfect Wafer Cookies at Home
How to Use Wafer Sheets Without Breaking Them
Wafer sheets are delicate, but with the right techniques, you can use them without breaking. Here are some tips to help you handle wafer sheets like a pro.
1. Choose Fresh Wafer Sheets:
Always choose fresh, crisp wafer sheets. Stale or brittle wafers are more likely to break, so opt for those that are sealed in packaging to maintain their freshness.
2. Handle Gently:
Treat wafer sheets with care. Avoid pressing too hard or using rough handling, as this can cause them to crack. Use your fingers or a flat utensil to move them without applying too much pressure.
3. Soften if Necessary:
If the wafers are too brittle, you can soften them slightly by wrapping them in a damp paper towel and microwaving them for just a few seconds. This makes them more flexible without ruining their structure.
4. Use Light Layers of Filling:
When assembling wafer desserts, apply a thin, even layer of filling. Too much filling can weigh down the wafers, causing them to break. Spread the filling gently to avoid this issue.
5. Chill Before Cutting:
After assembling, chill your wafer dessert for a few hours or overnight. This helps the filling set and the wafers stay in place, making them easier to cut without breaking.
6. Cut Carefully:
Use a sharp knife to slice through the layers. A dull knife can cause the wafers to crumble. Gently cut the dessert to maintain clean layers.
Essential Tools for Wafer Cookie Baking
Baking wafer cookies at home requires a few key tools to achieve the perfect crispness and texture. Here’s a list of must-have equipment for your baking process:
1. Wafer Cookie Iron or Waffle Iron
A wafer cookie iron is ideal for making thin, crisp wafers with intricate patterns. If you don’t have one, a waffle iron works as a substitute for a similar texture.
2. Mixing Bowls
Choose large, sturdy bowls for mixing your dry and wet ingredients separately. Glass or stainless steel bowls are great for easy mixing and consistency.
3. Electric Mixer or Hand Whisk
An electric mixer is perfect for smooth, lump-free dough. If you’re making a small batch, a hand whisk can work just fine.
4. Rolling Pin
If you’re not using an iron, a rolling pin is essential to roll out wafer dough evenly. Opt for a smooth surface, such as marble, to avoid sticking.
5. Parchment Paper or Silicone Baking Mat
These tools prevent sticking and help ensure easy cleanup. A silicone mat is reusable and cost-effective over time.
6. Cookie Cutter (Optional)
For shaping your wafers into specific designs or uniform sizes, a cookie cutter is a helpful tool.
7. Cooling Rack
Use a cooling rack to prevent your wafer cookies from becoming soggy. This ensures air circulates and keeps them crisp.
8. Fine Sifter or Mesh Strainer
Sift dry ingredients for a lump-free dough, ensuring your wafers bake evenly and stay light.
9. Pastry Brush (Optional)
For a golden finish, a pastry brush helps you apply egg wash or glaze evenly across the surface of your cookies.
10. Storage Containers
Store your wafer cookies in airtight containers to maintain their crispness. Avoid storing them in humid areas to preserve their crunch.
Storage Tips to Keep Wafers Crispy
To preserve the crispiness of your freshly baked wafer cookies, it’s important to store them properly. Improper storage can lead to soggy, soft wafers that lose their appeal. Here’s how to keep your wafers crisp for longer:
1. Let Them Cool Completely
Before storing your wafers, allow them to cool completely on a wire rack. This prevents any trapped moisture, which could make your wafers soft. Cooling them properly ensures they remain crunchy when stored.
2. Use an Airtight Container
The key to crispy wafers is to keep moisture out. Store your cookies in an airtight container. Glass jars, metal tins, or plastic containers with a tight-fitting lid are ideal. Avoid containers that don’t seal properly as they allow moisture to seep in, softening your wafers.
3. Add a Desiccant Packet
To further combat moisture, place a food-safe desiccant packet (often used in packaged goods) in the container. It will help absorb any excess humidity and keep the wafers crispy for a longer time.
4. Keep Them in a Cool, Dry Place
Store your wafer cookies in a cool, dry place, away from direct sunlight and heat. Exposure to heat and sunlight can cause the cookies to soften. A pantry or cupboard works best as it avoids the extremes of temperature and humidity.
5. Avoid Storing with Other Foods
Wafers are particularly sensitive to strong smells, so it’s best to store them separately from foods like spices, onions, or garlic. Strong odors can affect their flavor, and the wafers may absorb them, ruining their taste and texture.
6. Freeze for Long-Term Storage
If you’ve made a large batch and want to store wafers for a longer period, freezing is a great option. Place the cookies in an airtight bag or container, and store them in the freezer. When ready to eat, let them thaw at room temperature. You can also reheat them briefly in the oven to restore some of their crispiness.
7. Layer with Parchment Paper
When stacking your wafers inside the storage container, place parchment paper between layers to avoid them sticking to each other. This ensures that the layers remain crisp and easy to separate when you want to enjoy them.
Conclusion
Wafer cookies are incredibly versatile, offering endless possibilities for creative and delicious treats. From simple chocolate wafers to indulgent Nutella-filled sandwiches, there’s a recipe to satisfy every craving. Whether you’re a beginner or an experienced baker, making wafer cookies at home allows you to experiment with flavors and textures, ensuring a personalized touch with every batch.
We hope you’re inspired to try one (or more!) of these irresistible wafer cookie recipes. Don’t forget to share your creations in the comments or post a photo for us to see—your feedback is always appreciated!
Stay tuned for more exciting dessert ideas! In the meantime, be sure to grab your free printable recipe guide to keep these delicious wafer cookie creations at your fingertips for any occasion.