Craving a rich, creamy dessert without derailing your health goals? These 3 easy ways to make protein cheesecake at home offer the perfect solution. Packed with high-quality protein and made with wholesome ingredients like Greek yogurt, almond flour, and natural sweeteners, each method delivers indulgent flavor with a nutritious twist. Whether you prefer baked, no-bake, or microwave recipes, you’ll find a simple option that fits your lifestyle. Say goodbye to guilt and hello to delicious, protein-packed cheesecake you can enjoy anytime—right from your kitchen.
Understanding Protein Cheesecake Basics
What Makes a Cheesecake “Protein” Rich?
Turning a traditional cheesecake into a protein-rich dessert starts with smart ingredient choices. By replacing or supplementing standard ingredients with high-protein alternatives, you can transform this indulgent treat into a nourishing part of your diet.
Use High-Protein Dairy as the Base
Cream cheese is a cheesecake staple, but you can boost the protein by mixing in ingredients like Greek yogurt, cottage cheese, or ricotta. These options offer a creamy texture while adding significantly more protein per serving than traditional cream cheese alone.
Add Protein Powder for a Muscle-Friendly Boost
Whey, casein, or plant-based protein powders work well in cheesecake fillings. They blend smoothly and increase the total protein without compromising flavor. Whey protein, in particular, supports muscle recovery, making it ideal for fitness-focused eaters.
Choose a Crust That Contributes Protein
Swap traditional graham cracker crusts for options like almond flour or crushed nuts. These ingredients provide healthy fats and plant-based protein while keeping carbs low—especially useful for keto or low-carb versions.
Essential Ingredients for Homemade Protein Cheesecake
Making protein cheesecake at home starts with the right ingredients. These staples help you boost protein, enhance flavor, and maintain a creamy, satisfying texture.
Whey or Casein Protein Powder
Whey protein blends smoothly and adds fast-digesting protein, ideal for post-workout desserts. Casein digests more slowly and creates a denser texture. Choose vanilla or unflavored protein powder to complement your cheesecake’s base.
Greek Yogurt or Cottage Cheese
Use Greek yogurt or cottage cheese to increase protein while maintaining a creamy filling. Both options work well alongside or in place of cream cheese. They also provide calcium and probiotics for added health benefits.
Low-Fat Cream Cheese
Cream cheese gives cheesecake its signature richness. Choose a lower-fat version to reduce calories without sacrificing taste. Blend it well with your protein and yogurt base to achieve a smooth consistency.
Natural Sweeteners and Flavor Enhancers
Use stevia, monk fruit, or erythritol to sweeten your cheesecake without sugar. Vanilla extract, lemon zest, and cocoa powder help build flavor without adding extra carbs or calories.
Crust Alternatives
Swap traditional crusts for almond flour, oats, or crushed nuts to keep the recipe gluten-free and protein-friendly.
These ingredients give you everything you need to make a healthier, protein-rich cheesecake right at home.
Tools You’ll Need: Springform Pan, Blender, and More
Having the right tools makes the process of making protein cheesecake easier, smoother, and more consistent. These essentials help you mix, bake, and store your cheesecake like a pro.
Springform Pan for Easy Release
A springform pan allows you to remove your cheesecake without damaging its shape. Its removable sides create a clean release, making it ideal for both baked and no-bake cheesecakes.
Blender or Food Processor for Smooth Mixing
Blending cream cheese, Greek yogurt, and protein powder until smooth ensures a lump-free filling. A high-powered blender or food processor quickly mixes dense ingredients, saving time and improving texture.
Mixing Bowls and Measuring Tools
Use a variety of mixing bowls for wet and dry ingredients. Always rely on accurate measuring cups and spoons to keep your recipe balanced—especially when calculating macros.
Rubber Spatula and Hand Mixer
A rubber spatula helps you scrape every bit of batter from the bowl. If you don’t have a blender, a hand mixer can work well for combining soft ingredients and whipping in air for fluffier texture.
These basic tools make protein cheesecake preparation simple, clean, and enjoyable—whether you’re baking for yourself or meal prepping for the week.
Method 1 – Classic Baked Protein Cheesecake
Preparing the Almond Flour or Cottage Cheese Crust
The crust creates the foundation for your protein cheesecake. Using almond flour or cottage cheese gives it a nutritious twist without sacrificing taste or texture.
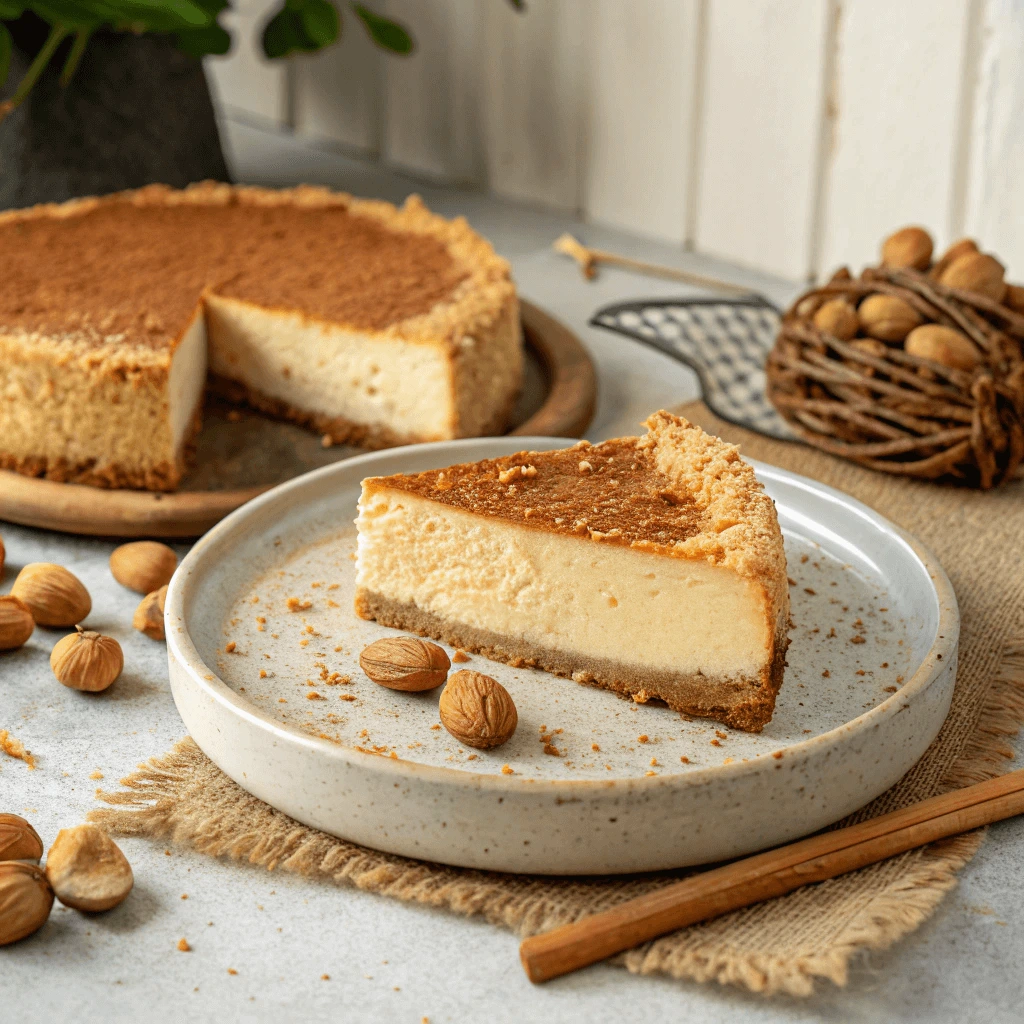
Almond Flour Crust: Low-Carb and Nutty
Almond flour offers a gluten-free, low-carb base that pairs beautifully with cheesecake. To make the crust, combine almond flour with melted butter (or coconut oil) and a natural sweetener like erythritol. Mix until the texture resembles damp sand, then press it firmly into the bottom of your springform pan. Bake it at 350°F (175°C) for 8–10 minutes to set and lightly toast the nuts for added flavor.
Cottage Cheese Crust: High-Protein and Unique
For a protein boost, blend cottage cheese with oats or almond flour until you get a thick, spreadable mixture. Add an egg to bind the crust and season with cinnamon or vanilla for extra flavor. Press the mixture into the pan and bake until slightly golden and firm to the touch. This alternative adds both protein and a creamy texture.
Let the Crust Cool Before Adding Filling
Always cool your crust before adding the cheesecake filling. Cooling helps the crust set properly and prevents sogginess, especially with baked versions.
Mixing Protein Powder and Creamy Filling Ingredients
Creating the perfect protein cheesecake filling starts with blending high-protein ingredients into a smooth, creamy base. The goal is to achieve a rich texture without clumps or dryness.
Choose the Right Protein Powder
Select a protein powder that complements the flavor of your cheesecake. Vanilla, chocolate, or unflavored whey work well. If you prefer slower digestion, opt for casein. For plant-based versions, choose pea or brown rice protein. Stick to powders with a smooth texture and minimal artificial additives.
Combine Creamy Base Ingredients First
Begin by beating cream cheese, Greek yogurt, and any other soft dairy ingredients until fluffy. This step ensures a light texture and prevents clumps. Use a hand mixer, blender, or food processor to save time and effort.
Gradually Add Protein Powder and Sweeteners
Slowly incorporate the protein powder into the creamy mixture to avoid dry spots. Add natural sweeteners like stevia or monk fruit along with flavorings such as vanilla extract, lemon zest, or cocoa powder. Blend thoroughly until the filling becomes smooth and consistent.
Taste and Adjust as Needed
Before pouring the mixture into your crust, taste it. If it needs more sweetness or flavor, adjust now. A smooth, well-balanced filling sets the stage for a delicious, protein-packed cheesecake.
Baking Tips for a Moist, Smooth Protein Cheesecake
Baking with protein powder requires extra care to maintain a creamy texture and avoid dryness. Use these tips to ensure your protein cheesecake turns out moist, rich, and delicious.
Use a Water Bath for Even Baking
Place your springform pan inside a larger pan filled with hot water. This technique, known as a water bath or “bain-marie,” regulates the baking temperature and prevents cracking. It also helps the cheesecake bake evenly and retain moisture.
Bake Low and Slow
Set your oven to a lower temperature, around 300°F (150°C), and bake the cheesecake slowly. High heat can cause the edges to overcook while the center remains underdone. A gentle bake ensures the filling stays creamy and smooth.
Avoid Overbaking
Watch closely toward the end of the bake. When the edges look firm but the center jiggles slightly, remove the cheesecake from the oven. The residual heat will continue to cook it as it cools. Overbaking leads to dry, rubbery texture—especially with added protein powder.
Cool Gradually
Let the cheesecake cool at room temperature before placing it in the fridge. Gradual cooling prevents sudden cracks and helps the filling set properly.
With the right baking method, your protein cheesecake will come out perfectly smooth, moist, and satisfying.
Method 2 – No-Bake Protein Cheesecake Recipe
Using Natural Sweeteners Like Stevia or Monk Fruit
Choosing the right sweetener lets you enjoy a rich, dessert-like protein cheesecake without the excess sugar. Stevia and monk fruit offer natural, low-calorie options that work well in baking.
Why Choose Natural Sweeteners?
Stevia and monk fruit don’t spike blood sugar, making them excellent choices for those following keto, low-carb, or diabetic-friendly diets. They also contain little to no calories, which helps reduce the overall calorie count of your cheesecake without sacrificing sweetness.
How to Use Stevia in Cheesecake
Stevia comes in liquid drops, powders, or granules. Always check the label for sweetness ratios, as stevia is often much sweeter than sugar. Start with a small amount and gradually adjust to taste. When used in moderation and mixed properly, stevia blends smoothly with cream cheese, yogurt, or protein powder.
Baking with Monk Fruit Sweetener
Monk fruit sweeteners often come blended with erythritol to improve texture and balance out the intense sweetness. Use it as a 1:1 sugar substitute in most cheesecake recipes. It holds up well to baking and doesn’t leave a bitter aftertaste, especially when combined with vanilla or citrus flavorings.
Blending Ingredients for a Creamy No-Bake Filling
Creating a smooth, no-bake protein cheesecake filling requires the right technique and ingredient combination. With proper blending, you’ll achieve a rich, fluffy texture without turning on the oven.
Start with Room-Temperature Ingredients
Allow cream cheese, Greek yogurt, and any other dairy ingredients to reach room temperature before mixing. Softened ingredients blend more easily and prevent clumps. Cold cream cheese tends to stay lumpy, which affects the final texture of your filling.
Use a High-Powered Blender or Food Processor
Add softened cream cheese, Greek yogurt, and protein powder to your blender or food processor. Start at a low speed and gradually increase to high. This method ensures all ingredients combine evenly and creates a silky, lump-free consistency.
Sweeten and Flavor with Care
Incorporate natural sweeteners like monk fruit or stevia along with flavorings such as vanilla extract, lemon zest, or cocoa powder. Add these after blending the base to prevent over-mixing. Taste as you go so you can fine-tune sweetness and flavor to your preference.
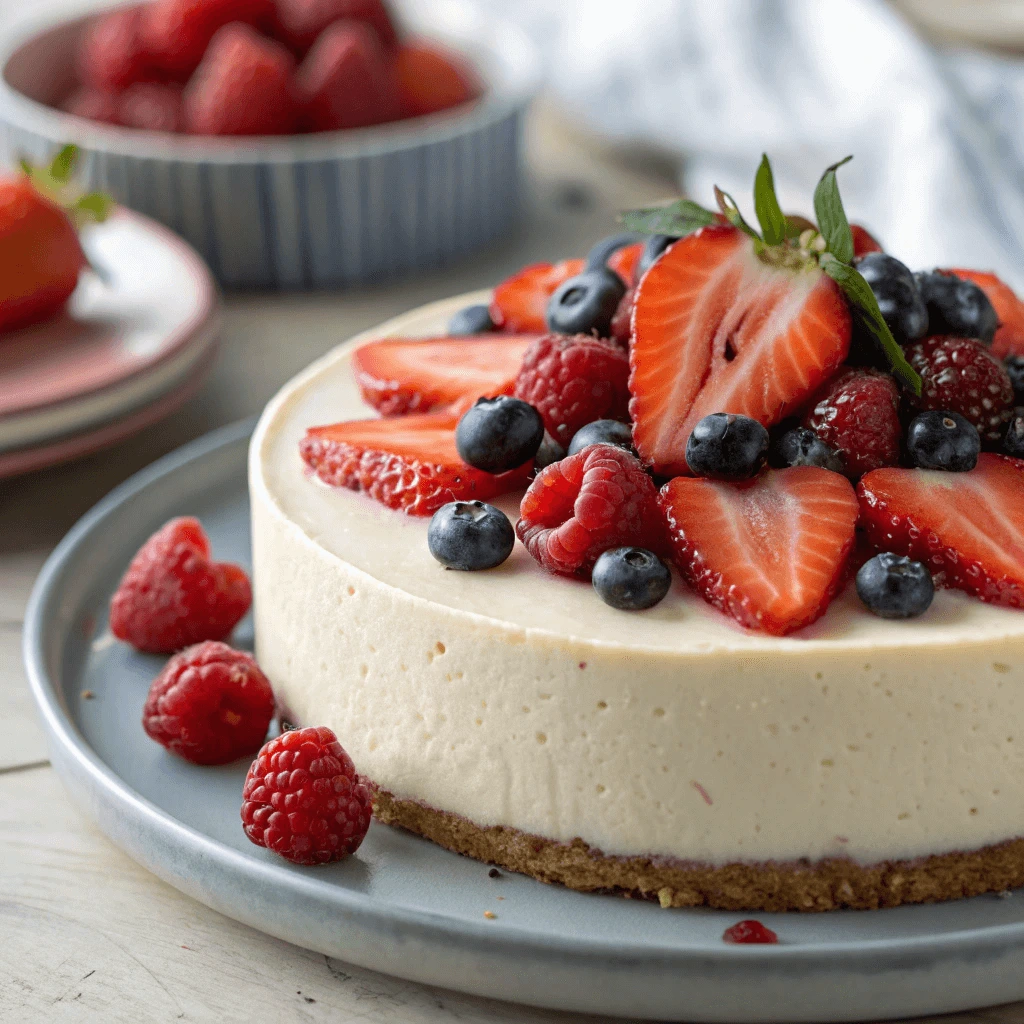
Chill Before Serving
Once blended, pour the filling into your prepared crust and chill it in the refrigerator for at least 3–4 hours. This allows the filling to set properly and develop its full flavor.
A well-blended no-bake filling delivers both nutrition and indulgent texture—no oven required!
Refrigeration and Serving Suggestions
Proper refrigeration not only sets your protein cheesecake but also enhances its flavor and texture. Follow these storage and serving tips to enjoy each slice at its best.
Chill the Cheesecake for a Firm Texture
After filling your crust with the creamy protein mixture, place the cheesecake in the refrigerator. Let it chill for at least 4 hours, though overnight chilling gives the best results. This cooling period allows the ingredients to firm up and meld, resulting in a rich, sliceable texture.
Cover Tightly to Preserve Freshness
Use plastic wrap or an airtight container to cover your cheesecake. This prevents it from absorbing other odors in the fridge and keeps the top smooth and moist. Well-covered cheesecake will stay fresh in the refrigerator for up to 5 days.
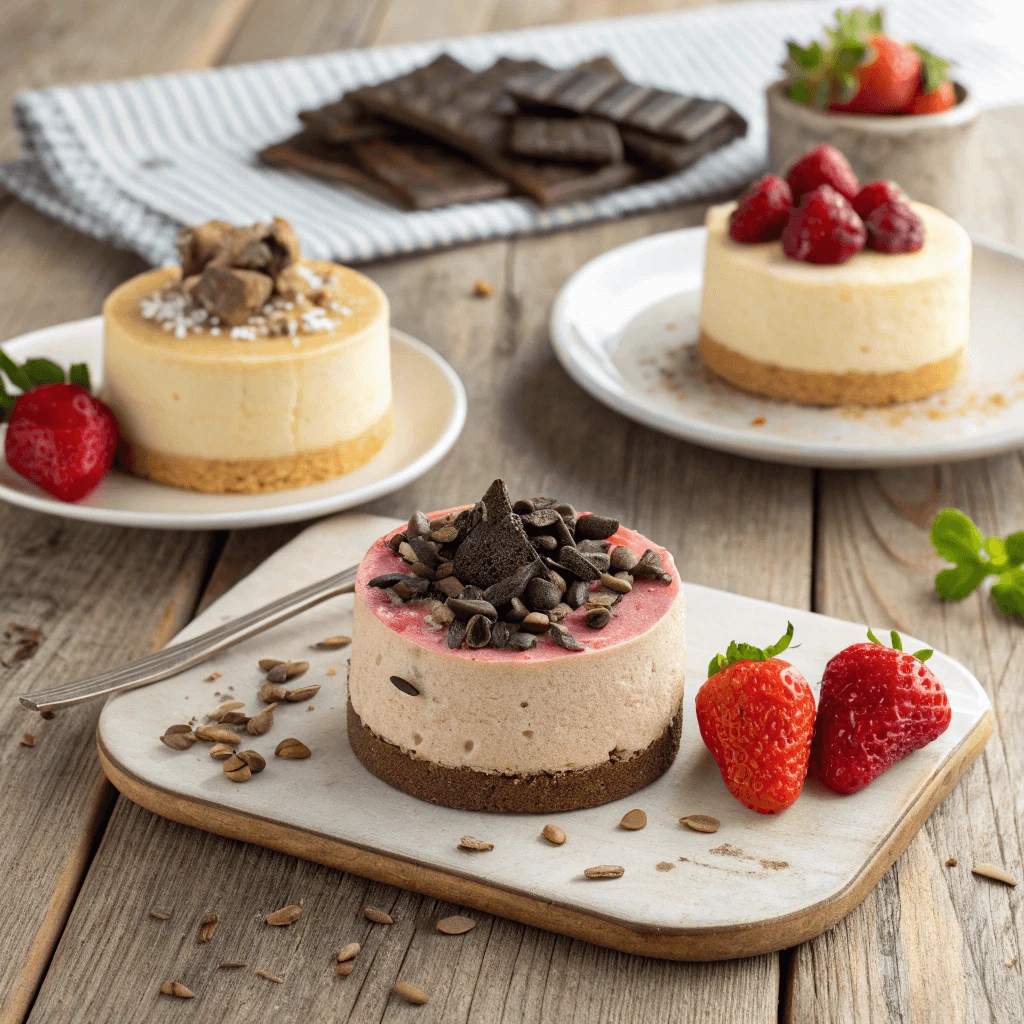
Serve with Simple, Nutritious Toppings
Before serving, add a few simple toppings for flavor and visual appeal. Fresh berries, a drizzle of sugar-free chocolate, or a sprinkle of chopped nuts can elevate each slice. Avoid heavy syrups or sugary toppings that offset your healthy ingredients.
Slice with a Warm Knife
Run a knife under warm water before cutting. This helps you create smooth, clean slices without cracking the surface.
These tips ensure your protein cheesecake stays fresh, tasty, and visually appealing with every bite.
Method 3 – Quick Microwave Protein Cheesecake
Choosing the Right Protein Powder (Whey vs. Casein)
Selecting the right protein powder influences both the texture and nutritional benefits of your protein cheesecake. Whey and casein remain the two most popular options, each offering unique advantages.
Whey Protein: Fast and Smooth
Known for its quick digestion, whey protein supports muscle recovery after workouts. It blends easily into your cheesecake mixture, resulting in a light and smooth filling. Because of its mild flavor, whey complements a variety of recipes. However, you should bake carefully to prevent the cheesecake from drying out.
Casein Protein: Thick and Creamy
In contrast, casein digests slowly, providing a sustained release of protein. This characteristic creates a thicker, creamier texture, making it especially suitable for no-bake cheesecakes. Additionally, casein retains moisture better during baking, which helps keep the dessert dense and indulgent.
Which One to Choose?
If you prefer a lighter cheesecake with fast protein absorption, whey works best. On the other hand, casein is ideal for a rich, creamy dessert with slower digestion. Alternatively, combining both powders can give you a balanced texture and protein release.
Step-by-Step Microwave Cooking Instructions
Using a microwave to make protein cheesecake offers a quick and convenient alternative to traditional baking. Follow these simple steps to create a delicious cheesecake in minutes.
Prepare Your Ingredients and Pan
Start by gathering all your ingredients, including protein powder, cream cheese, sweeteners, and any flavorings. Use a microwave-safe dish or a small silicone mold. Lightly grease the dish to prevent sticking.
Mix the Filling Thoroughly
Combine softened cream cheese, protein powder, sweetener, and flavor extracts in a mixing bowl. Use a hand mixer or whisk to blend until smooth and lump-free. Proper mixing ensures even cooking and a creamy texture.
Microwave in Short Intervals
Pour the filling into your prepared dish. Microwave on medium power for 30 to 45 seconds initially. Check the cheesecake’s firmness and continue microwaving in 15-second intervals as needed. Be careful not to overcook, as microwaves can dry out the protein cheesecake quickly.
Cool Before Serving
Allow the cheesecake to cool for a few minutes at room temperature. Then, refrigerate it for at least an hour to let it set fully. This step enhances the texture and flavor.
Using these microwave instructions, you can enjoy a fast, protein-packed cheesecake anytime without heating up your oven.
Flavor Variations with Cocoa Powder and Vanilla Extract
Adding flavor variations to your protein cheesecake can transform a simple recipe into a delightful treat. Cocoa powder and vanilla extract serve as versatile, natural ingredients that enhance taste without adding sugar or unnecessary calories.
Using Cocoa Powder for a Rich Chocolate Twist
Incorporating unsweetened cocoa powder instantly turns your cheesecake into a chocolate lover’s dream. Cocoa powder provides a deep, intense flavor that pairs beautifully with creamy protein fillings. When adding cocoa powder, balance it with natural sweeteners like stevia or monk fruit to maintain sweetness without sugar. Additionally, try blending cocoa powder with vanilla extract for a richer and more complex flavor profile.
Enhancing Sweetness with Vanilla Extract
Vanilla extract adds a warm, aromatic note that complements both plain and flavored cheesecakes. Adding pure vanilla extract enhances the overall sweetness perception, allowing you to reduce added sweeteners. Use about one to two teaspoons in your mixture, depending on your taste preference. Vanilla works well with other flavors, such as lemon zest or cinnamon, for exciting variations.
Combining Flavors for Unique Twists
Experiment with mixing cocoa powder and vanilla extract to create classic chocolate-vanilla cheesecake. For extra flair, add a pinch of cinnamon, espresso powder, or even a few drops of almond extract. These subtle additions elevate your protein cheesecake and keep your dessert interesting without extra calories.
Tips for Perfect Protein Cheesecake Every Time
How to Avoid Common Protein Powder Baking Mistakes
Baking with protein powder can be tricky if you don’t know what pitfalls to avoid. Protein powders behave differently than traditional flours, so understanding their quirks helps you achieve the best texture and flavor in your protein cheesecake.
Avoid Overmixing the Batter
When you mix protein powder into your cheesecake filling, mix just until combined. Overmixing introduces excess air, which can cause the cheesecake to crack or become dry. Use a gentle folding motion or low-speed mixing to keep the batter smooth and creamy.
Don’t Substitute Protein Powder One-to-One for Flour
Protein powders absorb liquids differently than flour. Using a direct 1:1 substitution often leads to dry, crumbly textures. Instead, adjust the liquid content in your recipe by adding extra moisture like Greek yogurt, cream cheese, or milk to maintain the right consistency.
Choose the Right Protein Powder
Some protein powders, especially plant-based ones, have gritty textures or strong flavors that may affect your cheesecake. Opt for high-quality whey or casein powders with neutral or complementary flavors. Taste your protein powder before baking to avoid surprises.
Monitor Baking Time and Temperature
Protein powder can dry out quickly if baked at high temperatures or too long. Bake your cheesecake at a lower temperature (around 300°F or 150°C) and check for doneness early. Remove the cheesecake when the edges look set but the center still jiggles slightly.
Add Moisture-Rich Ingredients
Including ingredients like Greek yogurt, cottage cheese, or sour cream helps balance the drying effect of protein powder. These additions keep your cheesecake moist and tender.
Balancing Macros for Your Fitness Goals
Balancing macronutrients—protein, carbohydrates, and fats—is essential when incorporating protein cheesecake into your fitness plan. Understanding how to adjust these macros helps you enjoy your dessert without compromising your goals.
Prioritize Protein for Muscle Repair and Growth
Protein plays a vital role in muscle recovery and growth. When making protein cheesecake, focus on increasing protein content using ingredients like whey or casein protein powder, Greek yogurt, and low-fat cream cheese. A high-protein cheesecake helps meet your daily protein targets, supporting lean muscle development and satiety.
Manage Carbohydrates to Support Energy Needs
Carbohydrates provide energy for workouts and daily activities. When baking your cheesecake, use low-glycemic sweeteners such as stevia or monk fruit instead of sugar to reduce carb content without sacrificing sweetness. You can also choose low-carb crust alternatives like almond flour to keep carbohydrate levels in check.
Include Healthy Fats for Satiety and Hormone Balance
Fats help keep you full longer and aid hormone production. Incorporate healthy fats by using ingredients like nuts in your crust or adding a small amount of coconut oil or avocado oil in your recipe. Avoid excessive saturated fats by choosing low-fat dairy options and controlling added fats carefully.
Calculate Macros to Stay on Track
Track your ingredients’ macros using nutrition calculators or apps. Adjust portion sizes and ingredient amounts based on your personal calorie and macronutrient goals. This approach ensures your protein cheesecake fits seamlessly into your meal plan without derailing progress.
Storing and Meal Prepping Your Protein Cheesecake
Proper storage and meal prepping techniques help you enjoy your protein cheesecake over several days while maintaining its taste and texture. By following these tips, you can conveniently incorporate this delicious dessert into your healthy eating routine.
Refrigerate to Preserve Freshness
After baking or assembling your protein cheesecake, store it in the refrigerator. Cover the cheesecake tightly with plastic wrap or place it inside an airtight container. This prevents the cheesecake from drying out and stops it from absorbing odors from other foods. Proper refrigeration preserves freshness for up to five days, allowing you to enjoy multiple servings without sacrificing quality.
Freeze for Long-Term Storage
If you want to keep your cheesecake longer, freezing is an excellent option. Slice the cheesecake into individual portions before freezing. Wrap each piece tightly in plastic wrap and then place them in a freezer-safe container or bag. Freezing maintains flavor and texture for up to two months. When ready to eat, thaw slices overnight in the refrigerator for best results.
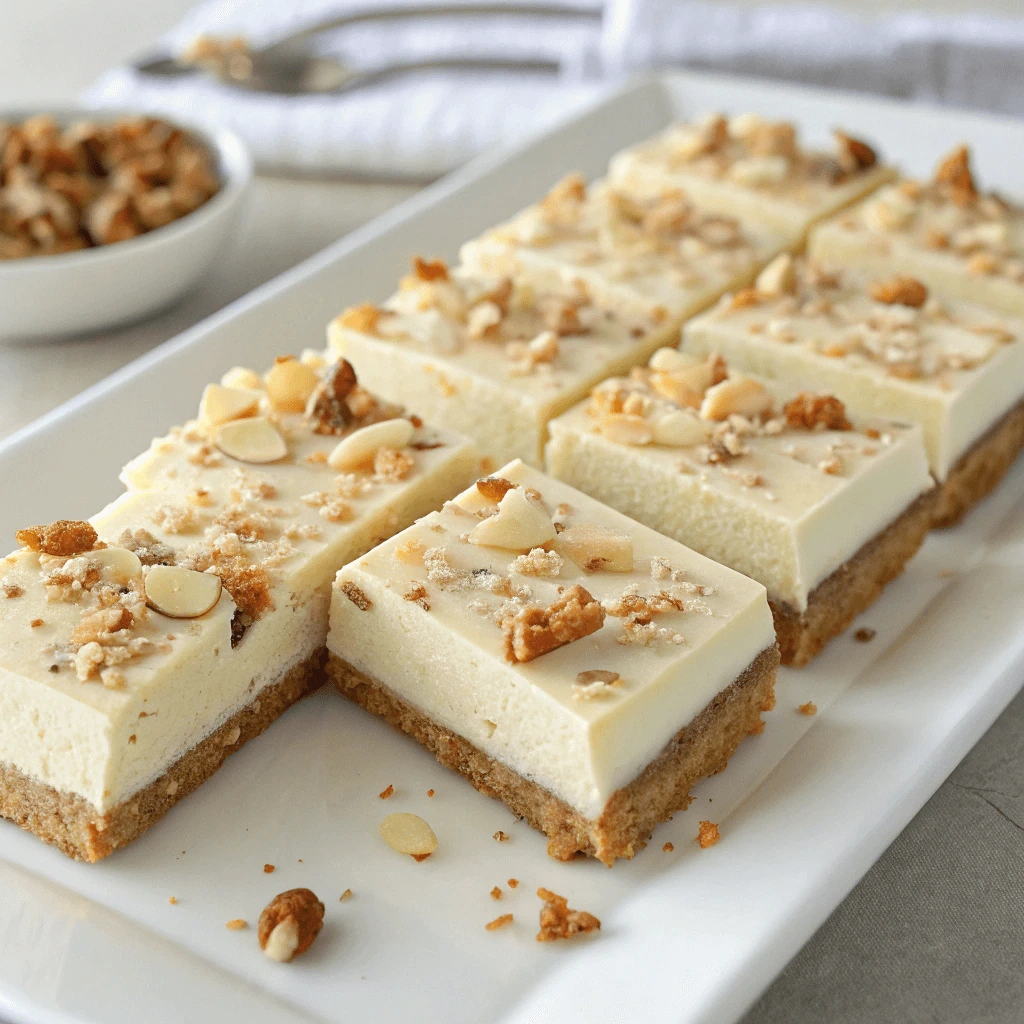
Meal Prep for Convenience
Preparing protein cheesecake in advance saves time during busy weeks. Divide the cheesecake into equal portions and store them separately. This makes it easy to grab a protein-packed snack or dessert anytime. Pair your cheesecake slices with fresh fruit or a handful of nuts for a balanced meal or snack.
Maintain Optimal Texture
To keep your cheesecake’s creamy texture intact, avoid repeated freezing and thawing. Consume thawed portions promptly and keep leftovers refrigerated. Using airtight containers helps maintain moisture and prevents freezer burn.
Conclusion
Making protein cheesecake at home has never been easier or more delicious. Whether you prefer baking with whey or casein protein, creating a no-bake creamy filling, or experimenting with wholesome crusts like almond flour or cottage cheese, these three simple methods fit any lifestyle. By choosing quality ingredients and following these easy techniques, you can enjoy a guilt-free, protein-packed dessert that supports your fitness goals. Give these recipes a try and treat yourself to a healthy indulgence anytime!