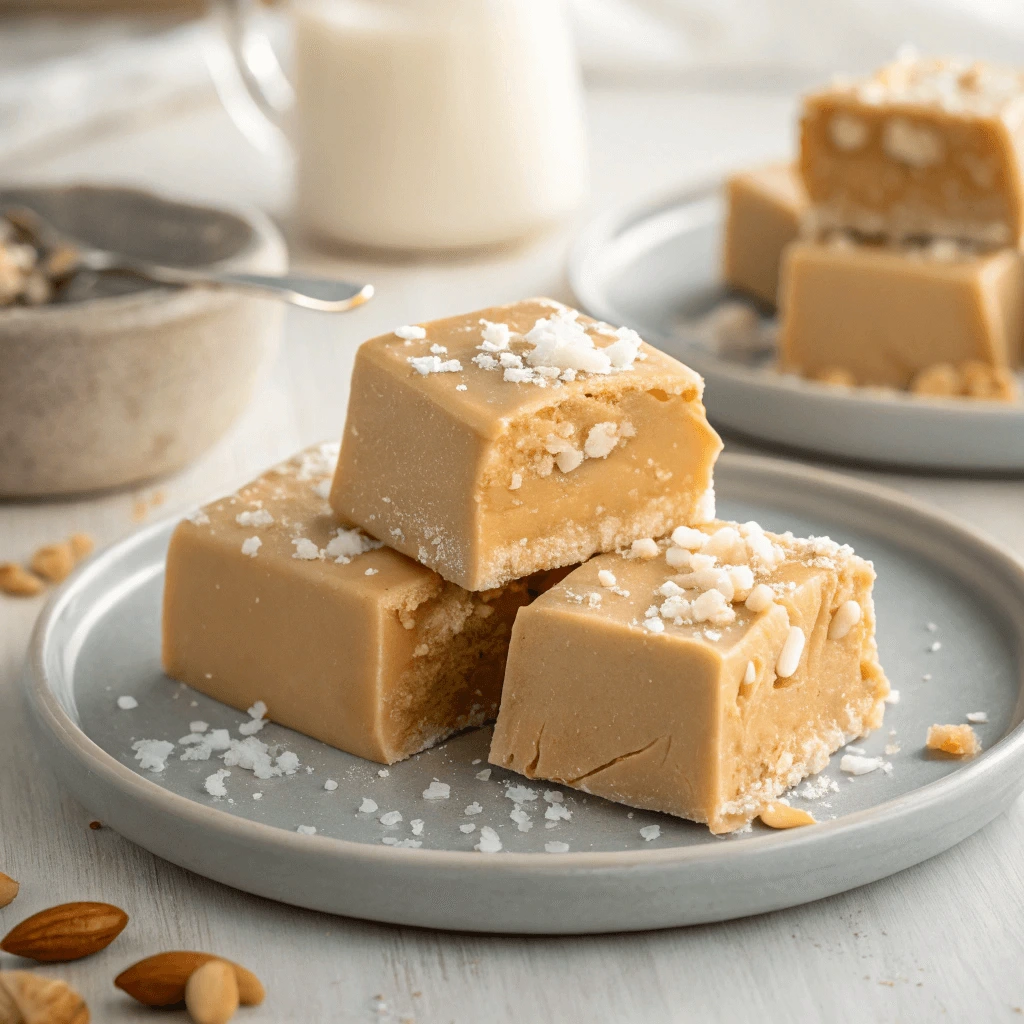
If you’re craving a quick, creamy, and delicious treat, look no further than this 3-ingredient peanut butter fudge. This simple recipe combines the irresistible flavors of peanut butter, sweetened condensed milk, and white chocolate chips to create a melt-in-your-mouth dessert that’s both satisfying and easy to make. Whether you’re looking for a no-bake treat to prepare in minutes or need a quick gift idea, this fudge is your answer. With minimal effort and just three basic ingredients, you can enjoy a homemade indulgence that’s perfect for any occasion. Ready to satisfy your sweet tooth with a rich, creamy fudge? Let’s dive into this quick and delicious recipe!
Why This 3-Ingredient Peanut Butter Fudge Recipe Works So Well
Quick and Simple to Make
One of the best things about this 3-ingredient peanut butter fudge recipe is how fast and easy it comes together. Whether you’re a seasoned baker or a beginner, you can whip up this creamy treat in just minutes, making it perfect for last-minute cravings or quick gift ideas.
Minimal Prep Time
You don’t need complicated equipment or a long list of ingredients. Simply gather natural peanut butter, powdered sugar, and butter (or healthy alternatives). The recipe requires minimal chopping, mixing, or baking. This simplicity makes it a favorite for busy weekdays or unexpected guests.
No-Bake Convenience
Since this peanut butter fudge requires no baking, it saves you time and energy. Instead of heating the oven, you melt the butter and peanut butter together on the stove or in the microwave, then mix in the powdered sugar. After pressing the mixture into a pan, the fudge chills in the fridge until firm. This no-bake approach cuts down on cleanup and hassle.
Perfect for Beginners
If you’re learning how to make 3-ingredient peanut butter fudge, this recipe’s straightforward steps help build confidence. The ingredients combine easily, and the fudge sets quickly, so you’ll see delicious results fast. Plus, the forgiving nature of this recipe allows for small adjustments, like adding a bit more powdered sugar for firmness or using natural peanut butter for richer flavor.
Creamy Texture with Minimal Ingredients
You don’t need many ingredients to create rich, creamy peanut butter fudge. This 3-ingredient peanut butter fudge recipe uses simple pantry staples to deliver smooth, melt-in-your-mouth goodness.
Peanut Butter’s Creaminess
Using natural, creamy peanut butter adds a rich texture without extra oils or fillers. Its natural oils help keep the fudge soft and smooth.
Butter for Richness
Butter melts into the peanut butter, making the fudge creamy and easy to press into the pan. You can swap in coconut oil for a dairy-free option that also keeps the texture silky.
Powdered Sugar for Smoothness
Powdered sugar blends well without graininess. It sweetens the fudge and helps it set with a soft, tender finish.
Perfect for Last-Minute Treats
When unexpected guests arrive or you need a quick dessert fix, this 3-ingredient peanut butter fudge comes to the rescue. Its simplicity and speed make it a reliable go-to for any last-minute occasion.
Fast Preparation Time
You can prepare this fudge in under 10 minutes. The no-bake method means you skip lengthy cooking and cooling steps, saving precious time while still creating a delicious treat.
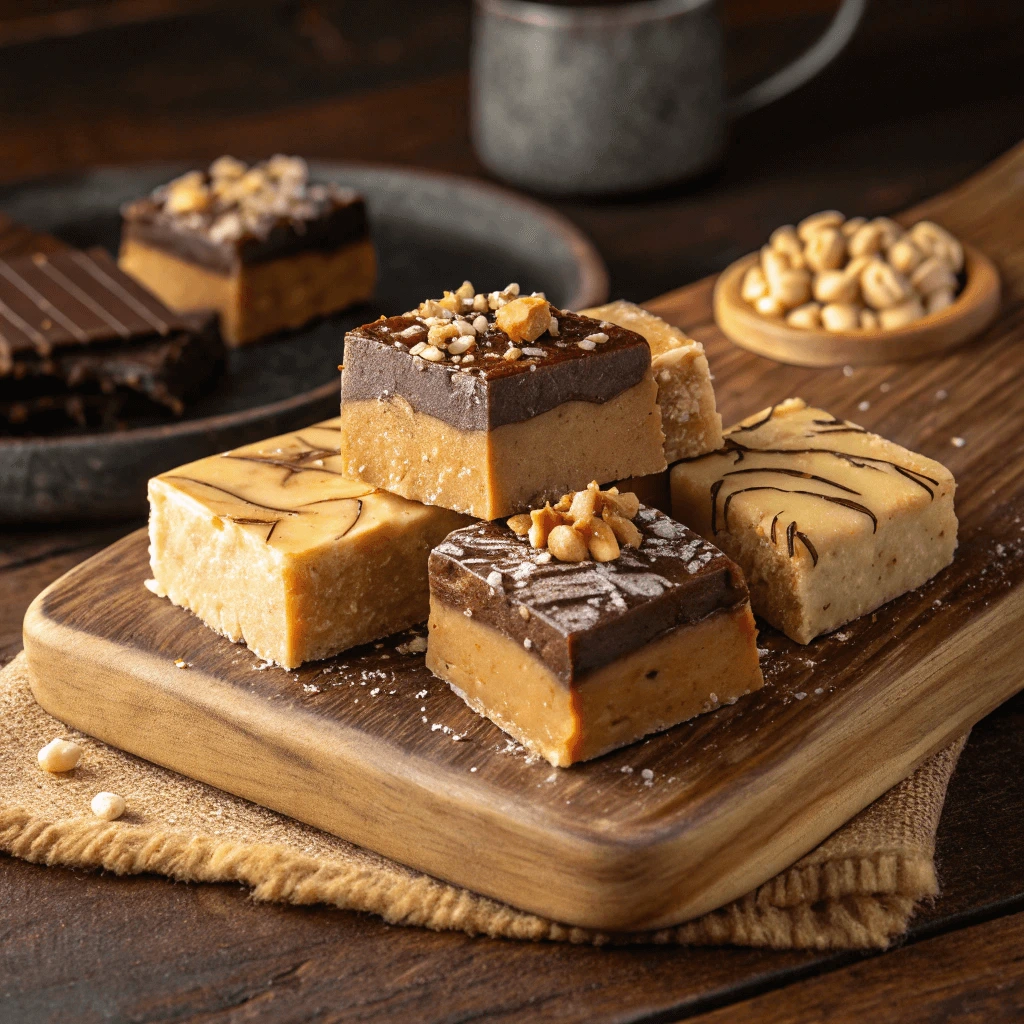
Easy to Customize
Whether you want a classic fudge or a healthier version, this recipe adapts easily. Swap ingredients like butter for coconut oil or powdered sugar for sugar-free alternatives to suit your needs without adding time.
Ideal for Gifting and Parties
The fudge sets quickly, making it perfect for gift baskets or party favors you decide to make on the spot. Its rich, creamy texture impresses guests even when whipped up last minute.
Essential Ingredients for Perfect Peanut Butter Fudge
Natural Peanut Butter vs. Processed
Choosing the right peanut butter plays a crucial role in making delicious 3-ingredient peanut butter fudge. Understanding the difference between natural and processed peanut butter can help you achieve the best flavor and texture.
What is Natural Peanut Butter?
Natural peanut butter contains just peanuts—and sometimes a pinch of salt. It doesn’t include added sugars, oils, or preservatives. Because it lacks stabilizers, natural peanut butter tends to separate, with oil rising to the top. Stirring it well before use ensures a smooth, creamy base for your fudge.
How Processed Peanut Butter Differs
Processed peanut butter usually includes added sugar, hydrogenated oils, and emulsifiers to keep it smooth and prevent separation. While this type has a longer shelf life and consistent texture, these additives can affect the fudge’s flavor and nutritional value.
Why Choose Natural Peanut Butter for Your Fudge?
Using natural peanut butter delivers a purer, richer peanut flavor that shines in your fudge. It also lets you control the sweetness and fat content better since you add the powdered sugar yourself. Natural peanut butter creates a smooth, creamy texture without unnecessary additives.
Powdered Sugar and Its Alternatives
Powdered sugar gives your 3-ingredient peanut butter fudge its sweetness and smooth texture. But depending on your dietary needs or preferences, you may want to consider other sweetener options that work just as well.
Why Use Powdered Sugar?
Powdered sugar, also called confectioners’ sugar, dissolves easily into the peanut butter and butter mixture. Its fine texture ensures a smooth, creamy consistency in the finished fudge. Unlike granulated sugar, it blends without leaving gritty bits, which makes it the preferred option in no-bake recipes like this one.
Low-Carb and Sugar-Free Alternatives
If you’re cutting back on sugar, try powdered monk fruit or erythritol-based sweeteners. These options provide sweetness without the calories or carbs. You can use them in the same way as regular powdered sugar. Just make sure the sweetener is a fine, powdered version—otherwise, it won’t mix smoothly.
Homemade Powdered Sweetener Option
You can also make your own powdered sugar alternative by blending a granulated sugar substitute in a high-speed blender. Combine it with a small amount of cornstarch or arrowroot powder to keep it from clumping. This DIY option works well in a pinch and allows you to control the ingredients.
Butter or Dairy-Free Substitutes
Butter plays an important role in giving your 3-ingredient peanut butter fudge its rich and creamy texture. But if you follow a dairy-free diet or simply want to try an alternative, several plant-based options work just as well.
Why Butter Works So Well
Butter adds depth, smoothness, and structure to the fudge. When you melt it with peanut butter, the two blend to form a soft, cohesive base that sets beautifully in the fridge. The natural fat in butter helps create that melt-in-your-mouth consistency that makes this fudge irresistible.
Top Dairy-Free Alternatives to Try
You don’t need to rely on dairy to enjoy creamy fudge. Coconut oil stands out as a popular butter substitute. It melts easily, has a neutral-to-light coconut flavor, and solidifies when chilled, which helps the fudge set firmly. Vegan butter also works great, especially brands made from avocado or olive oil blends.
Tips for Choosing the Right Substitute
If you use coconut oil, go with refined coconut oil to avoid a strong coconut taste—unless you enjoy it. Vegan butter is closer in taste and texture to dairy butter, which makes it a good 1:1 replacement. Whichever option you choose, make sure it’s fully melted and blended well with the peanut butter to keep the final texture smooth.
Step-by-Step Guide: How to Make 3-Ingredient Peanut Butter Fudge
Melting Butter and Peanut Butter Together
Melting the butter and peanut butter correctly is one of the most important steps in making smooth and creamy 3-ingredient peanut butter fudge. This process forms the base of the recipe and sets the stage for a perfect final texture.
Use Low to Medium Heat
Start by placing both the butter and peanut butter in a medium saucepan. Set your stovetop to low or medium heat. Avoid using high heat, which can cause the ingredients to separate or scorch. Stir continuously with a spatula or wooden spoon to keep the mixture smooth as it melts.
Achieve a Smooth, Uniform Mixture
As the butter melts, it combines with the peanut butter to form a silky mixture. Stirring constantly helps the fats emulsify and prevents any clumps from forming. This even consistency ensures your powdered sugar will blend in easily later without lumps.
Microwave Option for Speed
If you prefer to use a microwave, combine the butter and peanut butter in a microwave-safe bowl. Heat the mixture in 20–30 second intervals, stirring between each round until fully melted. This method saves time and works well if you’re making fudge as a last-minute treat.
Mixing in Powdered Sugar (or Alternatives)
After melting the butter and peanut butter into a smooth mixture, the next step is to sweeten and thicken your fudge. Powdered sugar—or a sugar-free alternative—plays a crucial role in this process. How you incorporate it can impact both texture and taste.
Add Gradually for Smoothness
Instead of dumping all the sugar in at once, add it gradually. Start by sifting the powdered sugar to remove any clumps. Then stir in small amounts at a time. This helps the sugar dissolve evenly and reduces the chance of lumps in your final fudge.
Stir Until Fully Combined
As you continue adding sugar, the mixture will begin to thicken. Use a sturdy spatula or wooden spoon to fold the sugar in thoroughly. Keep mixing until the batter turns dense and holds its shape. This is your sign that it’s ready to transfer to the pan.
Choose Sugar-Free or Low-Carb Options if Needed
If you’re watching your sugar intake, you can replace regular powdered sugar with powdered monk fruit or erythritol. These alternatives blend just as smoothly and work well in no-bake recipes. For best results, use powdered versions rather than granulated, which won’t dissolve as easily.
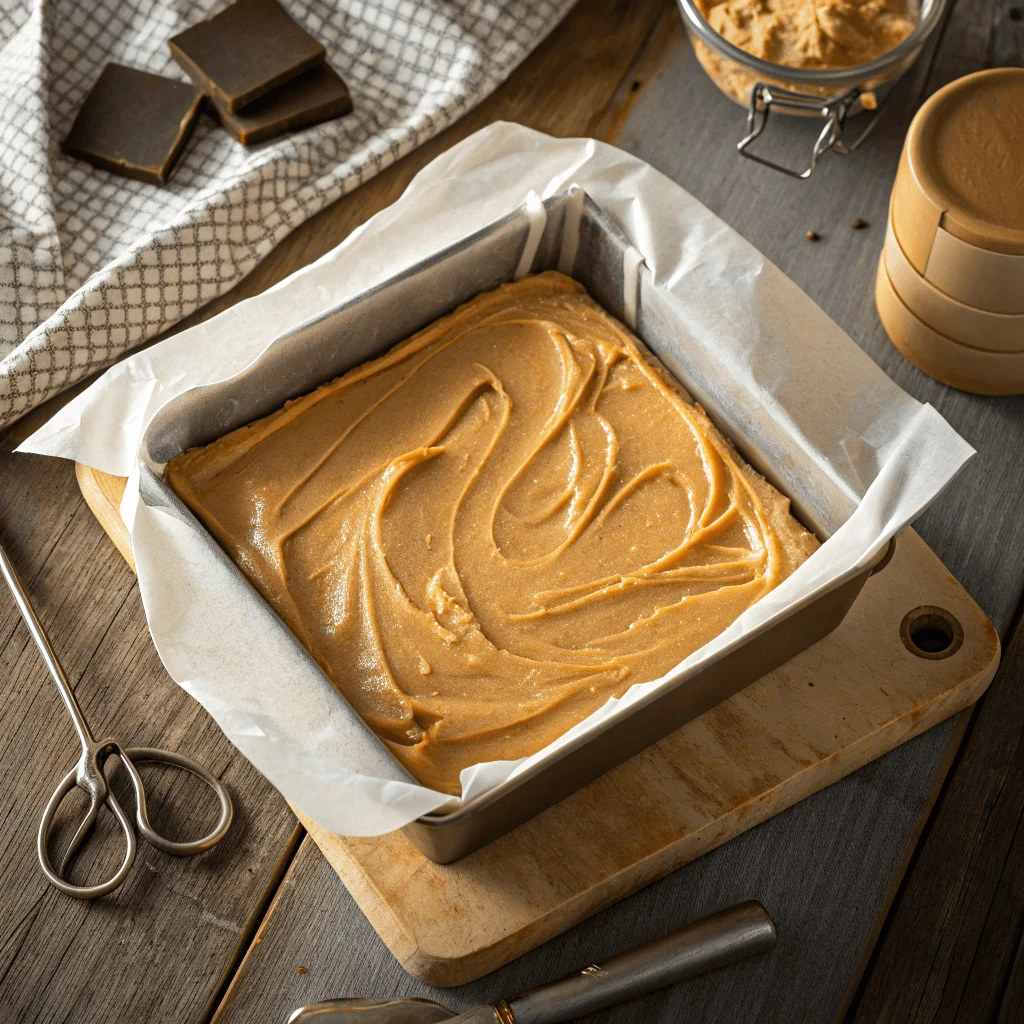
Pressing the Mixture and Chilling
Once you’ve mixed the fudge base thoroughly, it’s time to transfer it to a pan and let it set. This final step is where your fudge takes shape and becomes ready to slice and enjoy.
Prepare Your Pan Properly
Before pressing the mixture in, line your baking dish or pan with parchment paper. This small step makes a big difference. It prevents sticking and allows you to lift the fudge out easily for cutting later. Choose a square or rectangular dish depending on how thick you want your fudge pieces.
Press Firmly and Evenly
Scoop the fudge mixture into the lined pan while it’s still warm and pliable. Use a spatula, the back of a spoon, or clean hands to press it down firmly. Spreading it evenly ensures that each square will have the same thickness and a consistent texture. If needed, lay another piece of parchment on top and smooth it out using your hands or a glass.
Chill Until Set
Place the pan in the refrigerator and chill for at least two hours. This time allows the fudge to firm up and become sliceable. Avoid rushing the process by freezing it, as that can create a crumbly or uneven texture. Once it’s fully chilled, lift it from the pan, slice it into squares, and serve.
Healthy Ingredient Alternatives for Your Peanut Butter Fudge
Using Coconut Oil Instead of Butter
If you’re looking for a plant-based or lactose-free alternative in your 3-ingredient peanut butter fudge, coconut oil makes an excellent substitute for butter. It delivers a smooth texture and holds the fudge together just as effectively.
Why Choose Coconut Oil?
Coconut oil offers a creamy consistency and contains natural saturated fats that help solidify the fudge when chilled. Its high-fat content mimics the richness of butter, and it melts easily with peanut butter. This makes it an ideal option for those following dairy-free, vegan, or paleo diets.
Refined vs. Unrefined Coconut Oil
Use refined coconut oil if you prefer a neutral flavor in your fudge. It doesn’t carry the strong coconut scent or taste that unrefined versions do. However, if you enjoy the natural tropical flavor of coconut, unrefined oil can add a unique twist. Both types work well, but refined coconut oil is usually better for maintaining the traditional peanut butter fudge flavor.
Tips for a Smooth Blend
To blend the coconut oil effectively, measure it in solid form and melt it gently with the peanut butter over low heat. Stir continuously until the mixture turns smooth and glossy. Once mixed, the coconut oil helps the fudge firm up perfectly when placed in the fridge.
Monk Fruit or Erythritol-Based Sweeteners Instead of Powdered Sugar
For those who want to reduce sugar intake without sacrificing sweetness, monk fruit and erythritol-based powdered sweeteners offer a fantastic alternative to traditional powdered sugar in your 3-ingredient peanut butter fudge.
Why Choose Low-Carb Sweeteners?
Many people opt for monk fruit or erythritol to make low-carb, keto-friendly, or diabetic-friendly fudge. These sweeteners contain little to no calories and don’t spike blood sugar levels. You can enjoy a sweet treat without the crash or guilt that often comes with refined sugar.
Blend Smoothly for the Right Texture
To maintain the smooth texture of traditional fudge, always use powdered forms of monk fruit or erythritol. Granulated versions don’t dissolve well and may result in a grainy finish. If you only have granulated sweetener, blend it in a food processor or coffee grinder until it reaches a fine, powdery consistency.
Adjust to Taste and Sweetness Level
Monk fruit sweeteners are often mixed with erythritol to match the sweetness of sugar, but the intensity can vary by brand. Start by adding about ¾ the amount you’d use for powdered sugar, then taste and adjust. Some blends can have a cooling aftertaste, so find the balance that suits your preference.
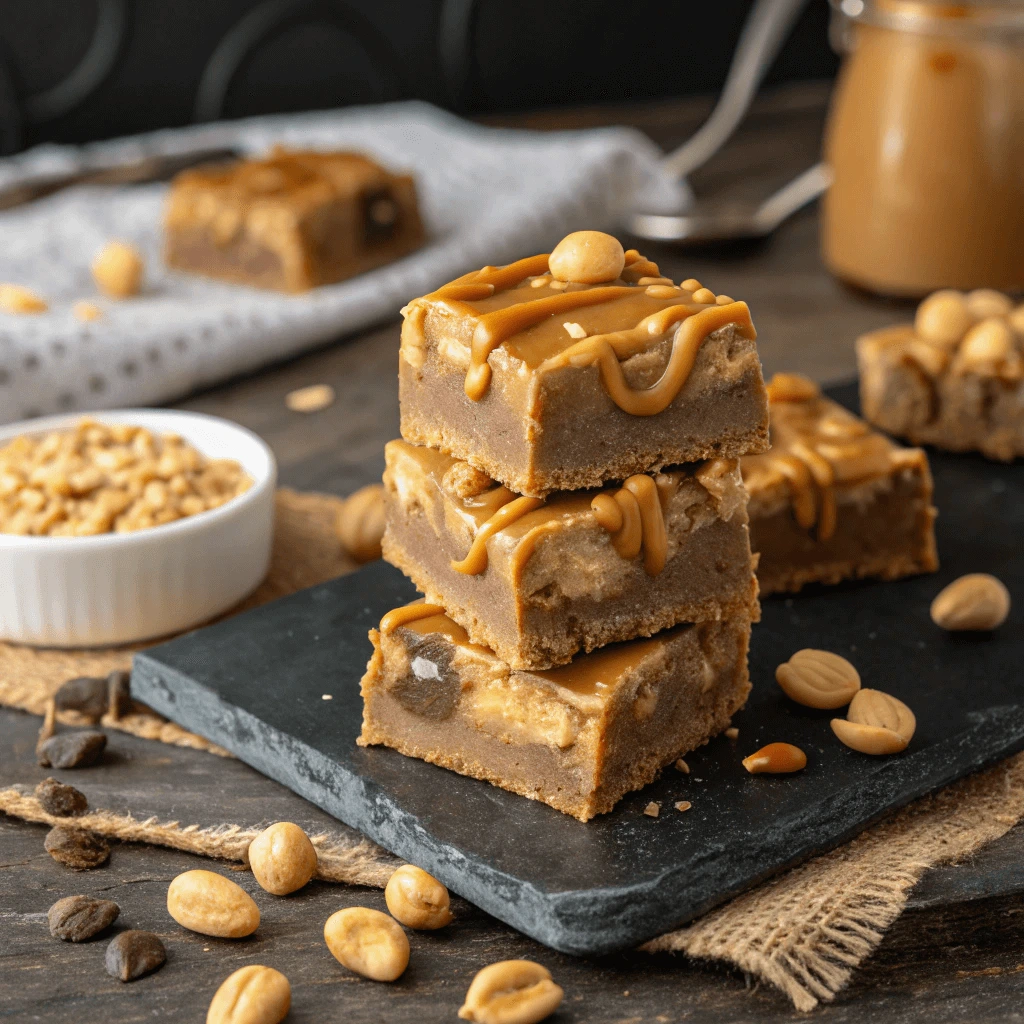
Natural Peanut Butter Options with No Added Sugar
When making 3-ingredient peanut butter fudge, your choice of peanut butter has a big impact on both taste and nutrition. Opting for natural peanut butter with no added sugar keeps your treat simple, clean, and better for your health.
Why Use Natural Peanut Butter?
Natural peanut butter usually contains just one or two ingredients: roasted peanuts and maybe a pinch of salt. You avoid unnecessary additives like hydrogenated oils, preservatives, or sweeteners, which are common in processed peanut butters. Using a cleaner product means you get a richer, more authentic peanut flavor that pairs beautifully with the other ingredients in your fudge.
How to Spot the Right Option
When shopping, read the label carefully. Look for brands that list only peanuts (and possibly salt) as ingredients. Avoid options that include sugar, palm oil, or molasses. Natural peanut butter may separate, with oil rising to the top, but you can easily stir it for a smooth, creamy consistency.
Brands like Smucker’s Natural, 365 by Whole Foods, and Maranatha Natural Peanut Butter offer excellent sugar-free varieties. Store it in the fridge after opening to prevent spoilage and reduce oil separation over time.
Consistency Tips for Fudge Success
Because natural peanut butter is typically looser in texture than processed varieties, you may need to chill it slightly before mixing. This helps create a thicker fudge base. Blend it thoroughly with your melted coconut oil or butter until smooth. You’ll get a creamy fudge that still holds its shape and satisfies your sweet tooth—without added sugar.
Tips for Serving, Storing, and Gifting Your Peanut Butter Fudge
Cutting Clean Squares with a Hot Knife
Perfectly cut fudge squares don’t just look professional—they make your presentation more appealing and your portions more consistent. One of the simplest ways to achieve clean, smooth cuts is by using a hot knife.
Why a Hot Knife Makes a Difference
Fudge has a dense, rich texture that can stick to regular knives. A cold or room-temperature blade may drag through the mixture, causing it to crumble or smear. By warming your knife before slicing, you create clean edges that help maintain the shape of each square.
How to Heat Your Knife Safely
To warm your knife, dip the blade into hot water for 10–20 seconds. Then wipe it dry with a clean towel before slicing. This step ensures that the knife glides through the fudge easily without introducing moisture. Repeat the process after every couple of cuts to keep the blade warm and clean.
Alternatively, you can run your knife under hot tap water or gently warm it over a gas stove burner—just be sure not to overheat or burn yourself.
Best Practices for Clean Cuts
Start by scoring the top of the fudge lightly to map out your portions. Use a long, sharp kitchen knife rather than a serrated blade. Press down firmly in one motion instead of sawing back and forth. After each cut, clean the blade to avoid smudging peanut butter fudge across the next piece.
With this method, your 3-ingredient peanut butter fudge will look as good as it tastes, making it perfect for serving at gatherings or giving as a gift.
How to Store for Freshness
Once you’ve made your delicious 3-ingredient peanut butter fudge, storing it correctly ensures it stays fresh, creamy, and flavorful for days—or even weeks. Proper storage protects the texture and prevents unwanted drying or melting.
Short-Term Storage: Keep It Cool and Covered
If you plan to enjoy your fudge within a few days, store it in an airtight container in the refrigerator. Chilling helps the fudge maintain its shape and prevents it from becoming too soft. Place wax paper or parchment paper between layers to stop pieces from sticking together.
You can also store it at room temperature for 1–2 days, provided your kitchen isn’t too warm. In this case, choose a cool, dry spot away from direct sunlight or heat sources.
Long-Term Storage: Freeze for Extended Freshness
To make your peanut butter fudge last even longer, freeze it. Wrap each piece in parchment paper, then place them in a zip-top freezer bag or a freezer-safe container. This double protection helps block moisture and freezer odors. Frozen fudge can stay good for up to 3 months.
When you’re ready to eat, thaw the pieces in the fridge or on the counter until soft enough to enjoy. Avoid microwaving, as it can change the texture or cause melting.
Best Containers and Storage Tips
Use airtight glass or BPA-free plastic containers to lock in freshness. Avoid stacking fudge directly without parchment or wax paper dividers, especially if the pieces are soft. Label your containers with the date to keep track of freshness if storing for the long term.
With the right storage, your 3-ingredient peanut butter fudge will taste just as delightful on day ten as it did on day one!
Creative Gifting Ideas and Packaging Tips
Giving 3-ingredient peanut butter fudge as a gift is a thoughtful way to share something homemade, simple, and delicious. With just a little effort, you can package your fudge in creative ways that make it feel extra special.
Choose Attractive Packaging
Use small gift boxes, treat bags, or mason jars to hold your fudge. Line the bottom with parchment paper or mini cupcake liners to keep pieces separate and neat. Pick colors that match the season—think red and green for holidays or soft pastels for springtime.
Add a Personal Touch
Attach handwritten tags or labels with a short message like “Made with love” or include the list of ingredients. For holiday gifts, tie a festive ribbon around the container or tuck in a small ornament for added charm.
Build a Simple Treat Box
If you’re gifting to someone who loves sweets, consider pairing your fudge with a few other homemade items like cookies or chocolate bark. Place everything in a small basket or tin, and wrap it in cellophane for a complete DIY gift.
These easy ideas help you turn a simple batch of peanut butter fudge into a memorable and heartwarming present.
Conclusion
In just minutes, you can create a rich, creamy treat that’s perfect for any occasion. This 3-ingredient peanut butter fudge proves that delicious doesn’t have to be complicated. Whether you’re satisfying a sweet craving, preparing a last-minute dessert, or making thoughtful homemade gifts, this simple recipe delivers every time. With easy steps, minimal ingredients, and endless flavor, it’s a go-to favorite for busy days and special moments alike. Try it today and discover how effortless and rewarding homemade fudge can be!