Starting your day with a Delicious and Healthy breakfast pastries doesn’t mean you have to sacrifice your health goals. Healthy alternatives to traditional baked goods allow you to indulge without the guilt. Whether you’re gluten-free, low-carb, vegan, or just want a nutritious breakfast, these options are perfect for you.
From whole grain muffins to light, flaky scones, these pastries are packed with wholesome ingredients. They nourish your body and satisfy your taste buds. In this post, we’ll explore healthy breakfast pastries you can easily make at home. These treats are both delicious and energizing, helping you start your day right. Let’s dive in and discover how to enjoy your favorite pastries with a nutritious twist!
Why Choose Healthy Breakfast Pastries?
The Benefits of Guilt-Free Morning Treats
Choosing healthy breakfast pastries offers more than just a tasty start to your day—it also supports your body and mind in practical ways. Here’s how guilt-free morning treats make a difference:
They Provide Lasting Energy
Healthy pastries made with whole grains, nuts, and natural sweeteners help keep your energy steady. Instead of causing a quick spike and crash like refined pastries, these ingredients digest slowly and fuel your morning with stable energy.
They Help With Portion Control
Guilt-free treats often contain more fiber and protein, which help you feel full and satisfied. When you stay full longer, you’re less likely to snack unnecessarily before lunch. This can support weight management and prevent overeating later in the day.
They Encourage Better Food Habits
By starting your day with a nutritious pastry, you set a positive tone for the rest of your meals. You learn to read labels, make mindful choices, and reach for foods that benefit your long-term health.
Key Ingredients That Make Pastries Healthier
Choosing the right ingredients can turn regular pastries into nutritious breakfast options. These healthy swaps add flavor, texture, and important nutrients to keep you energized all morning.
Whole Grain Flours
Using whole grain flours like whole wheat, oat, or almond flour adds fiber and vitamins to your pastries. These flours digest slowly, helping to maintain steady blood sugar levels and keep you full longer compared to refined white flour.
Natural Sweeteners
Swap refined sugar for natural sweeteners such as maple syrup, honey, or coconut sugar. These alternatives add a touch of sweetness along with beneficial minerals and antioxidants, preventing quick sugar spikes and offering a cleaner taste.
Healthy Fats
Incorporate healthy fats from sources like nut butters, coconut oil, or avocado oil. These fats improve the texture and moisture of pastries while providing essential fatty acids that support brain function and overall health.
Protein Boosters
Add protein with ingredients like Greek yogurt, eggs, or plant-based protein powders. Protein helps keep you satisfied, supports muscle health, and balances your breakfast for longer-lasting energy.
Clean Eating vs. Traditional Bakery Pastries
When deciding what to eat for breakfast, understanding the difference between clean eating pastries and traditional bakery options can help you make healthier choices. These differences affect your energy levels, nutrition, and overall well-being.
Ingredient Quality Matters
Clean eating pastries focus on whole, natural ingredients like whole grain flours, natural sweeteners, and healthy fats. Bakers carefully select these to maximize nutrition and avoid additives. In contrast, traditional bakery pastries often rely on refined flour, excessive sugar, and unhealthy fats like hydrogenated oils. These ingredients may enhance flavor but provide little nutritional value.
Nutritional Impact on Your Body
Clean eating pastries deliver more fiber, vitamins, and minerals that help stabilize blood sugar and keep you full longer. The wholesome ingredients promote steady energy and support digestion. On the other hand, traditional pastries can cause rapid spikes and drops in blood sugar. This rollercoaster can leave you feeling tired and hungry soon after eating.
Portion Control and Mindfulness
Choosing clean eating pastries encourages mindfulness about portion size and ingredients. You become more aware of what you’re eating and how it affects your body. Traditional bakery pastries are often larger and more calorie-dense, making it easier to overeat without realizing. Clean options usually offer balanced portions that satisfy cravings without guilt.
Top Healthy Breakfast Pastry Recipes to Try Today
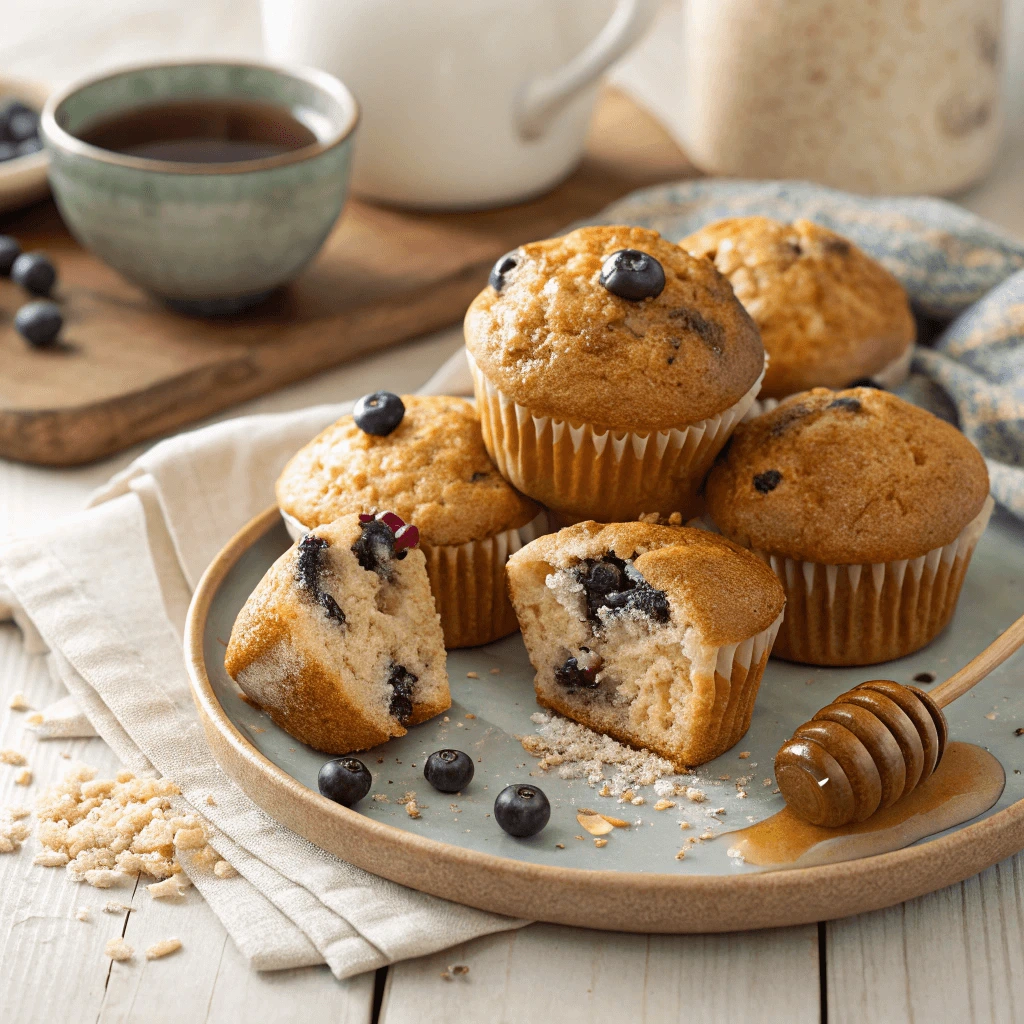
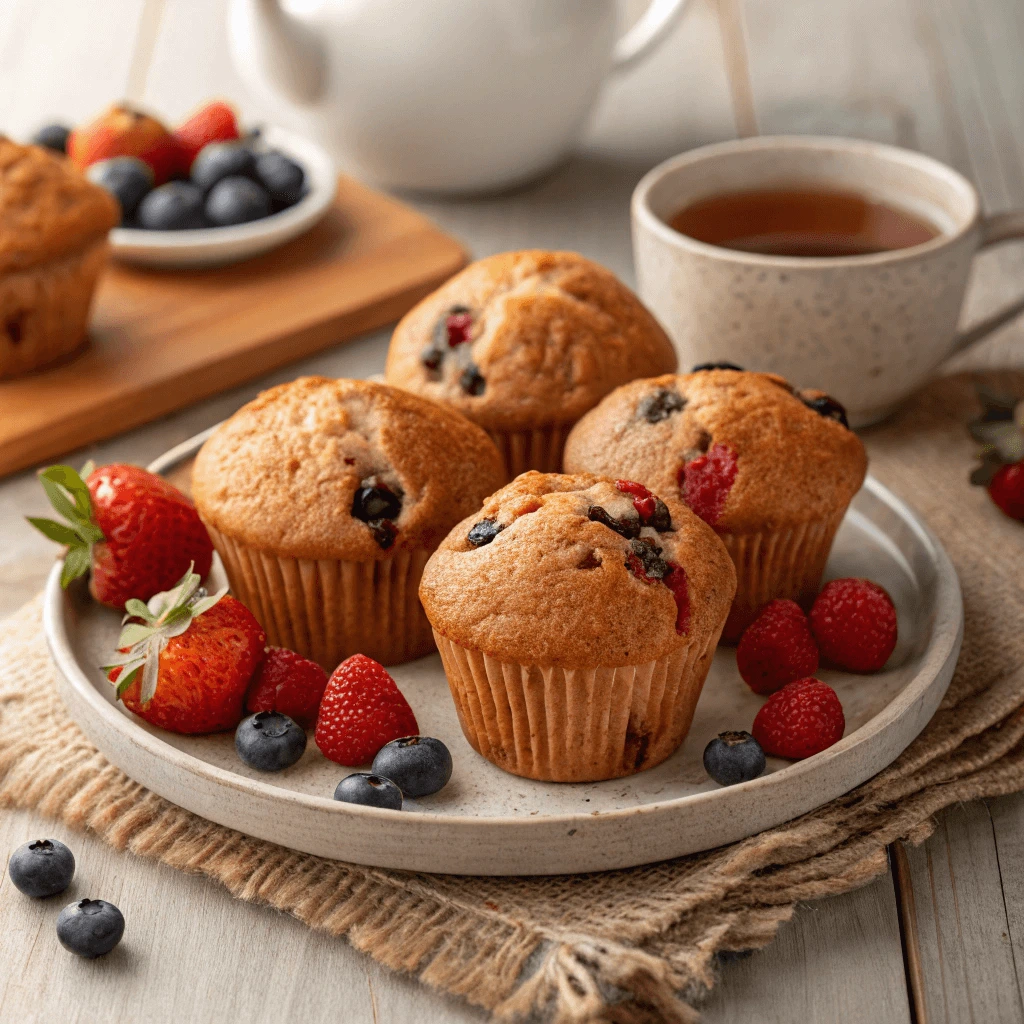
Whole Grain Berry Oat Bars
Whole Grain Berry Oat Bars make a delicious and nutritious breakfast pastry option that’s perfect for busy mornings. They combine wholesome ingredients with natural sweetness to fuel your day without the guilt.
Nutritious Ingredients for Lasting Energy
These bars rely on whole grain oats as their base, providing fiber and complex carbohydrates that digest slowly. Adding berries like blueberries or raspberries brings antioxidants and natural sweetness. Together, these ingredients deliver steady energy and support digestion, helping you stay full until lunchtime.
Easy to Make and Customize
You can prepare these oat bars quickly, making them ideal for meal prep. Mix oats with ingredients like nut butter, honey or maple syrup, and chopped nuts for added texture and protein. Feel free to swap berries for your favorite dried fruits or add seeds like chia or flax for an extra nutrient boost.
Perfect for On-the-Go Breakfasts
Once baked and cooled, whole grain berry oat bars store well in the fridge or freezer. They make a convenient, grab-and-go option for hectic mornings or a healthy snack any time of day. Their balanced combination of carbs, fats, and protein ensures a satisfying and nourishing start.
Vegan Apple Cinnamon Hand Pies
Vegan apple cinnamon hand pies offer a delicious, plant-based breakfast option that combines wholesome ingredients with comforting flavors. These pastries satisfy your sweet tooth while staying nutritious and dairy-free.
Wholesome Ingredients for Flavor and Nutrition
These hand pies use a coconut oil-based crust instead of butter, providing healthy fats that keep the texture flaky and tender. The filling blends fresh apples with warming cinnamon and a touch of natural sweetener like maple syrup or date puree. This combination delivers antioxidants, fiber, and vitamins while avoiding refined sugars and animal products.
Simple Preparation for Busy Mornings
You can easily prepare vegan apple cinnamon hand pies from scratch or with pre-made vegan dough for convenience. Simply mix diced apples with cinnamon and sweetener, then fill small rounds of dough before folding and sealing them into hand pies. Baking them until golden creates a comforting aroma and a perfectly crisp crust.
Perfect for Sharing or Meal Prep
These hand pies store well and travel easily, making them great for breakfast on the go or as a snack. You can prepare a batch ahead of time and refrigerate or freeze them, then reheat quickly before serving. Their plant-based ingredients make them a thoughtful choice for vegans and anyone looking to reduce dairy in their diet.
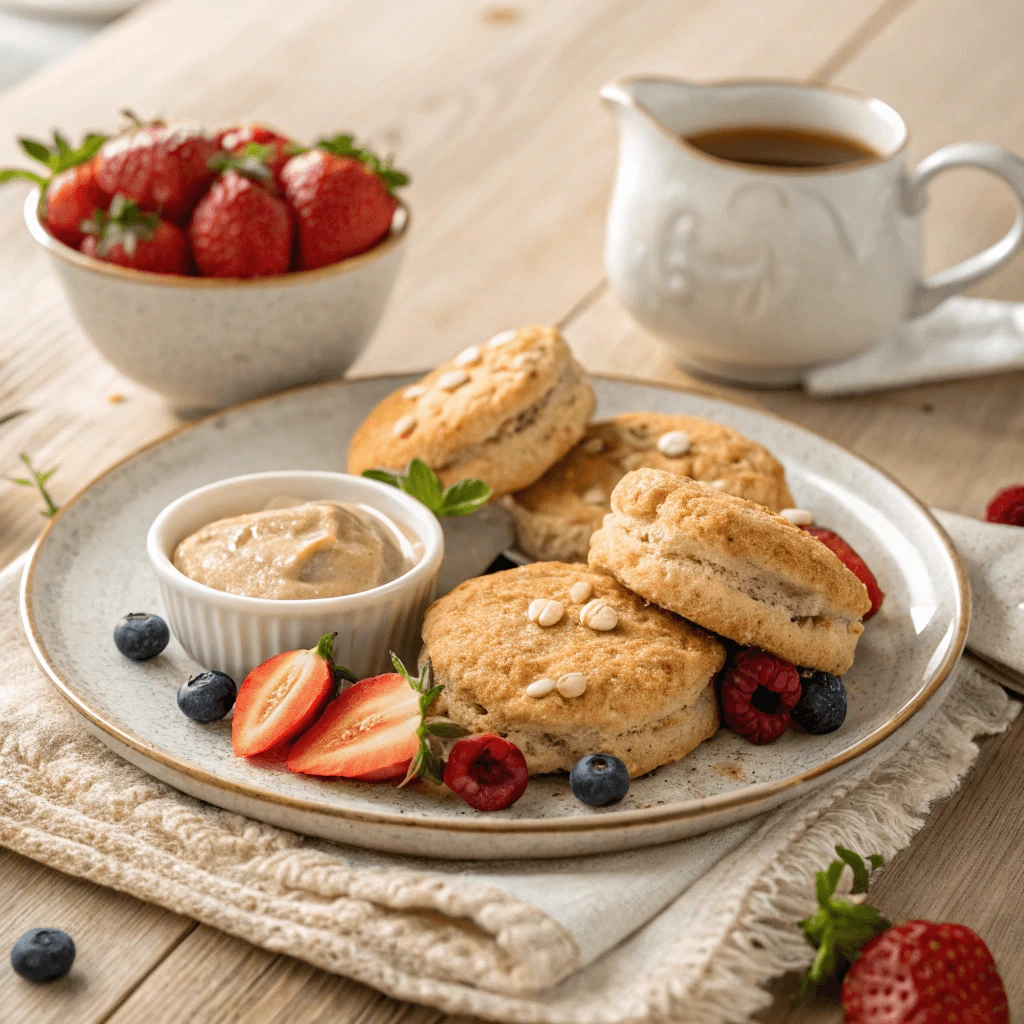
Almond Flour Chocolate Chip Scones
Almond flour chocolate chip scones offer a delicious, gluten-free breakfast pastry that balances indulgence with nutrition. They bring together the rich flavor of almonds and the sweetness of chocolate for a satisfying morning treat.
Nutrient-Rich Almond Flour Base
Using almond flour instead of traditional wheat flour boosts the protein and healthy fat content of these scones. Almond flour adds a moist, tender texture and a subtle nutty flavor. This gluten-free option also suits those with gluten sensitivities or anyone looking to reduce refined carbs in their diet.
Sweet and Satisfying Chocolate Chips
Adding dairy-free chocolate chips enhances the scones with a touch of sweetness and richness without overpowering the almond flavor. You can choose sugar-free or dark chocolate chips to keep the recipe healthier and lower in added sugars.
Simple Preparation and Baking Tips
Making almond flour chocolate chip scones is straightforward. Mix almond flour with baking powder, a pinch of salt, and your choice of natural sweetener. Stir in chocolate chips, then bind the dough with eggs or a plant-based alternative. Shape the dough into rounds, slice into wedges, and bake until golden brown. These scones bake quickly and release a delightful aroma.
Dietary-Friendly Healthy Breakfast Pastries for Every Lifestyle

Gluten-Free Breakfast Pastries
Gluten-free breakfast pastries offer a delicious alternative for those with gluten sensitivities or anyone seeking to reduce gluten in their diet. These pastries combine taste and nutrition without compromising texture or flavor.
Choosing the Right Gluten-Free Flours
Baking gluten-free pastries requires flours like almond flour, oat flour, or rice flour. These flours provide a variety of nutrients and create a tender crumb. Almond flour adds healthy fats and protein, while oat flour offers fiber and a mild taste. Mixing different gluten-free flours can improve the texture and prevent dryness.
Binding Without Gluten
Gluten gives traditional pastries their structure, so gluten-free recipes rely on alternative binding agents. Ingredients like flaxseed meal mixed with water, chia seeds, or xanthan gum help hold the dough together. These binders mimic gluten’s elasticity and improve the overall consistency of the pastry.
Store-Bought vs. Homemade Options
Many stores now offer gluten-free pastry mixes and pre-made items. While convenient, homemade pastries allow you to control the ingredients and avoid additives. Experimenting with different gluten-free flours and natural sweeteners at home helps you find the perfect recipe for your taste and dietary needs.
Dairy-Free and Vegan Pastries
Dairy-free and vegan pastries provide delicious options for people who avoid animal products due to allergies, ethical reasons, or health preferences. These pastries use plant-based ingredients that create rich flavors and satisfying textures without dairy.
Replacing Dairy with Plant-Based Alternatives
Instead of butter or milk, vegan pastries use oils like coconut or avocado oil, and plant-based milks such as almond, oat, or soy milk. These alternatives provide moisture and richness while keeping the pastries dairy-free. Coconut oil, for example, adds a slight sweetness and helps achieve a tender crumb.
Egg Substitutes for Binding and Structure
Eggs contribute to the structure and rise of traditional pastries. In vegan baking, ingredients like flaxseed meal soaked in water, chia seeds, mashed bananas, or applesauce replace eggs. These binders help hold the dough together and add moisture, ensuring the pastries don’t turn out dry or crumbly.
Flavorful and Nutritious Ingredients
Vegan pastries often include nutrient-dense ingredients like nuts, seeds, whole grains, and natural sweeteners. Using maple syrup, agave nectar, or coconut sugar adds subtle sweetness without refined sugars. Adding spices such as cinnamon or nutmeg enhances flavor while keeping the recipe wholesome.
Low-Calorie and Low-Sugar Pastries
Low-calorie and low-sugar pastries offer a guilt-free way to enjoy your favorite breakfast treats without compromising your health goals. These pastries focus on reducing added sugars and calories while maintaining delicious flavor and texture.
Smart Ingredient Choices
To lower calories and sugar, these pastries often use natural sweeteners like stevia, erythritol, or monk fruit instead of refined sugar. They also incorporate whole grains and fiber-rich ingredients such as oat flour and flaxseeds, which help add bulk and keep you full longer without extra calories.
Balancing Flavor and Nutrition
Baking low-sugar pastries doesn’t mean sacrificing taste. Adding spices like cinnamon, vanilla, or nutmeg enhances sweetness perception naturally. Using fresh fruit or small amounts of dark chocolate can satisfy sweet cravings with fewer added sugars. Healthy fats from nuts and seeds also add richness and flavor while supporting satiety.
Portion Control and Mindful Eating
Low-calorie pastries often come in smaller, portion-controlled sizes to help manage calorie intake. Choosing these smaller treats encourages mindful eating habits, allowing you to enjoy indulgences without overdoing it. Preparing your own low-sugar pastries at home gives you full control over ingredients and portions.
Quick and Easy Healthy Breakfast Pastries for Busy Mornings
15-Minute Air Fryer Pastries
Air fryers have revolutionized how we prepare quick and healthy pastries. With their fast cooking time and reduced oil usage, air fryers help you enjoy warm, crispy pastries in just minutes.
Quick and Convenient Cooking
Air fryers cook pastries rapidly by circulating hot air around the food. This method crisps the outside while keeping the inside soft and moist. In about 15 minutes, you can have freshly baked pastries without waiting for a conventional oven to preheat or bake.
Healthier Preparation
Using an air fryer requires little to no added oil, which lowers the overall fat and calorie content of your pastries. This makes air-fried pastries a guilt-free option for breakfast or snacks. Additionally, the quick cooking preserves more nutrients compared to longer baking times.
Versatile Recipes and Ideas
You can prepare a wide variety of pastries in an air fryer, from fruit-filled turnovers to savory hand pies. Many recipes adapt easily to the air fryer by adjusting cooking times and temperatures. This appliance suits busy lifestyles, allowing you to whip up healthy treats quickly without sacrificing flavor.
No-Bake Pastry-Inspired Bites
No-bake pastry-inspired bites provide a quick and easy way to enjoy tasty breakfast treats without turning on the oven. These bites combine wholesome ingredients and simple preparation, making them perfect for busy mornings or snacks.
Simple Ingredients, Big Flavor
These no-bake bites typically use natural ingredients such as oats, nut butters, dried fruits, and seeds. Combining these ingredients creates a satisfying texture and naturally sweet flavor. You can easily customize them by adding spices like cinnamon or vanilla extract to enhance their taste.
Easy Preparation and Storage
Mixing the ingredients requires no baking or special equipment. Simply blend everything together, form small balls or bars, and refrigerate until firm. This process saves time and energy while producing delicious, ready-to-eat treats. You can store these bites in the fridge for several days or freeze them for longer freshness.
Versatility and Nutritional Benefits
No-bake bites offer flexibility—you can adjust the ingredients to suit your dietary needs, whether vegan, gluten-free, or low-sugar. These bites provide energy-boosting carbohydrates, healthy fats, and protein, helping you stay full and energized through the morning.
Freezer-Friendly Pastry Prep
Preparing freezer-friendly pastries allows you to enjoy homemade breakfast treats without daily effort. By making batches ahead of time, you save time and reduce morning stress while still enjoying fresh, delicious pastries.
Benefits of Freezer-Friendly Pastries
Freezing pastries preserves their freshness and flavor, making them available whenever you need a quick breakfast or snack. This method helps prevent food waste and allows you to control ingredients, ensuring healthier options than store-bought alternatives.
How to Prepare Pastries for Freezing
When prepping pastries for freezing, bake them fully or partially, depending on the recipe. Let the pastries cool completely before wrapping them tightly in plastic wrap or placing them in airtight containers or freezer bags. Label each package with the date to keep track of freshness.
Tips for Thawing and Reheating
To enjoy frozen pastries, thaw them overnight in the refrigerator or at room temperature for a few hours. Reheat pastries in the oven or toaster oven to restore crispness and warmth. Avoid microwaving when possible, as it can make pastries soggy.
Where to Buy Ingredients for Healthy Breakfast Pastries
Best Grocery Stores to Find Clean Ingredients for Healthy Breakfast Pastries
Finding the right grocery stores makes it easier to buy clean ingredients for healthy breakfast pastries. These stores prioritize natural, organic, and minimally processed foods, helping you create nutritious and delicious meals at home.
Specialty Health Food Stores
Stores like Whole Foods Market and Sprouts Farmers Market offer a wide selection of organic produce, gluten-free flours, natural sweeteners, and plant-based alternatives. These retailers focus on clean, sustainable products that support a healthy lifestyle. You can find unique ingredients like almond flour, coconut sugar, and non-dairy milk options.
Local Farmers’ Markets
Farmers’ markets provide fresh, seasonal produce and often sell homemade or small-batch baking ingredients. Shopping locally supports farmers and helps you find high-quality fruits, nuts, and grains free from unnecessary additives. This option encourages seasonal cooking and reduces your carbon footprint.
Mainstream Supermarkets with Organic Sections
Many large supermarket chains now include organic and natural food sections. Stores like Kroger, Safeway, and Trader Joe’s stock clean baking staples at affordable prices. Look for products labeled organic, non-GMO, and free from artificial preservatives.
Recommended Brands for Health-Conscious Baking
Choosing reliable brands can make a significant difference when baking healthy breakfast pastries. Trusted brands focus on clean, natural ingredients and often cater to special dietary needs like gluten-free, vegan, or low-sugar options.
Popular Gluten-Free and Whole Grain Brands
Brands like Bob’s Red Mill and King Arthur Flour offer a wide range of gluten-free flours and whole grain baking mixes. These brands prioritize quality and transparency, ensuring their products contain no artificial additives. Their flours, such as almond flour, oat flour, and coconut flour, help create nutritious and tasty pastries.
Trusted Vegan and Dairy-Free Options
For dairy-free baking, brands such as Earth Balance and Califia Farms provide plant-based butter and milk alternatives. These products deliver rich flavors and creamy textures without animal ingredients. They work well in pastries, helping to keep them moist and flavorful.
Natural Sweeteners and Specialty Ingredients
When it comes to natural sweeteners, brands like Wholesome Sweeteners and Lakanto offer options such as organic cane sugar, maple syrup, and monk fruit sweetener. These products allow you to reduce refined sugar intake while maintaining the sweetness needed in pastries. Additionally, specialty ingredient brands like Nutiva supply healthy oils and seeds that add nutrition and flavor.
Online Sources and Pantry Tips
Finding quality ingredients online and organizing your pantry effectively can make baking healthy breakfast pastries easier and more enjoyable. With the right tools and strategies, you’ll always be ready to whip up guilt-free treats at home.
Trusted Online Stores for Healthy Baking Ingredients
Many online retailers specialize in clean, organic, and specialty baking ingredients. Websites like Thrive Market, Amazon, and Nuts.com offer a vast selection of gluten-free flours, natural sweeteners, and dairy-free alternatives. Shopping online provides convenience and access to brands that might not be available locally.
Building a Well-Stocked Healthy Pantry
Stocking your pantry with essential healthy baking staples saves time and ensures you never run out of important ingredients. Keep basics like almond flour, coconut sugar, baking soda, and plant-based milks on hand. Store nuts, seeds, and dried fruits in airtight containers to maintain freshness and prevent spoilage.
Organizing for Efficiency and Freshness
Organize your pantry by grouping similar ingredients together, such as flours, sweeteners, and spices. Label containers clearly to avoid confusion. Rotate older items to the front so you use them before they lose quality. Proper storage extends shelf life and helps maintain the nutritional value of your ingredients.
Conclusion
Healthy breakfast pastries prove that you don’t have to sacrifice taste for nutrition. By choosing wholesome ingredients, such as whole grains, natural sweeteners, and plant-based alternatives, you can enjoy delicious treats without the guilt. Whether you prefer gluten-free, vegan, or low-sugar options, there are plenty of recipes that fit your lifestyle. With convenient methods like air frying or no-bake recipes, making healthy pastries at home has never been easier. Start your day right with these guilt-free delights that nourish your body and satisfy your cravings.