
Diy Chocolate eggs are a sweet treat loved by many. Why settle for store-bought when you can easily make your own? DIY chocolate eggs are not only fun to create but also allow for endless customization. You can choose the fillings, flavors, and decorations to suit any occasion.
Whether you’re celebrating Easter, a birthday, or just craving something sweet, homemade chocolate eggs are perfect for any event. In this post, we’ll share simple and creative recipes for making diy chocolate eggs that are sure to impress your family and friends. Let’s dive into the world of chocolate-making and explore how you can craft these irresistible treats at home!
Why DIY Chocolate Eggs Are Perfect for Every Occasion
The Fun of Homemade Chocolate Eggs for All Ages
Making homemade chocolate eggs offers endless fun and creativity for people of all ages. This activity transforms an ordinary afternoon into a memorable event that brings families and friends closer. Whether you’re working with young children, teens, or adults, everyone can find a way to join in and enjoy the process.
Family Bonding Through Chocolate
DIY chocolate egg making gives families a chance to bond. Children love to pour melted chocolate into molds, sprinkle colorful toppings, or paint designs with edible glitter. Older kids and adults can handle more complex steps like tempering the chocolate or sealing filled eggs. Together, the family creates not just sweets, but memories.
A Creative Project for Every Occasion
Homemade chocolate eggs aren’t just for Easter. You can easily adapt them for birthdays, baby showers, weddings. By changing the colors, flavors, or decorations, you can make these eggs suit any event. The freedom to experiment keeps the activity exciting each time.
Fun for Beginners and Pros
Everyone can enjoy chocolate egg making, from first-timers to experienced bakers. Simple molds and chocolate bars are great for beginners, while advanced crafters can explore layered designs and unique fillings. The possibilities truly are endless!
Eco-Friendly and Minimal Packaging Ideas
When you make DIY chocolate eggs, choosing eco-friendly packaging helps protect the environment while giving your gifts a unique, thoughtful touch. Instead of using plastic wraps or synthetic ribbons, you can explore creative and sustainable options that reduce waste.
Reusable and Natural Wrapping
Consider wrapping your chocolate eggs in reusable fabric, such as colorful cloth squares, muslin bags, or furoshiki wraps. These materials look beautiful, and your recipients can repurpose them for future use. You can also use kraft paper or unbleached parchment, which breaks down easily and leaves less impact on the environment.
Decorate with Nature-Inspired Materials
Skip plastic decorations and choose natural twine, raffia, or dried flowers. These elements add charm to your chocolate gifts while keeping packaging biodegradable. Adding a small sprig of rosemary, lavender, or eucalyptus gives your package a lovely scent without creating waste.
Minimize Packaging Altogether
Try placing your chocolate eggs in baskets or boxes made from recycled materials, or deliver them unwrapped in a decorative tin or glass jar. Your recipients can reuse these containers again and again. By focusing on simple, low-waste ideas, you show care not only for the recipient but also for the planet.
Healthy Alternative
Choosing healthier ingredients for your DIY chocolate eggs allows you to enjoy a sweet treat while supporting better nutrition. By swapping traditional chocolate and refined sugar with organic cocoa powder and coconut sugar, you create a guilt-free indulgence that’s packed with flavor and goodness.
Why Choose Organic Cocoa Powder?
Organic cocoa powder is free from synthetic pesticides and harmful chemicals. It retains more of its natural antioxidants, which can help protect your body from oxidative stress. The rich, deep flavor of organic cocoa enhances your chocolate eggs without needing artificial enhancers. By using this ingredient, you support sustainable farming practices that are kinder to the environment.
The Benefits of Coconut Sugar
Coconut sugar provides a lower-glycemic alternative to white sugar, helping to avoid sharp spikes in blood sugar levels. It contains trace amounts of minerals like zinc, iron, and potassium, offering small nutritional benefits alongside its subtle caramel-like sweetness. Coconut sugar blends smoothly into melted chocolate or cocoa mixtures, making it an easy switch in your recipes.
Creating Delicious, Healthier Eggs
Combine organic cocoa powder and coconut sugar to craft chocolate eggs that are both tasty and nourishing. This simple change allows you to share treats that feel decadent yet align with a wholesome lifestyle.
Choosing the Right Chocolate for Your Eggs
Comparing Milk, Dark, and White Chocolate
When creating DIY chocolate eggs, your choice of chocolate shapes both the flavor and texture of your treats. Understanding the differences between milk, dark, and white chocolate helps you make the best decision for your recipe and taste preferences.
Milk Chocolate: Sweet and Creamy
Milk chocolate combines cocoa solids, cocoa butter, milk powder, and sugar. It offers a smooth, sweet taste that many people associate with classic chocolate candies. The creamy texture makes it easy to work with, especially when molding chocolate eggs. However, it contains less cocoa and more sugar compared to dark chocolate.
Dark Chocolate: Rich and Bold
Dark chocolate contains a higher percentage of cocoa solids and much less sugar. This gives it a deeper, more intense chocolate flavor. Dark chocolate’s firmer texture works beautifully for creating crisp shells on your chocolate eggs. Additionally, it provides antioxidants and less added sugar, making it a healthier choice for many.
White Chocolate: Sweet and Buttery
White chocolate contains cocoa butter but no cocoa solids, so it has a pale color and sweet, buttery taste. Its smooth, melt-in-your-mouth texture pairs well with fruity or nutty fillings. While delicious, it usually contains more sugar and fewer nutrients than milk or dark chocolate.
The Role of Cocoa Butter in Perfect Texture
Cocoa butter plays a crucial role in creating the smooth, glossy finish and satisfying snap that make homemade chocolate eggs so appealing. Choosing quality cocoa butter and handling it properly ensures your chocolate has the ideal texture and consistency.
Why Cocoa Butter Matters
Cocoa butter gives chocolate its signature melt-in-your-mouth quality. It provides the right balance between firmness and creaminess, allowing chocolate eggs to hold their shape while still delivering a silky texture. When you use cocoa butter in the right proportions, your chocolate shells will feel luxurious and look professional.
How Cocoa Butter Affects Tempering
Tempering chocolate involves carefully controlling the temperature to encourage stable cocoa butter crystals. These crystals give chocolate its glossy shine and prevent it from becoming grainy or dull. If you rush the tempering process or overheat the cocoa butter, the chocolate may bloom (develop white streaks or spots).
Tips for Success
Always melt chocolate slowly and evenly. Stir gently to distribute the cocoa butter throughout. A good candy thermometer helps you monitor the temperature and avoid overheating. By focusing on cocoa butter’s role, you can create chocolate eggs that not only taste amazing but also look beautiful.
Healthy Alternative: Using Dark Chocolate and Natural Sweeteners
When making DIY chocolate eggs, opting for dark chocolate combined with natural sweeteners creates a healthier treat without sacrificing flavor. This choice offers numerous benefits for both taste and nutrition.
Why Choose Dark Chocolate?
Dark chocolate contains a higher percentage of cocoa solids and less sugar compared to milk or white chocolate. This means it offers more antioxidants, such as flavonoids, which support heart health and reduce inflammation. Additionally, dark chocolate tends to have a richer, more complex flavor that many chocolate lovers appreciate. Using dark chocolate in your homemade eggs gives you a decadent taste with added nutritional benefits.
The Power of Natural Sweeteners
Instead of refined sugar, natural sweeteners like honey, maple syrup, or coconut sugar provide a healthier alternative. These options contain vitamins, minerals, and antioxidants absent in processed sugars. Coconut sugar, for instance, has a lower glycemic index, which means it affects blood sugar levels more gently. Incorporating these sweeteners helps reduce the overall sugar load while maintaining sweetness and enhancing flavor complexity.
How to Use Them Together
When making your chocolate eggs, start by melting high-quality dark chocolate slowly and carefully. Add your choice of natural sweetener gradually, tasting as you go to achieve the perfect balance. Keep in mind that natural sweeteners may add moisture, so adjust the recipe to maintain the right chocolate consistency. Experimenting with different combinations allows you to create personalized chocolate eggs that delight your taste buds while supporting healthier eating habits.
Essential Tools and Techniques for DIY Chocolate Eggs
Must-Have Tools: Chocolate Molds, Candy Thermometer, Parchment Paper
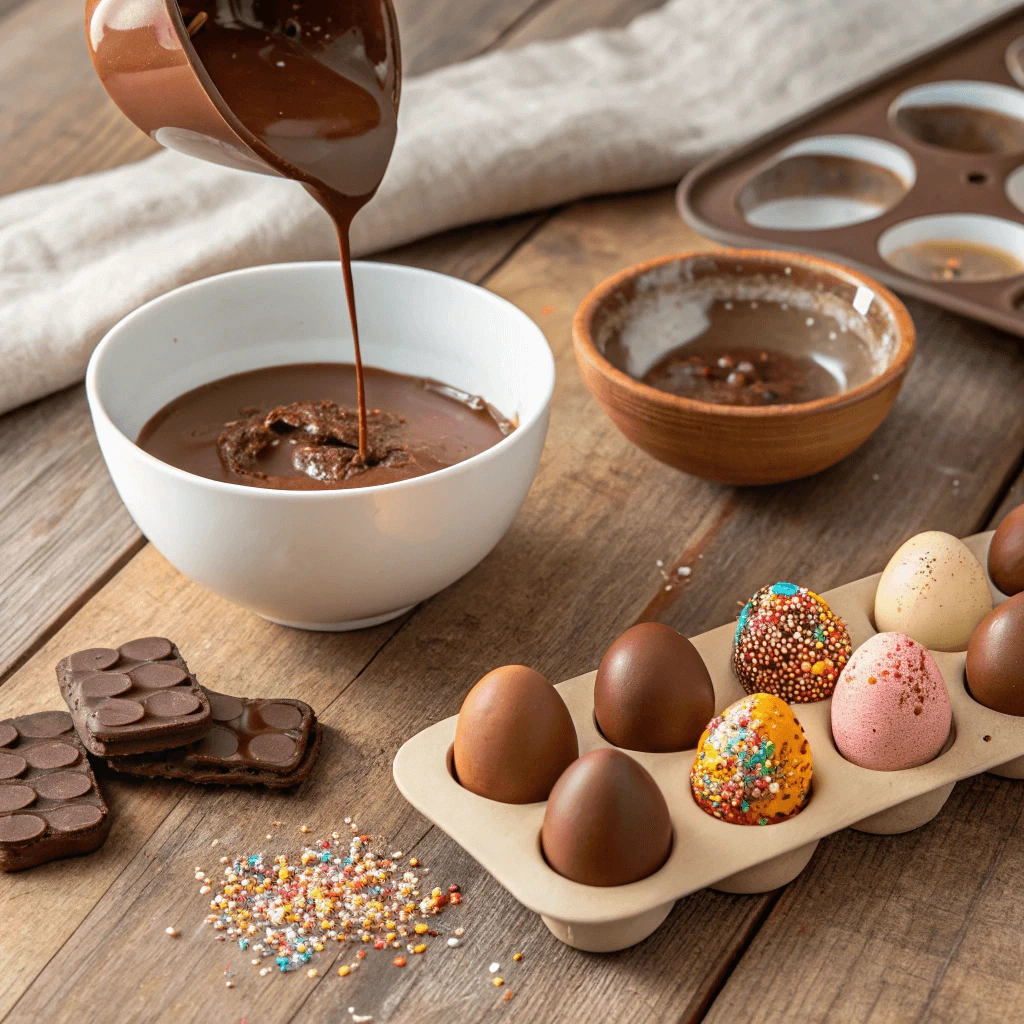
Making perfect chocolate eggs at home is easier when you have the right tools. Three essentials will help you get the best results: chocolate molds, a candy thermometer, and parchment paper.
Chocolate molds help you shape your eggs neatly. Silicone molds are flexible and make it simple to pop out the chocolates without breaking them. Polycarbonate molds give your eggs a glossy finish. Using good molds helps you create smooth, attractive chocolate eggs every time.
A candy thermometer is important for melting and tempering chocolate correctly. Tempering means heating and cooling chocolate to get the right texture and shine. If the temperature isn’t right, your chocolate can turn dull or grainy. Using a candy thermometer helps you control the process and get a smooth, crisp shell on your eggs.
Parchment paper makes cleanup easy and prevents chocolate from sticking to surfaces. You can place your chocolate eggs on parchment while they set, which helps keep their shape and texture perfect.
With these tools in hand, you can confidently create delicious, beautiful chocolate eggs at home.
Melting and Tempering Chocolate at Home
Mastering the melting and tempering process is key to creating smooth, glossy chocolate eggs with a perfect snap. Let’s break down this essential step into easy parts.
How to Melt Chocolate Properly
Start by chopping your chocolate into small, even pieces. This helps it melt evenly without burning. Use a double boiler or microwave on low power. If you use a microwave, heat the chocolate in short bursts of 15-20 seconds, stirring well between each. Avoid overheating, as chocolate burns easily and becomes grainy.
What is Tempering and Why It Matters
Tempering means carefully heating and cooling chocolate to stabilize the cocoa butter crystals. Properly tempered chocolate sets with a shiny finish and crisp texture. Without tempering, your chocolate eggs might turn dull or develop white streaks called bloom.
Step-by-Step Tempering Method
- Heat the chocolate to 115°F (46°C) for dark chocolate, or slightly lower for milk and white varieties.
- Cool it quickly to about 82°F (28°C) by stirring or adding small pieces of unmelted chocolate.
- Reheat gently to 88-90°F (31-32°C) for dark chocolate, or a bit lower for milk and white chocolates.
Using a candy thermometer helps you control the temperatures accurately.
Healthy Alternative: Silicone Molds and Minimal-Processing Methods
Choosing the right tools and techniques can make your homemade chocolate eggs healthier and more environmentally friendly. Let’s explore how silicone molds and minimal-processing methods offer excellent alternatives to traditional chocolate-making practices.
Benefits of Using Silicone Molds
Silicone molds have gained popularity due to their flexibility and safety. Unlike plastic molds, silicone is non-toxic and free from harmful chemicals like BPA, making it a healthier choice for your chocolate creations. Additionally, silicone molds provide an easy release, which means less breakage and waste. They also clean quickly and withstand repeated use without losing shape, reducing the need for disposable options.
Minimal-Processing Methods for Healthier Chocolate
Minimizing chocolate processing helps preserve its natural nutrients. Instead of heavily refining or adding artificial ingredients, use raw or minimally processed chocolate. These chocolates retain more antioxidants and flavonoids, which offer health benefits like improved heart health and reduced inflammation. You can also avoid unnecessary additives by selecting chocolates with few ingredients.
Combining Both for a Wholesome Approach
Using silicone molds along with minimal-processing methods supports a healthier, more sustainable chocolate-making experience. This approach reduces exposure to harmful substances, keeps more nutrients intact, and minimizes environmental impact. It also encourages creativity, as you can experiment with natural flavors and fillings without compromising on quality or health.
Creative Fillings and Decorations
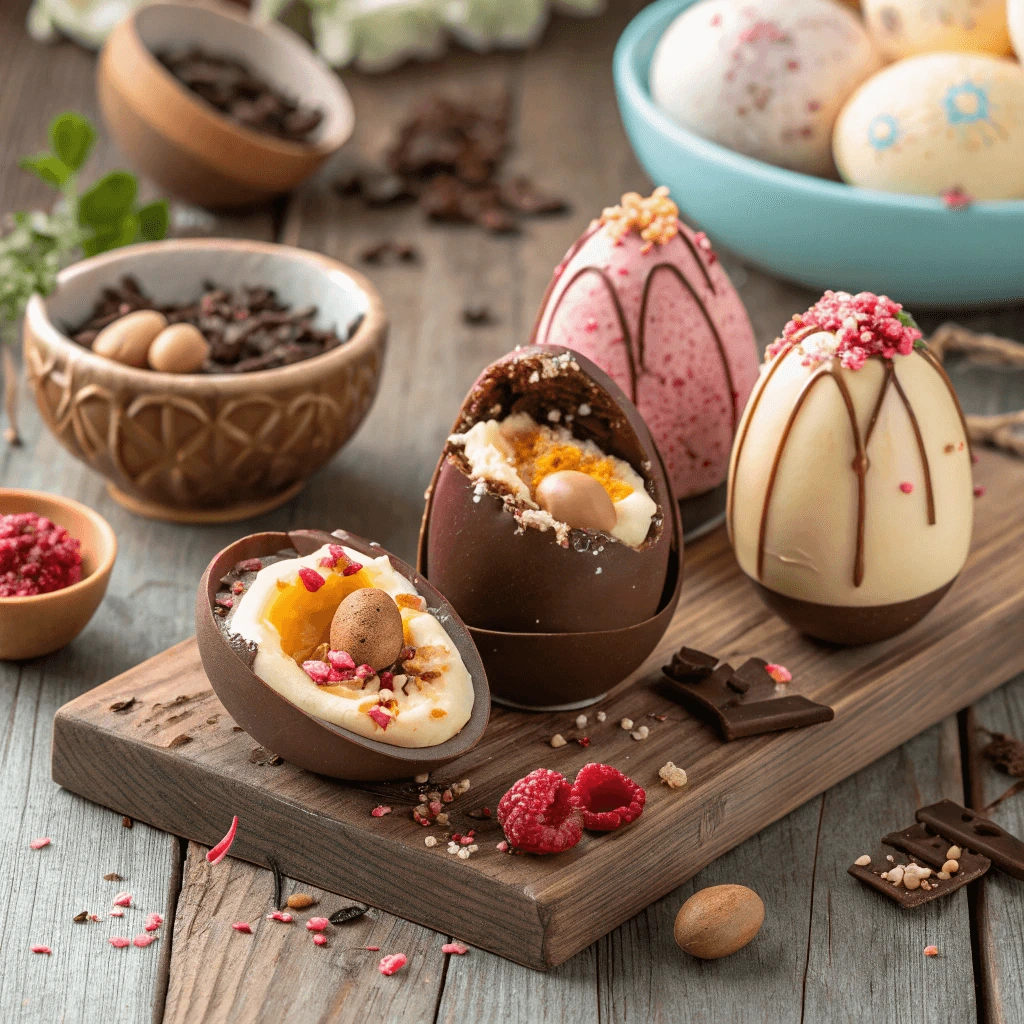
Popular Fillings: Nut Butters, Fruit Purees, and Coconut Sugar
Choosing the right filling can make your DIY chocolate eggs even more delicious and nutritious. Nut butters, fruit purees, and coconut sugar are popular healthy options that add flavor and texture.
Nut Butters like almond, cashew, or peanut butter provide a creamy, rich taste. They also offer healthy fats and protein, making your chocolate eggs more satisfying. Use natural nut butters without added sugar for the best results.
Fruit Purees add a fresh, sweet twist. Pureed berries or bananas work well and bring natural sweetness without extra refined sugar. They also create a soft, smooth filling that contrasts nicely with the chocolate shell.
Coconut Sugar acts as a natural sweetener with a mild caramel flavor. It pairs beautifully with nut butters and fruit purees, enhancing sweetness while keeping the recipe healthier than regular sugar.
Mix and match these fillings to create unique flavors that suit your taste and dietary needs.
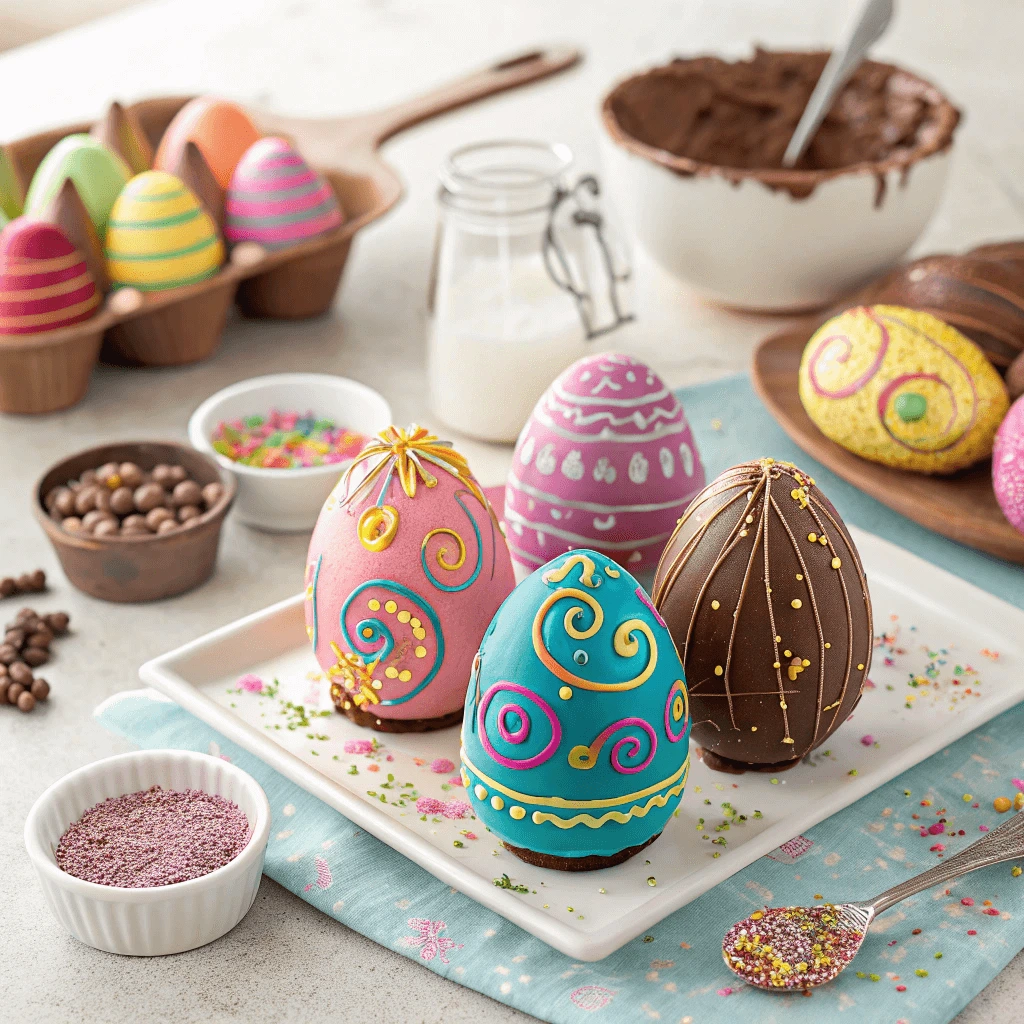
Decorating with Sprinkles, Edible Glitter, and Edible Flowers
Adding decorative touches to your homemade chocolate eggs transforms them from simple treats into stunning gifts or centerpieces. Using sprinkles, edible glitter, and edible flowers offers endless creative possibilities while keeping your creations safe and delicious.
Sprinkles: Colorful and Fun
Sprinkles come in various shapes, sizes, and colors, making them perfect for adding a playful vibe to your chocolate eggs. You can choose classic rainbow sprinkles, metallic stars, or themed shapes like hearts or Easter bunnies. Apply sprinkles by gently pressing them onto the chocolate surface while it’s still slightly soft to ensure they stick well.
Edible Glitter: Sparkle Without the Guilt
Edible glitter adds a magical shimmer to your chocolate eggs without compromising safety or taste. It creates a festive look that catches the light beautifully, perfect for special occasions. Sprinkle edible glitter lightly over your finished chocolates or dust it on with a clean, dry brush for a subtle shine.
Edible Flowers: Natural and Elegant
Edible flowers bring a delicate and sophisticated touch to your chocolate eggs. Flowers like violets, pansies, and marigolds work well and pair nicely with the chocolate’s rich flavors. Place whole flowers or petals on your eggs after the chocolate has fully set to avoid wilting. Their natural colors and textures elevate your creations, making them perfect for gifting or celebrations.
Healthy Alternative: Natural Food Coloring and Edible Flowers
Using natural food coloring and edible flowers adds a fresh, healthy twist to your chocolate eggs. These options avoid artificial dyes, making your treats both beautiful and better for you.
Benefits of Natural Food Coloring
Natural colors come from plants like beetroot, turmeric, and spirulina. They provide vibrant shades without harmful chemicals. You can easily mix powdered color into melted chocolate for bright, natural hues.
How to Use Natural Colors
Add a small amount of powder or liquid coloring to melted chocolate. Avoid adding too much liquid to keep the chocolate smooth and glossy. Experiment with different colors for unique effects.
Decorating with Edible Flowers
Edible flowers like rose petals and violets add elegance and subtle flavors. Press them gently onto set chocolate to decorate. They make your chocolate eggs look beautiful and special.
Safety Tips
Always use flowers labeled edible and wash them gently before use. This ensures safety and freshness in your decorations.
Storing, Wrapping, and Repurposing Your DIY Chocolate Eggs
Proper Storage Techniques to Keep DIY Chocolate Eggs Fresh and Flavorful
Keeping your homemade chocolate eggs fresh and flavorful requires the right storage techniques. Proper storage helps maintain texture, taste, and appearance over time.
Store in a Cool, Dry Place
Chocolate melts easily when exposed to heat. Store your chocolate eggs in a cool, dry area away from direct sunlight or heat sources. A pantry or cupboard at room temperature (around 65-70°F or 18-21°C) works well.
Avoid Refrigeration When Possible
Although refrigeration can extend shelf life, it may cause chocolate to develop “bloom” — a whitish coating from sugar or fat rising to the surface. Bloom doesn’t affect taste but changes the texture and appearance. If your kitchen is very warm, wrap your eggs tightly and refrigerate them briefly, then bring them back to room temperature before serving.
Use Airtight Containers
Exposure to air causes chocolate to absorb odors and lose flavor. Store your chocolate eggs in airtight containers or resealable bags to protect them from humidity and unwanted smells.
Keep Away from Strong Odors
Chocolate absorbs odors easily, so avoid storing it near strong-smelling foods like onions or spices. This ensures your chocolate eggs keep their original rich flavor.
Avoid Frequent Temperature Changes
Repeatedly moving chocolate between warm and cold places creates condensation, which damages texture. Keep your storage environment consistent to maintain the best quality.
Eco-Friendly Gift Wrapping Ideas for DIY Chocolate Eggs
When gifting your homemade chocolate eggs, choosing eco-friendly wrapping options can reduce waste and add a thoughtful touch. Sustainable packaging protects your treats while showing care for the environment.
Use Reusable Fabric Wraps
Instead of traditional paper or plastic wrap, try using reusable fabric wraps such as cotton or linen squares. These wraps, often called furoshiki, come in various colors and patterns. They add charm to your gift and can be reused by the recipient for other purposes.
Opt for Kraft Paper and Natural Twine
Kraft paper offers a biodegradable and recyclable alternative to glossy wrapping paper. Pair it with natural jute or cotton twine to secure your package. You can personalize the look by stamping or drawing simple designs on the paper for a rustic, handmade feel.
Incorporate Natural Decorations
Enhance your wrapping by adding natural elements like dried flowers, sprigs of rosemary, or cinnamon sticks. These decorations not only look beautiful but also add pleasant scents without any synthetic additives.
Use Recycled or Biodegradable Materials
Seek out recycled paper products or biodegradable cellophane for wrapping. These materials break down more easily after use, minimizing environmental impact. Check product labels to ensure they meet eco-friendly standards.
Reuse Containers and Boxes
Repurpose small boxes, tins, or jars you already have at home. Clean containers can make charming and sturdy packaging while preventing waste. You can decorate them with simple ribbons or eco-friendly stickers.
Avoid Excessive Packaging
Keep your wrapping minimal. Using less material reduces waste and lets the chocolate eggs shine as the main focus. Simple but thoughtful packaging often feels more genuine and appreciated.
Healthy Alternatives: Minimal Packaging and Cool, Dry Storage Tips for DIY Chocolate Eggs
Using minimal packaging helps reduce waste and keeps your homemade chocolate eggs eco-friendly. Instead of wrapping each egg in plastic or foil, try parchment paper or reusable containers. These options protect your chocolates while being kinder to the environment.
Store in a Cool, Dry Place
Keep your chocolate eggs away from heat and sunlight. The ideal temperature is between 60°F and 70°F (15°C to 21°C). High humidity can cause chocolate to develop a white coating called bloom, so choose a dry spot to preserve texture and flavor.
Use Airtight Containers
Place your chocolate eggs in airtight containers to prevent them from absorbing odors and moisture. Glass or BPA-free plastic containers work well. Make sure containers are dry before storing your chocolates.
Avoid Refrigeration When Possible
Refrigerators can create condensation that damages chocolate. If you must refrigerate, wrap the eggs tightly and let them reach room temperature before unwrapping to avoid moisture.
Conclusion
Creating DIY chocolate eggs offers a fun and delicious way to celebrate any occasion. Whether you’re crafting treats for Easter, birthdays, or special events, these recipes allow you to get creative with flavors, fillings, and decorations. Making chocolate eggs at home lets you control ingredients, ensuring healthier and personalized treats. Plus, it’s a rewarding activity for all ages. With simple tools and a little imagination, you can turn ordinary chocolate into impressive, tasty creations perfect for sharing and gifting year-round.