wafer cookies are more than just a sweet, crispy snack—they’re a versatile ingredient that can elevate your dessert game in fun and surprising ways. Whether you’re whipping up a quick no-bake treat, building a beautiful layered cake, or creating kid-friendly delights, wafer cookies add crunch, flavor, and a touch of nostalgia to any dessert. In this post, we’ll explore five creative ways to use wafer cookies in your recipes, from classic comfort desserts to healthier, modern twists. If you love easy, delicious sweets, these ideas will inspire your next kitchen adventure.
Creative Ways to Use Wafer Cookies for No-Bake Treats
Nutella Wafer Sandwiches
Nutella wafer sandwiches are a delicious fusion of creamy hazelnut spread and crisp wafers. These no-bake treats are perfect for quick snacks, party platters, or even a fun dessert project with kids. Best of all, you can prepare them in minutes with just a few simple ingredients.
Why Nutella and Wafers Work So Well
The combination of Nutella and wafer cookies creates the perfect balance of texture and flavor. The light, crispy crunch of the wafer layers contrasts beautifully with Nutella’s rich, velvety sweetness. This makes them ideal for both casual and elegant occasions.
Simple Assembly, Endless Possibilities
To make these sandwiches, start with plain wafer sheets or rectangular wafer cookies. Spread a generous layer of Nutella on one wafer, then top it with another to create a sandwich. For extra flavor and flair, you can dip the sides in melted chocolate or roll them in crushed hazelnuts, sprinkles, or mini chocolate chips.
Want a twist? Add sliced bananas, strawberries, or marshmallow fluff between the layers. You can also stack three or four wafer layers for a more indulgent treat. Chill them in the fridge for 10–15 minutes to help them set before serving.
Storage and Serving Tips
Nutella wafer sandwiches taste best when served slightly chilled. Store them in an airtight container in the refrigerator for up to 3 days. If you’re making them ahead for a party, layer them with parchment paper to prevent sticking. These sandwiches also make great edible gifts—just wrap them in cellophane and tie with a ribbon.
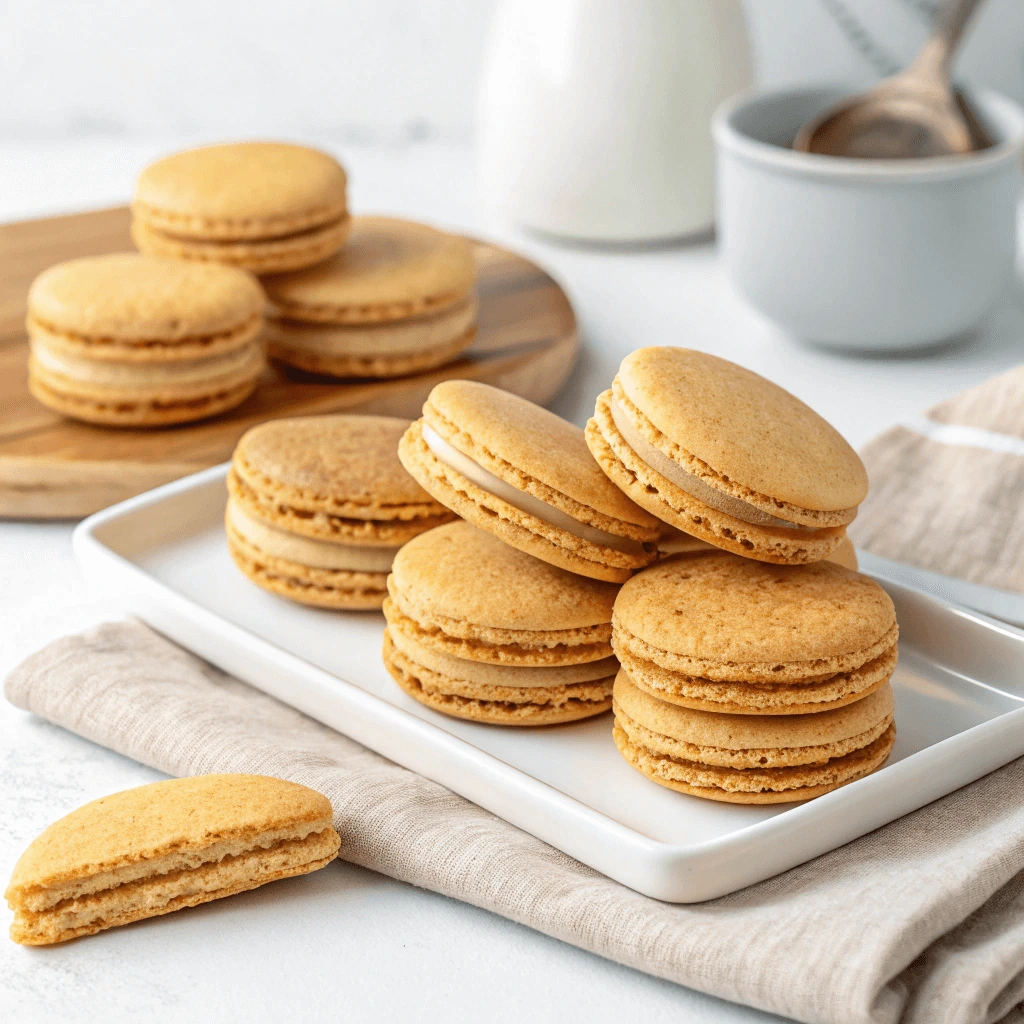
Peanut Butter Wafer Stacks
Peanut butter wafer stacks offer a fun, flavorful twist on traditional wafer cookie recipes. By combining creamy peanut butter with light, crisp wafers, you get a treat that’s rich, satisfying, and quick to make—no oven required.
The Perfect Pairing: Wafers and Peanut Butter
Peanut butter and wafer cookies complement each other beautifully. The wafers bring an airy, delicate crunch, while the peanut butter adds creamy richness and a hint of saltiness. This sweet-and-salty combo makes these stacks a popular favorite for kids and adults alike.
Use smooth peanut butter for a classic result, or try crunchy peanut butter if you want more texture. For an even healthier version, choose a natural peanut butter with no added sugar.
Easy Steps to Assemble Your Stacks
To build your stacks, start with flat wafer cookies or sheets. Spread peanut butter over a wafer, place another on top, and repeat the process to create two or three layers. Press them gently to secure the stack. For extra indulgence, drizzle melted chocolate over the top or dip half the stack into chocolate and sprinkle with crushed peanuts or mini chocolate chips.
You can also add layers of jam or honey for a PB&J-inspired version, or include banana slices for added flavor and nutrition.
How to Serve and Store Them
Serve your peanut butter wafer stacks as a quick snack, after-school treat, or party dessert. Chill them in the refrigerator for about 15 minutes before serving for a firmer texture. Store any leftovers in an airtight container in the fridge for up to four days. If stacking them in a container, place parchment paper between layers to avoid sticking.
Chocolate-Covered Wafer Bites
Chocolate-covered wafer bites combine crisp texture with rich flavor for a dessert that’s both elegant and simple. Whether you’re hosting a party or craving a quick treat, these bite-sized goodies deliver big satisfaction with minimal effort.
Why Chocolate and Wafers Make the Perfect Match
Wafer cookies offer a light, crunchy base that pairs beautifully with smooth, intense chocolate. This contrast in texture and taste makes chocolate-covered wafer bites especially irresistible. You can choose from dark, milk, or white chocolate to match your flavor preference. For a more refined finish, use couverture chocolate, which melts smoothly and coats the wafers evenly.
How to Make Chocolate-Covered Wafer Bites
Cut your wafer cookies or sheets into small squares or rectangles. Melt the chocolate in a microwave-safe bowl or double boiler, stirring until smooth. Dip each wafer into the melted chocolate using a fork, letting the excess drip off. Place the coated wafers on parchment paper. While the chocolate is still soft, sprinkle on crushed nuts, shredded coconut, sea salt, or decorative sprinkles. For an extra visual touch, drizzle with a contrasting chocolate.
Serving and Storage Tips
Serve these treats at room temperature for the best crunch and flavor. If making ahead, store them in an airtight container in the fridge. Use parchment between layers to prevent sticking. They stay fresh for up to a week, but chances are they’ll be gone in a day or two!
Layered Wafer Desserts: Creative Ways to Use Wafer Cookies
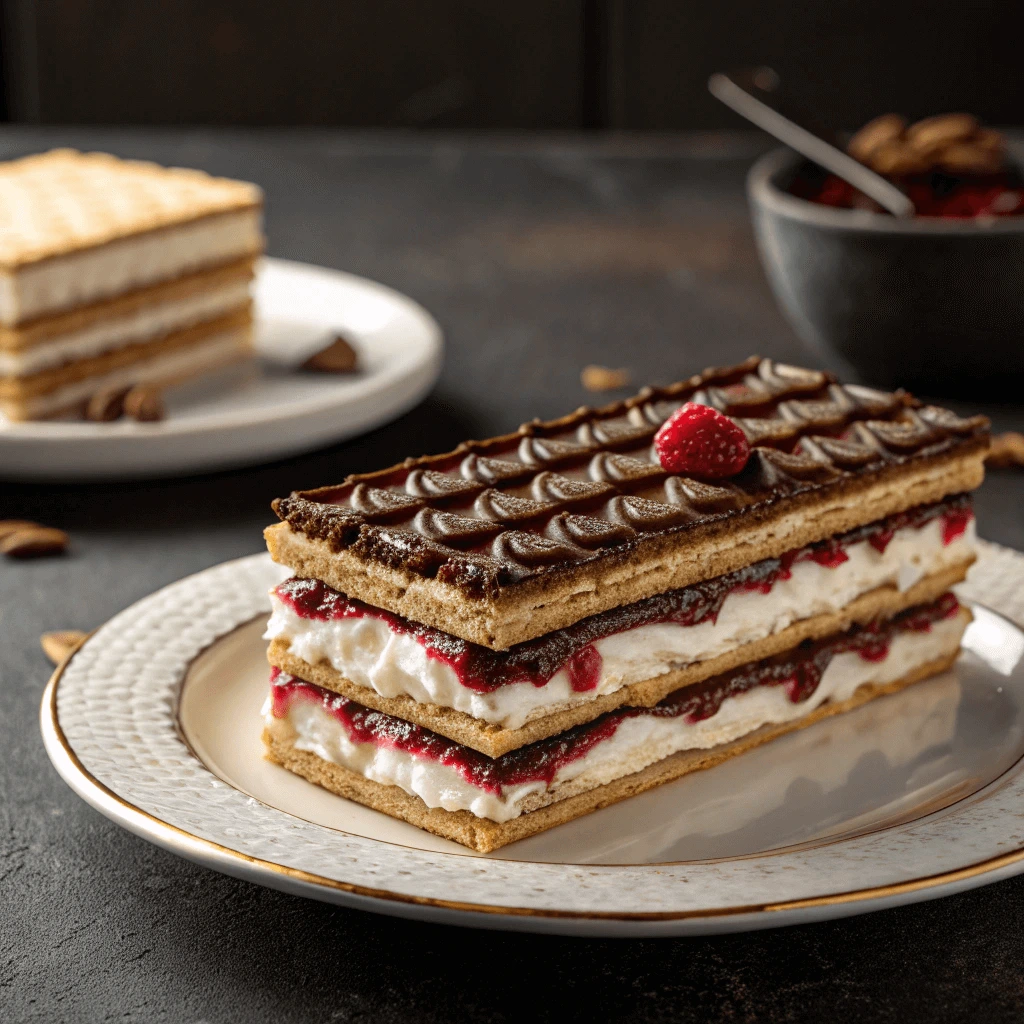
Polish-Style Wafer Cake (Wuzetka Inspired)
Polish-style wafer cake, inspired by the iconic Wuzetka (W-Z cake), offers a delightful fusion of old-world charm and no-bake convenience. While traditional Wuzetka features layers of sponge cake, cream, and chocolate glaze, this wafer-based variation delivers the same rich experience using crisp wafer sheets.
A Nod to Traditional Wuzetka
The classic Wuzetka is a beloved Polish dessert often served in cafes and at family gatherings. It typically includes layers of cocoa sponge, whipped cream, and a glossy chocolate glaze. By substituting sponge layers with thin wafer sheets, home bakers can create a simpler, crunchier alternative that still honors the original flavor profile.
Ingredients and Layering Process
To make the wafer cake, prepare a cocoa cream filling using butter, cocoa powder, powdered sugar, and a touch of vanilla extract. Some recipes also incorporate custard or instant pudding for a creamier texture. Spread a generous layer of the cocoa cream over a wafer sheet, then top it with another sheet. Continue layering until you’ve used up your ingredients—usually five to seven sheets work best. Press the stack gently to ensure even layers.
After layering, coat the top with a smooth chocolate glaze or ganache. For added elegance, dust it with powdered sugar or top it with a dollop of whipped cream before serving. Let the cake sit in the fridge for a few hours to allow the flavors to meld and the wafers to soften slightly while retaining their crunch.
Serving and Storage Suggestions
Slice the cake into squares or diamonds using a sharp knife for clean edges. Store it in the refrigerator in an airtight container to maintain freshness. This no-bake treat makes a perfect dessert for holidays, potlucks, or tea-time indulgence.
Strawberry Icebox Wafer Cake
The strawberry icebox wafer cake is a quick and refreshing no-bake dessert perfect for warm days or when you want something simple yet impressive. By layering sweet wafer cookies, fresh strawberries, and whipped cream, you can create a soft, cake-like treat that tastes as good as it looks.
What You’ll Need
This dessert uses just a few ingredients:
- Strawberry or vanilla wafer cookies
- Fresh strawberries, sliced thin
- Whipped cream or whipped topping
- Optional: cream cheese or mascarpone for a richer filling
You can also add vanilla extract or lemon zest to enhance the flavor.
How to Assemble
Start with a thin layer of whipped cream in your dish. Add a single layer of wafer cookies, followed by more cream and strawberries. Repeat these layers until you run out of ingredients, finishing with whipped cream and some strawberry slices on top.
Chill and Serve
Refrigerate the cake for at least 4 hours—overnight is even better. This helps the wafers absorb moisture from the cream and strawberries, giving the dessert a soft, cake-like texture. Cut into squares and serve chilled.
This easy dessert makes great use of wafer cookies and can be customized with different fruits or flavored creams. It’s light, creamy, and full of sweet strawberry flavor—perfect for any occasion.
Chocolate Hazelnut Wafer Squares
Chocolate Hazelnut Wafer Squares combine the creamy richness of hazelnut spread with the crunch of wafer cookies, creating a delectable treat perfect for any occasion. Here’s how you can make them:
Ingredients
- Wafer cookies (chocolate or vanilla)
- Hazelnut spread (e.g., Nutella)
- Dark or milk chocolate
- Chopped hazelnuts
- A pinch of sea salt (optional)
How to Make Them
- Layer the Wafer Cookies: Lay out your wafers and break them if necessary.
- Add Hazelnut Spread: Spread a generous layer of hazelnut spread between the wafer layers.
- Chill: Refrigerate for 30 minutes to set the layers.
- Coat with Chocolate: Melt the chocolate and coat the wafer stack. Add chopped hazelnuts and sea salt.
- Chill Again: Refrigerate for another 30 minutes until the chocolate hardens.
Serving and Enjoying
Once chilled, cut the stack into squares. The combination of crunchy wafers, creamy hazelnut filling, and chocolate coating is irresistibly delicious. Enjoy as a snack or share with friends!
Upgrade Classic Desserts with Creative Wafer Cookie Ideas
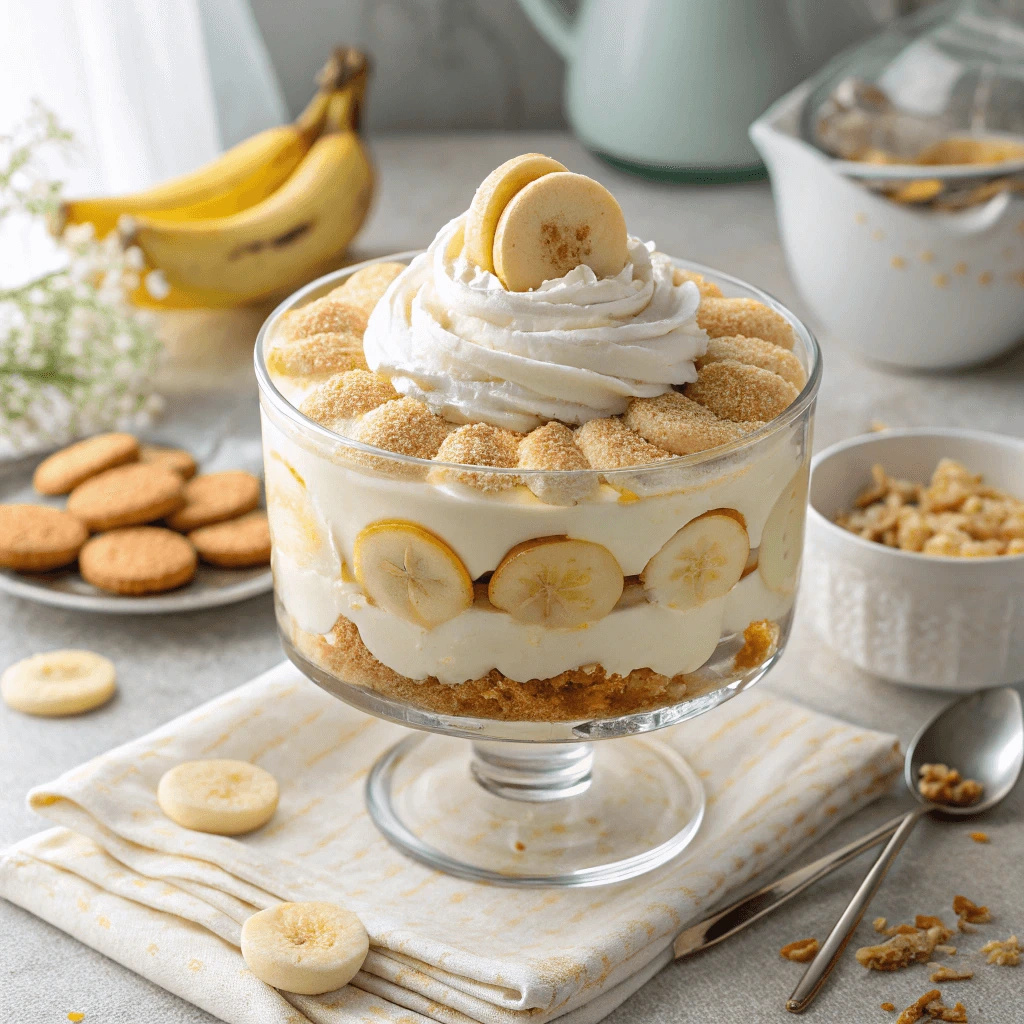
Wafer Cookie Banana Pudding
Wafer Cookie Banana Pudding is a classic, comforting dessert that combines the creamy richness of pudding with the crunch of wafer cookies. This easy-to-make treat is perfect for any occasion and requires only a few simple ingredients. Let’s dive into how you can make this irresistible dessert!
Ingredients
To make this decadent banana pudding, you’ll need:
- Vanilla wafer cookies: These form the base of the pudding and provide a satisfying crunch.
- Bananas: Choose ripe, fresh bananas for the best flavor.
- Vanilla pudding mix: Pre-made or homemade, this will create the creamy layer.
- Whipped cream: For topping, it adds lightness to the dish.
- Milk: To mix with the pudding for a creamy consistency.
Step-by-Step Instructions
- Prepare the Pudding: Begin by mixing the vanilla pudding with cold milk according to the package instructions (or make it from scratch for a richer flavor). Stir until it thickens.
- Layer the Dessert: In a large dish, create a base layer with vanilla wafer cookies. Place banana slices on top of the cookies, followed by a layer of pudding. Repeat the process until you fill the dish, ending with a pudding layer on top.
- Chill the Pudding: After assembling the layers, cover the dish with plastic wrap and refrigerate for at least 2-3 hours. This allows the wafer cookies to soften and absorb the pudding, creating a luxurious texture.
- Top with Whipped Cream: Once the pudding has chilled, spread a generous layer of whipped cream over the top. For added texture and flavor, sprinkle some crushed wafer cookies or extra banana slices on top.
- Serve and Enjoy: Cut into squares or serve with a spoon. The contrast between the creamy pudding, crunchy wafers, and soft banana slices is sure to be a hit with everyone.
Why It Works
The combination of textures—crunchy wafer cookies, smooth pudding, and sweet banana slices—makes this dessert absolutely irresistible. The wafer cookies soften as they soak in the pudding, providing a delightful contrast to the silky texture of the pudding. The bananas add a fresh sweetness that balances out the richness of the dessert, making it a perfect treat for any occasion.
Wafer Tiramisu Cups
Wafer Tiramisu Cups offer a delightful twist on the classic Italian dessert, turning it into individual servings with a crunchy texture. They are easy to prepare and perfect for any occasion.
Ingredients Needed
- Wafer cookies (vanilla or chocolate)
- Mascarpone cheese
- Heavy cream
- Coffee or espresso
- Sugar
- Cocoa powder
- Vanilla extract
How to Make It
- Prepare the Cream: Beat mascarpone cheese, heavy cream, sugar, and vanilla until smooth.
- Soak the Wafers: Dip wafer cookies quickly in coffee or espresso.
- Layer the Cups: In serving cups, layer the soaked wafers with the mascarpone mixture. Repeat the layers and finish with mascarpone cream on top.
- Chill: Refrigerate for at least 2 hours and top with cocoa powder before serving.
Why Wafer Tiramisu Cups Work
The crispy wafer cookies create a fun contrast to the creamy mascarpone filling, making each bite satisfying. This version is easy to serve, offering a modern take on traditional tiramisu.
Wafer Crust Cheesecake Bars
Wafer Crust Cheesecake Bars are an easy-to-make treat that blends the creamy goodness of cheesecake with the satisfying crunch of wafer cookies. These bars are perfect for parties or gatherings, offering a deliciously balanced flavor and texture.
Ingredients for the Crust
- Wafer cookies: Choose vanilla or chocolate wafers for a crunchy base.
- Butter: Melted to bind the crumbs together.
- Sugar: A touch of sweetness to enhance the flavor.
How to Make the Crust
- Crush the Wafer Cookies: Crush the wafers into fine crumbs.
- Mix: Combine the crumbs with melted butter and sugar.
- Press: Firmly press the mixture into the base of a baking pan.
Ingredients for the Cheesecake Filling
- Cream cheese: The base of the creamy filling.
- Sugar: Adds sweetness to the cheesecake.
- Eggs: Provide structure.
- Vanilla extract: Adds a rich flavor.
- Sour cream: Enhances the creaminess.
How to Make the Cheesecake Filling
- Beat the Cream Cheese: Mix until smooth.
- Add Remaining Ingredients: Gradually add sugar, eggs, and vanilla.
- Pour: Spread the filling over the crust and bake.
Why They’re So Great
These bars combine crunchy wafer crust with creamy cheesecake for a satisfying dessert. They’re easy to cut, serve, and can be customized with toppings like fruit, chocolate, or nuts. Enjoy a balanced, crowd-pleasing dessert in every bite.
Kid-Friendly and Fun: Creative Wafer Cookie Recipes for Kids
Wafer Cookie Pops: Creative Ways to Use Wafer Cookies in Fun, Edible Crafts
Wafer Cookie Pops are a fun and easy treat, perfect for parties or casual snacking. These pops combine crunchy wafers, chocolate, and fun toppings, making them a creative dessert for all ages.
Ingredients
- Wafer cookies (vanilla, chocolate, or strawberry)
- Chocolate coating (milk, dark, or white chocolate)
- Toppings (sprinkles, crushed nuts, or mini chocolate chips)
- Lollipop sticks
- Optional fillings (peanut butter, Nutella)
How to Make
- Prepare the Sticks: Insert lollipop sticks into the wafer cookies.
- Melt Chocolate: Melt your choice of chocolate until smooth.
- Dip the Wafer: Dip the cookies in melted chocolate.
- Decorate: Add toppings like sprinkles or crushed nuts before the chocolate sets.
- Cool: Let the pops cool and harden in the fridge for about 20 minutes.
Customization Ideas
- Add Nutella or peanut butter between wafers for extra flavor.
- Decorate with holiday-themed sprinkles for special occasions.
- Try using dark chocolate for a slightly healthier version.
Wafer Cookie Pops are simple, customizable, and sure to be a hit at any event. Enjoy the perfect mix of crunch and sweetness!
Ice Cream Wafer Sandwiches: Creative Ways to Use Wafer Cookies for a Cool Summer Treat
Ice Cream Wafer Sandwiches are an easy, delicious treat that combines the crunch of wafer cookies with the smoothness of ice cream. These sandwiches are simple to make and can be customized with your favorite flavors and toppings, making them perfect for any occasion.
How to Make Ice Cream Wafer Sandwiches
- Choose Your Wafer Cookies: Pick wafer cookies that are crispy and sturdy. You can choose flavors like vanilla or chocolate.
- Soften the Ice Cream: Let the ice cream sit out for a few minutes to soften. This makes it easier to spread and keeps the wafer from breaking.
- Assemble the Sandwiches: Place a scoop of ice cream between two wafers. Gently press the wafers together to form a sandwich.
- Freeze: Pop the sandwiches in the freezer for at least 30 minutes. This step ensures that the ice cream firms up and holds the sandwich together.
Customization Tips
- Flavor Combinations: Try different ice cream flavors, like chocolate chip cookie dough, or fruity sorbets, to mix things up.
- Add Crunch: Roll the edges in toppings like sprinkles, mini chocolate chips, or crushed nuts for added texture.
- Mini Versions: Make bite-sized sandwiches using smaller wafer cookies for a fun party treat.
These simple and delicious sandwiches are perfect for any time you crave a cool, crunchy dessert.
Rainbow Sprinkle Wafer Dips: Creative Ways to Use Wafer Cookies with Colorful Toppings
Rainbow Sprinkle Wafer Dips are a fun and colorful treat that combines crispy wafer cookies with a sweet, creamy dip topped with vibrant sprinkles. This dessert is not only simple to make but also perfect for parties, kids, or just a fun snack at home.
Choosing the Right Wafer Cookies
Start by selecting light, crisp wafer cookies. Vanilla or chocolate wafers are ideal, but you can experiment with other flavors, like strawberry or hazelnut, to add variety. The cookies should be sturdy enough to hold the dip but still easy to break apart when dipped.
Preparing the Dip
The dip can be made with a cream cheese base, whipped cream, or even Greek yogurt for a lighter option. Sweeten the dip with powdered sugar and vanilla extract, and for a richer taste, add melted chocolate or peanut butter. Mix everything until smooth and fluffy.
Adding Rainbow Sprinkles
Rainbow sprinkles are the finishing touch. They add a pop of color and crunch to the creamy dip. You can either mix them into the dip or sprinkle them on top for a fun presentation. Use traditional rainbow sprinkles, chocolate sprinkles, or even confetti sprinkles for variety.
Dipping the Wafer Cookies
To serve, place the wafer cookies on a platter and offer the dip in a bowl in the center. Guests can dip the cookies into the creamy dip and enjoy the perfect bite of crispy, creamy, and crunchy goodness.
Customization Ideas
For an extra touch, consider matching the sprinkles to the theme of your event. You can also try adding flavorings like citrus zest, flavored extracts, or fruit purees to the dip for a twist.
Rainbow Sprinkle Wafer Dips are a colorful, easy-to-make treat that’s perfect for any occasion, offering endless options for customization and fun!
Creative Ways to Use Wafer Cookies for Healthier Alternatives
Almond Flour Wafer Crisps: Creative Ways to Use Wafer Cookies for Gluten-Free Snacks
Almond Flour Wafer Crisps are a delicious, gluten-free twist on traditional wafer cookies. Made with almond flour, they offer a rich, nutty flavor that complements their crisp texture. These wafers are ideal for anyone seeking a healthier alternative without sacrificing taste.
Why Use Almond Flour?
Almond flour is a great gluten-free option, packed with protein and healthy fats, and lower in carbs than regular flour. It gives the wafers a light, crispy texture while enhancing their flavor. Perfect for anyone on a low-carb or keto diet.
How to Make Almond Flour Wafer Crisps
Making these wafer crisps is simple and requires basic ingredients like almond flour, butter, an egg, and a sweetener of your choice (like honey or maple syrup). Mix the ingredients together, roll out the dough, and bake it until golden. After baking, let the crisps cool completely for that satisfying crunch.
Enjoying Your Wafer Crisps
You can enjoy almond flour wafer crisps on their own, dip them in chocolate, or top them with whipped cream and fresh fruit. They also work great as a base for desserts like mini ice cream sandwiches or layered parfaits.
These wafers are versatile, easy to make, and can be customized with various flavors like cinnamon or cocoa powder for added variety.
Sugar-Free Vanilla Wafer Snacks: Creative Ways to Use Wafer Cookies for Low-Carb Desserts
Sugar-Free Vanilla Wafer Snacks are a delightful, guilt-free treat for those looking to enjoy a sweet snack without the added sugar. These wafers provide the classic vanilla flavor we all love, but without the harmful effects of refined sugars. With the right ingredients, you can make these wafers from scratch or use a sugar substitute, making them perfect for anyone following a sugar-free or low-carb diet.
Benefits of Sugar-Free Snacks
Sugar-free snacks offer several benefits. First, they help maintain stable blood sugar levels, making them a good choice for those managing diabetes or anyone trying to reduce sugar intake. These wafers can also support weight management goals since they won’t cause the blood sugar spikes that sugary snacks often do. Moreover, sugar-free treats are generally lower in empty calories, providing a healthier option that doesn’t compromise on flavor.
How to Make Sugar-Free Vanilla Wafers
To make sugar-free vanilla wafer snacks, you’ll need almond flour, unsweetened vanilla extract, a sugar substitute like stevia or erythritol, and butter. Combine the dry ingredients with the wet ones, form the dough, and bake them until golden. The use of a sugar substitute ensures these wafers taste just as sweet as traditional ones but with a fraction of the calories.
Customizing Your Sugar-Free Vanilla Wafers
While the basic sugar-free vanilla wafer recipe is simple, you can easily customize it to suit your tastes. Add a pinch of cinnamon for extra warmth or mix in some vanilla bean seeds for a more intense vanilla flavor. You could even experiment with different sugar substitutes to find the one that gives you the perfect balance of sweetness. For a special touch, dip the finished wafers in sugar-free chocolate for a richer snack.
Sugar-free vanilla wafers are versatile and can be enjoyed alone, as a snack with a cup of tea, or as part of a dessert like a sugar-free trifle or ice cream sandwich. They’re easy to store and keep for several days, so you can always have a delicious, sugar-free snack on hand.
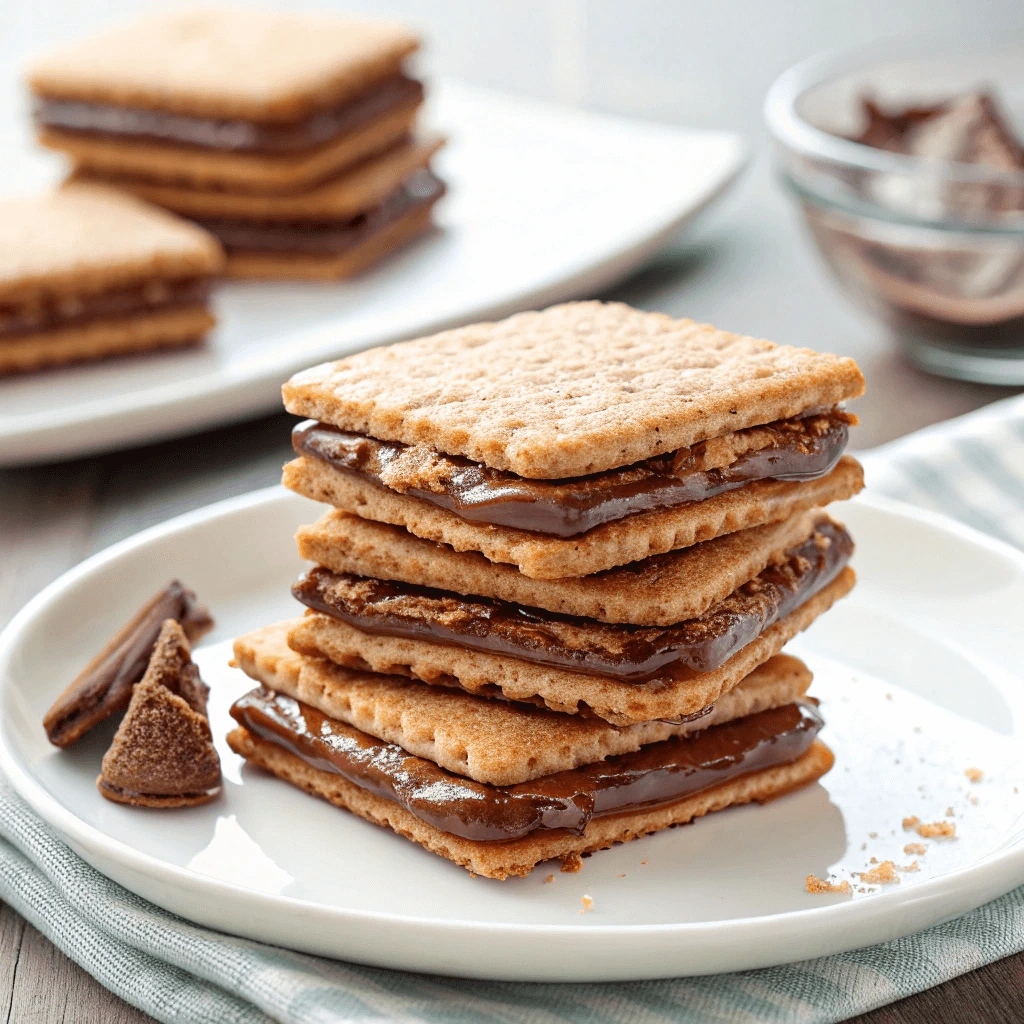
Dairy-Free Chocolate Wafer Sandwiches: Creative Ways to Use Wafer Cookies for Dairy-Free Indulgence
Dairy-Free Chocolate Wafer Sandwiches are the perfect treat for those who need to avoid dairy but still crave something indulgent. With the crispy texture of wafer cookies and the smoothness of dairy-free chocolate filling, these sandwiches satisfy your sweet tooth while being suitable for vegan, lactose-free, or dairy-sensitive diets.
Easy to Make and Customizable
Creating these wafer sandwiches is simple. Start by using dairy-free chocolate, which is widely available in stores or can be made using plant-based ingredients like almond or coconut milk. Melt the chocolate and mix it with a bit of coconut cream to achieve a creamy consistency. Spread the chocolate between two wafer cookies and allow it to chill in the fridge until firm.
Versatile Flavors
While the classic version is delicious, you can customize these wafer sandwiches with various fillings. Add almond or peanut butter for extra richness or a dash of sea salt to enhance the chocolate’s flavor. For even more decadence, drizzle additional melted chocolate on top and sprinkle with crushed nuts or coconut flakes.
Perfect Storage
These sandwiches can be stored in the refrigerator in an airtight container to maintain freshness. They also freeze well, so you can make them in advance for an easy, sweet snack whenever you need it.
Conclusion
Wafer cookies are a versatile ingredient that can elevate your desserts in fun and creative ways. Whether you’re crafting Nutella wafer sandwiches, assembling wafer crust cheesecake bars, or indulging in dairy-free chocolate wafer sandwiches, the possibilities are endless. Their crisp texture and light flavor make them the perfect base or complement for a variety of sweet treats. With these five creative ideas, you can easily incorporate wafer cookies into your baking repertoire and enjoy delightful, memorable desserts that everyone will love.