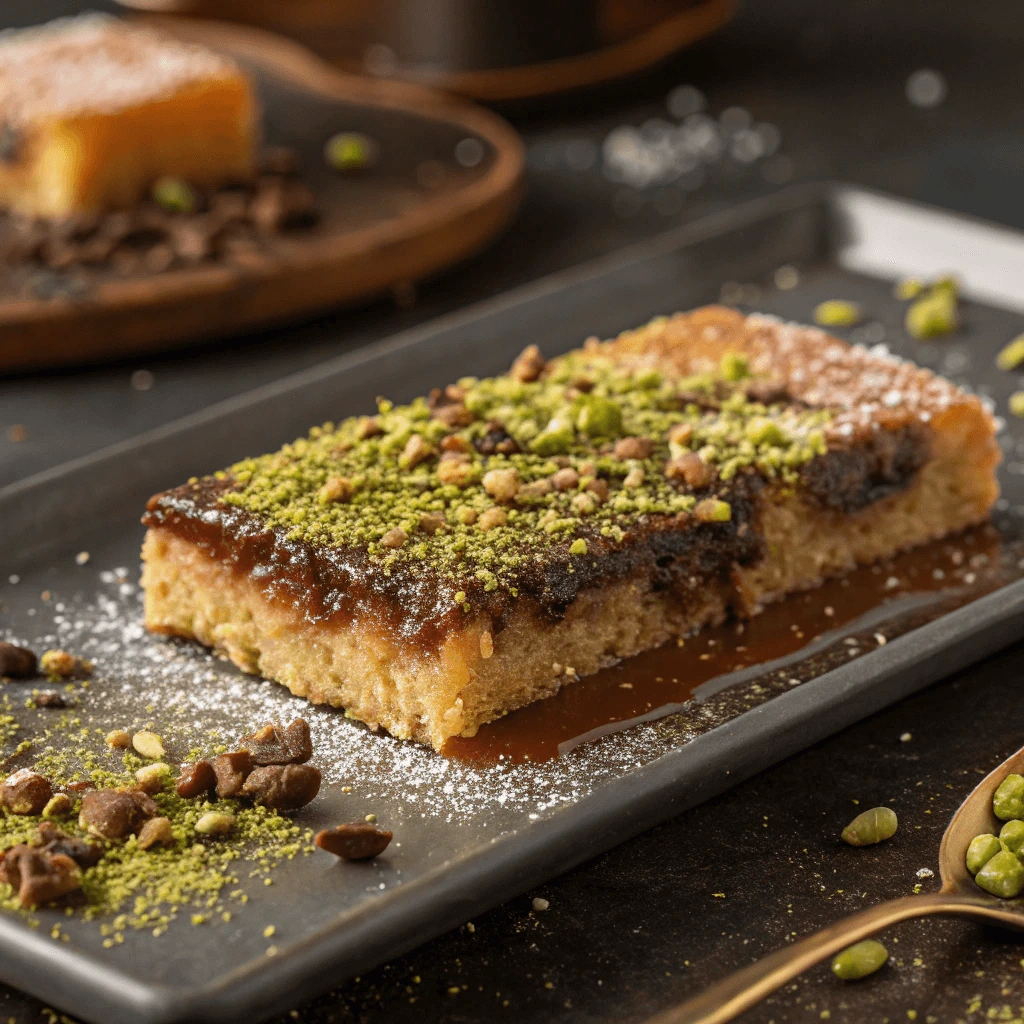
If you’re a fan of desserts that combine rich flavors and unique textures, the Knafeh chocolate bar recipe is a must-try. This sweet twist on the classic Knafeh dessert brings together a crunchy semolina crust, a creamy filling, and a touch of decadent chocolate. Perfect for those who love indulgent sweets with a Middle Eastern flair, this recipe will surely become a crowd favorite at any gathering. Whether you’re new to Knafeh or already a fan, this chocolate-infused version will leave you craving more. Let’s dive into how you can easily recreate this delightful treat at home!
What is a Knafeh Chocolate Bar Recipe?
The Origins of the Knafeh Chocolate Bar Recipe in Middle Eastern Cuisine
Knafeh is a classic Middle Eastern dessert loved across the Levant, including Palestine, Lebanon, and Jordan. This sweet treat has a rich history and cultural significance that dates back centuries.
Historical Background
Knafeh originated during the Ottoman Empire, gaining popularity for its crispy texture and sweet, creamy filling. The city of Nablus in Palestine became famous for its special cheese knafeh, often considered the gold standard.
Cultural Importance
Families prepare knafeh for special occasions like Ramadan and Eid, symbolizing hospitality and celebration. Making knafeh often brings loved ones together, preserving tradition.
Modern Influence
Today, chefs experiment with knafeh by adding new flavors and ingredients, such as chocolate or nuts, while keeping the original’s crunchy and creamy balance.
How the Knafeh Chocolate Bar Recipe Adds a Modern Chocolate Twist
Chocolate brings a fresh and exciting dimension to the traditional knafeh dessert. By combining the classic crispy and creamy textures of knafeh with rich chocolate flavors, this fusion creates a unique taste experience that appeals to modern dessert lovers.
Enhancing Flavor Complexity
Chocolate adds depth and richness to knafeh’s naturally sweet and tangy flavor profile. Dark chocolate introduces bittersweet notes that balance the sweetness, while milk or white chocolate provides creamy, mellow undertones. This variety allows bakers to customize the dessert to different palates.
Elevating Texture Contrast
The smooth, velvety texture of melted chocolate contrasts beautifully with the crunchy semolina or shredded phyllo base. This interplay of textures makes every bite more satisfying and indulgent.
Appealing to Broader Audiences
Incorporating chocolate transforms knafeh into a dessert that resonates beyond Middle Eastern cuisine enthusiasts. Chocolate lovers worldwide appreciate the familiar ingredient, making the dessert more accessible and trendy in fusion kitchens.
Healthy Ingredient Alternatives in the Knafeh Chocolate Bar Recipe
If you love knafeh but want to enjoy it with fewer calories and more nutrition, consider swapping some traditional ingredients for healthier alternatives. These changes maintain the dessert’s delicious crunch and creaminess while making it guilt-free.
Whole Wheat Semolina Instead of Refined
Traditional knafeh uses refined semolina, which lacks fiber. Switching to whole wheat semolina boosts fiber content and adds subtle nutty flavors. Whole wheat also helps keep you fuller longer and supports better digestion.
Healthier Fats: Coconut Oil or Olive Oil
Butter adds richness to the knafeh base but contains saturated fats. Replace butter with coconut oil or extra virgin olive oil for healthier fat options. Coconut oil adds a slight tropical flavor, while olive oil offers antioxidants and heart benefits.
Natural Sweeteners Over Refined Sugar
Instead of using classic sugar syrup, try natural sweeteners like honey, date syrup, or maple syrup. These options contain trace nutrients and have a lower glycemic index, which helps maintain stable blood sugar levels.
Key Ingredients for a Delicious Knafeh Chocolate Bar Recipe
Traditional Ingredients Explained
Knafeh relies on a handful of key ingredients that come together to create its iconic crunchy and creamy texture. Understanding these ingredients helps you appreciate the classic flavors that make knafeh so beloved.
Semolina or Kataifi (Shredded Phyllo Dough)
The base of knafeh often uses semolina, a coarse wheat flour that provides a slightly nutty flavor and a crisp texture when toasted. Alternatively, many recipes use kataifi, which is shredded phyllo dough that creates a delicate, crunchy crust. Both options form the crunchy layer that contrasts beautifully with the creamy filling.
Sweet Cheese (Akawi or Nabulsi)
Traditional knafeh features a mild, stretchy white cheese like Akawi or Nabulsi. These cheeses have a slightly salty flavor that balances the sweetness of the syrup and dough. Bakers often soak the cheese in water to reduce its saltiness before layering it in the dessert.
Sugar Syrup (Attar)
The final touch to knafeh comes from a fragrant sugar syrup called attar, usually flavored with rose water or orange blossom water. This syrup seeps into the layers, adding moisture and sweetness that enhances every bite.
Choosing the Right Chocolate
Selecting the right type of chocolate plays a crucial role in making a delicious knafeh chocolate bar. The chocolate you pick impacts the dessert’s flavor, texture, and overall balance. Understanding the characteristics of different chocolates helps you create the perfect sweet twist on this traditional treat.
Dark Chocolate for Richness and Bitterness
Dark chocolate offers a deep, intense flavor that complements the sweet and creamy elements of knafeh. It contains a higher percentage of cocoa solids and less sugar, providing a pleasant bitterness that balances the dessert’s sweetness. Using dark chocolate can add complexity and richness without overpowering the other ingredients.
Milk Chocolate for Creamy Sweetness
Milk chocolate provides a smooth, creamy texture with a sweeter taste. It melts easily and blends well with the soft cheese and crunchy base of knafeh. If you prefer a sweeter dessert with less bitterness, milk chocolate makes an excellent choice.
White Chocolate for a Unique Twist
White chocolate offers a mild, buttery flavor and a creamy texture that can add a luxurious feel to your knafeh chocolate bar. Though it lacks cocoa solids, its sweetness and richness enhance the dessert’s creamy layers and provide a pleasing contrast to the crunchy base.
Considering Quality and Ingredients
Always choose high-quality chocolate with minimal additives for the best flavor. Look for chocolates that contain cocoa butter rather than vegetable oils. Organic or single-origin chocolates often deliver more nuanced flavors that elevate your dessert.
Healthier Swaps for a Guilt-Free Treat
Enjoying a knafeh chocolate bar doesn’t mean you have to compromise your health goals. By swapping a few traditional ingredients with healthier alternatives, you can create a delicious dessert that feels indulgent but supports your well-being.
Use Whole Wheat Semolina or Alternative Flours
Instead of refined semolina, opt for whole wheat semolina or other nutrient-rich flours like oat or almond flour. These options provide more fiber, vitamins, and minerals, helping to improve digestion and maintain energy levels.
Replace Butter with Healthier Fats
Traditional recipes use butter to bind the crunchy base, but you can swap it for healthier fats like coconut oil or extra virgin olive oil. Coconut oil adds a subtle, tropical flavor, while olive oil offers heart-healthy antioxidants.
Choose Natural Sweeteners
Sugar syrup often sweetens knafeh, but natural sweeteners like honey, maple syrup, or date syrup offer more nutrients and have a lower glycemic index. These options help keep blood sugar levels stable while adding rich, complex flavors.
Incorporate Greek Yogurt or Low-Fat Dairy
For the creamy layer, replace heavy cream or full-fat cheese with Greek yogurt or low-fat cheese. These swaps reduce fat content while keeping the dessert creamy and satisfying.
Add Nuts and Seeds for Extra Nutrition
Toss in crushed pistachios, almonds, or chia seeds to add healthy fats, protein, and a pleasant crunch. These nutrient-dense additions boost flavor and contribute to satiety.
Step-by-Step Guide: How to Make Knafeh Chocolate Bar at Home
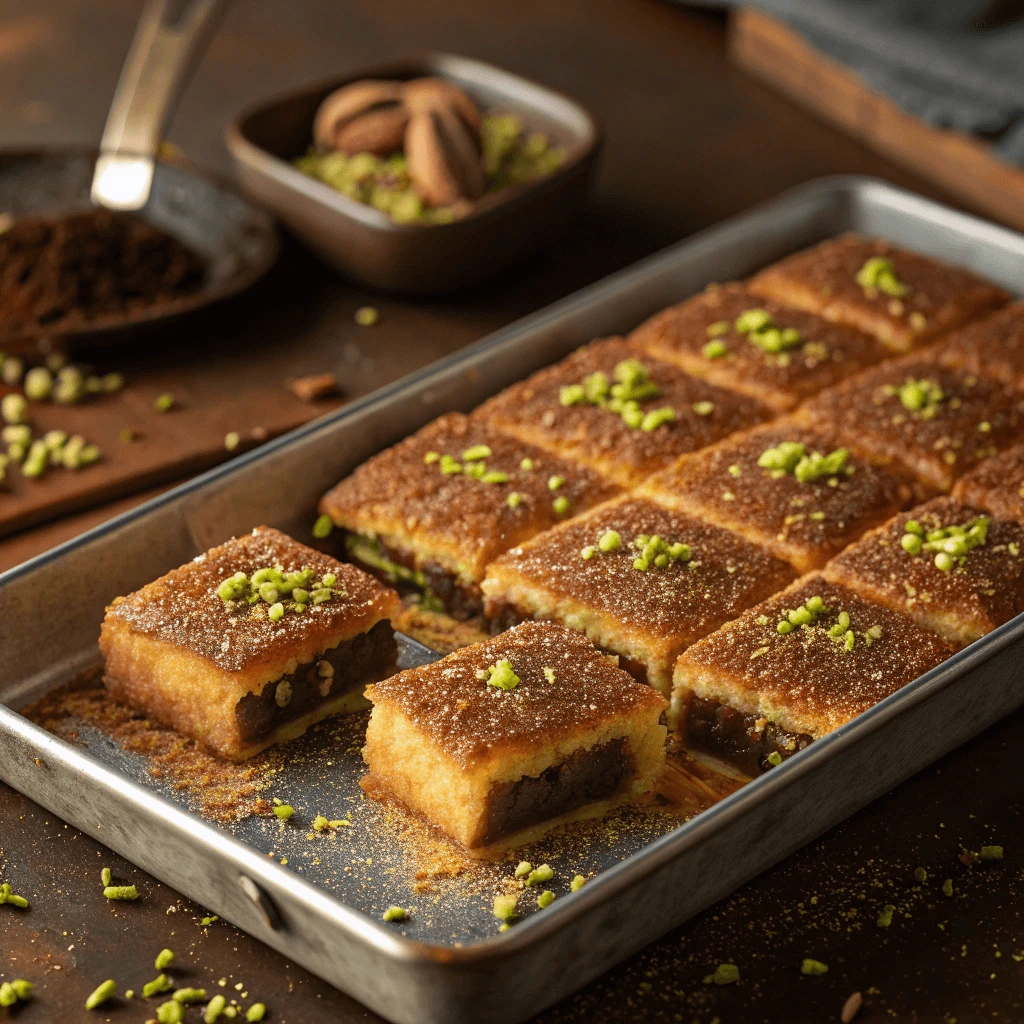
Preparing the Crunchy Knafeh Base
The crunchy base forms the essential foundation of the knafeh chocolate bar, providing a satisfying texture that contrasts beautifully with the creamy topping. Perfecting this base involves carefully selecting ingredients and following a simple, effective preparation process.
Choosing the Right Ingredients
Start with semolina or shredded phyllo dough (kataifi) as your main ingredient. Semolina adds a nutty flavor and a hearty texture, while kataifi creates a delicate, crisp crust. Use unsalted butter or a healthy alternative like coconut oil to bind the base and add richness.
Toasting the Semolina or Kataifi
To develop the signature crunch, toast the semolina or kataifi in a pan over medium heat. Stir constantly to prevent burning, allowing the mixture to turn golden brown. This step enhances the flavor by adding a toasty aroma and deepening the color.
Binding and Pressing the Base
Once toasted, mix the semolina or kataifi with melted butter or oil until evenly coated. Press the mixture firmly into the base of your baking dish or pan, creating an even layer. Applying firm pressure helps the base hold together and bake evenly.
Baking for Crispness
Bake the base at a moderate temperature until it turns crispy and golden. Keep an eye on it to avoid overbrowning. The goal is to achieve a crunchy texture that can support the creamy chocolate layer without becoming soggy.
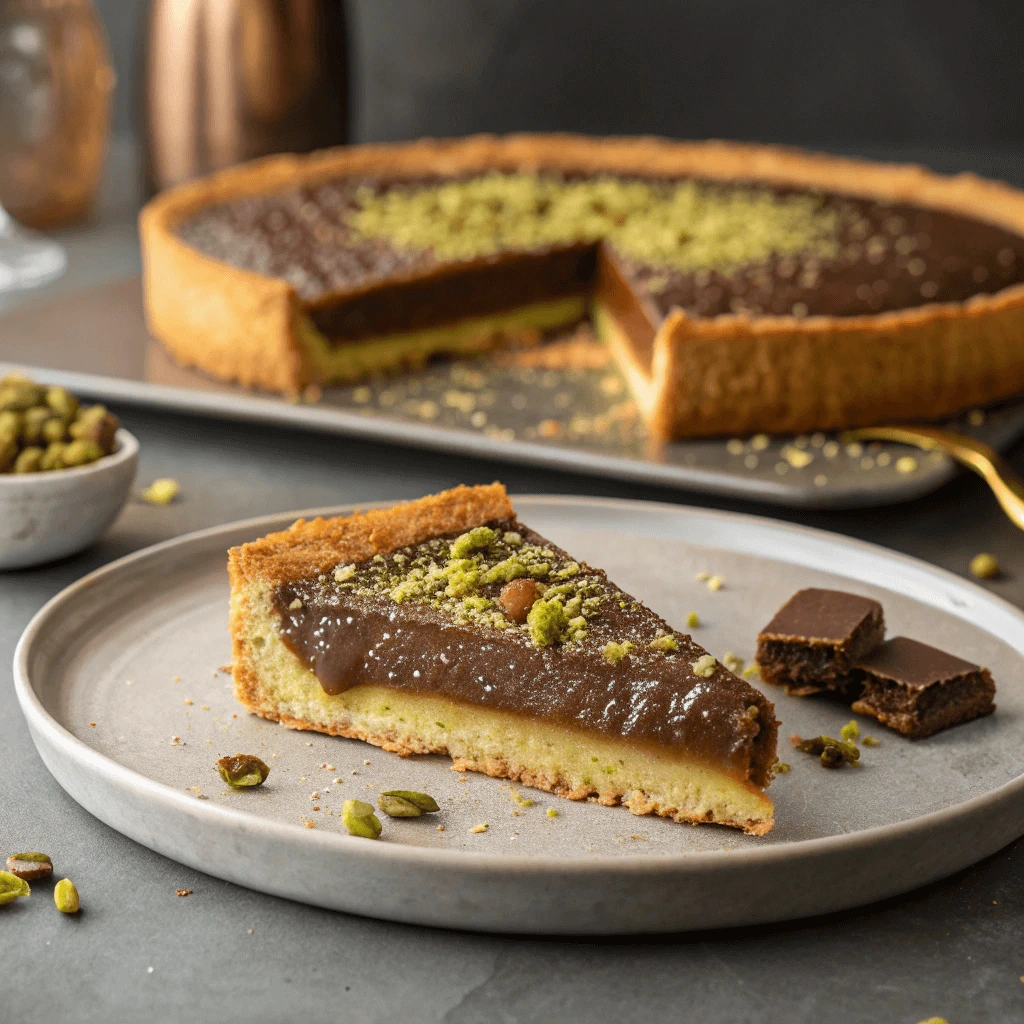
Creating the Creamy Chocolate Layer
The creamy chocolate layer adds the rich, smooth contrast that makes the knafeh chocolate bar so irresistible. To achieve the perfect balance of creaminess and chocolate flavor, follow these essential steps and tips.
Selecting the Right Chocolate
Choose high-quality chocolate, such as dark, milk, or white, based on your flavor preference. Chop the chocolate into small pieces to ensure even melting. Using quality chocolate guarantees a smoother texture and a richer taste.
Melting the Chocolate Properly
Melt the chocolate gently using a double boiler or microwave in short bursts, stirring frequently. This method prevents the chocolate from burning or seizing, maintaining its glossy and creamy consistency. Avoid overheating to keep the texture silky.
Preparing the Cream Base
Combine cream cheese, mascarpone, or Greek yogurt with a touch of sweetener like honey or maple syrup to create a luscious cream base. Whisk the mixture until smooth and free of lumps. This creamy base blends perfectly with the melted chocolate.
Mixing Chocolate into the Cream
Gradually fold the melted chocolate into the cream base, stirring gently to combine without deflating the mixture. The result is a velvety, chocolate-infused cream that will layer beautifully over the crunchy base.
Setting and Chilling the Layer
Pour the creamy chocolate mixture evenly over the prepared crunchy base. Smooth the surface with a spatula to create an even layer. Refrigerate the knafeh chocolate bar for at least two hours, allowing the cream layer to firm up and flavors to meld.
Health-Conscious Preparation Tips
Creating a knafeh chocolate bar doesn’t mean sacrificing health. By adopting mindful preparation techniques and ingredient choices, you can enjoy this indulgent dessert with less guilt.
Opt for Healthier Fats
Replace traditional butter with heart-healthy fats such as coconut oil or extra virgin olive oil. These alternatives provide beneficial fatty acids and can add subtle flavor nuances that enhance your dessert’s richness.
Use Natural Sweeteners
Cut back on refined sugars by using natural sweeteners like honey, maple syrup, or date syrup. These options contain antioxidants and minerals while offering a lower glycemic index, helping to stabilize blood sugar levels.
Incorporate Protein-Rich Ingredients
Add Greek yogurt or ricotta cheese to the creamy chocolate layer to boost protein content. These ingredients provide creaminess without excessive fat and support muscle health.
Increase Fiber with Whole Grains
Swap refined semolina for whole wheat semolina or oat flour to increase fiber content. A higher fiber intake supports digestion and promotes satiety, helping to control overall calorie consumption.
Add Nutrient-Dense Toppings
Enhance texture and nutrition by sprinkling chopped nuts like pistachios, almonds, or walnuts on top. You can also add chia seeds or flaxseeds for omega-3 fatty acids and antioxidants.
Control Portion Sizes
Serve smaller portions to satisfy your sweet cravings without overindulging. Pair the knafeh chocolate bar with fresh fruit to add natural sweetness and vitamins, balancing the dessert.
Serving Suggestions and Flavor Variations
Traditional Middle Eastern Garnishes
Garnishes elevate the knafeh chocolate bar, adding authentic flavors and visual appeal that honor its Middle Eastern roots. Using traditional toppings enhances both taste and presentation.
Crushed Pistachios for Crunch and Color
Sprinkle finely crushed pistachios over the top of the chocolate layer. Their vibrant green color contrasts beautifully with the rich chocolate, and their slightly sweet, nutty flavor adds a satisfying crunch. Pistachios also bring healthy fats and nutrients.
Drizzle of Rosewater Syrup for Floral Aroma
Add a delicate drizzle of rosewater syrup to infuse the dessert with a fragrant floral note. Rosewater is a classic ingredient in Middle Eastern desserts, offering a unique aroma that complements the richness of chocolate and the creaminess of the base.
Orange Blossom Water for Subtle Citrus Notes
Lightly brush or sprinkle orange blossom water on the knafeh before serving. This fragrant water adds subtle citrus undertones that brighten the dessert. The aroma creates a refreshing balance to the dense, sweet flavors.
Optional: Toasted Sesame Seeds for Extra Texture
For an extra layer of texture and a slightly nutty flavor, sprinkle toasted sesame seeds on top. These tiny seeds add crunch and a toasty aroma that pairs well with the other garnishes.
Presentation Tips
Arrange the garnishes evenly and artfully to create an inviting dessert. Use a fine sieve for powdered toppings like pistachio dust or powdered sugar to ensure a light, even coating. Garnishes should highlight the knafeh’s vibrant colors and textures.
Creative Chocolate Variations
Experimenting with different types of chocolate can transform your knafeh chocolate bar into exciting new treats. These creative variations bring unique flavors and textures while preserving the dessert’s beloved crunch and creaminess.
Nutella: A Hazelnut Chocolate Twist
Use Nutella as the creamy layer for a rich, hazelnut-infused chocolate flavor. Its smooth texture blends perfectly with the crunchy knafeh base, offering a luscious, indulgent experience. Nutella adds sweetness and a hint of nuttiness that appeals to many chocolate lovers.
White Chocolate for a Sweet and Buttery Flavor
Replace traditional dark or milk chocolate with white chocolate to create a sweeter, creamier version. White chocolate’s buttery notes complement the tangy cheese base, balancing the overall taste. It also adds a light color contrast that enhances the dessert’s visual appeal.
Spiced Chocolate with Cardamom or Cinnamon
Infuse melted chocolate with warm spices like cardamom or cinnamon for a fragrant, exotic twist. These spices are staples in Middle Eastern cuisine and pair beautifully with chocolate’s richness. Stir the spices into the melted chocolate before combining it with the creamy layer.
Chili Chocolate for a Bold Kick
Add a pinch of chili powder or cayenne pepper to your chocolate mixture to create a spicy-sweet flavor profile. The subtle heat enhances the chocolate’s depth without overpowering the dessert, offering an exciting balance that surprises the palate.
Dark Chocolate with Sea Salt
Sprinkle a small amount of flaky sea salt over dark chocolate layers to highlight the chocolate’s complexity. The salt enhances sweetness and adds a slight crunch, creating a sophisticated flavor combination that elevates the knafeh chocolate bar.
Healthy Flavor Add-Ins
Adding nutrient-rich ingredients to your knafeh chocolate bar can boost its health benefits without sacrificing flavor. These healthy flavor add-ins enhance taste, texture, and nutritional value, making your dessert more wholesome and satisfying.
Chia Seeds for Omega-3 and Fiber
Mix chia seeds into the creamy chocolate layer or sprinkle them on top. These tiny seeds provide a powerful source of omega-3 fatty acids, fiber, and antioxidants. They also absorb moisture and create a slight gel-like texture, adding a pleasant chewiness to the dessert.
Natural Vanilla Extract for Aroma and Sweetness
Add a splash of pure vanilla extract to the chocolate mixture. Vanilla enhances the overall flavor by adding warmth and depth. Using natural vanilla also reduces the need for extra sugar, making the dessert subtly sweeter and more aromatic.
Cinnamon for Antioxidant Boost
Sprinkle ground cinnamon into the chocolate or on top of the finished bar. This spice not only adds a warm, comforting flavor but also delivers antioxidants and anti-inflammatory compounds. Cinnamon pairs wonderfully with chocolate and brings a Middle Eastern flair to your knafeh.
Fresh Berries for Vitamins and Color
Top your knafeh chocolate bar with fresh berries such as raspberries, blueberries, or strawberries. These fruits add vibrant colors, natural sweetness, and a burst of vitamins and fiber. Berries also provide antioxidants that support overall health.
Dried Fruits for Natural Sweetness and Chewiness
Incorporate chopped dried apricots, dates, or figs into the chocolate layer or sprinkle them on top. These dried fruits lend natural sweetness and chewy texture, complementing the creamy and crunchy elements of the dessert while increasing fiber and nutrient content.
Why You’ll Love This Knafeh Chocolate Bar Recipe
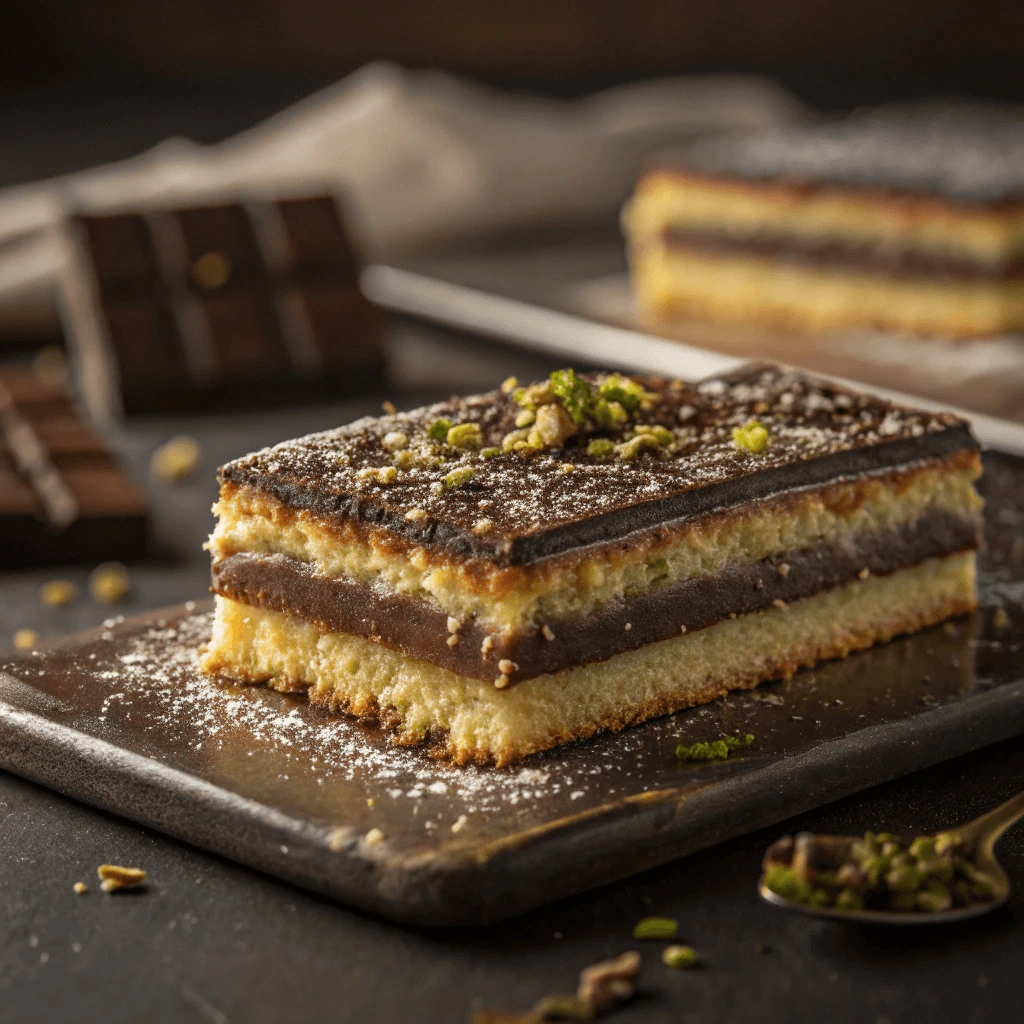
The Perfect Balance of Crunch and Creaminess
Creating a Knafeh Chocolate Bar means mastering the contrast between a crisp base and a smooth, creamy filling. When done right, each bite offers a delightful mix of textures that keeps people coming back for more.
Crunch That Holds Its Own
Start with a layer of toasted kataifi or shredded phyllo dough. When baked with butter or coconut oil, it turns golden and crisp—offering that essential crunch. To make this healthier, you can swap in whole wheat kataifi or add crushed nuts like almonds or pistachios.
Creaminess That Melts in Your Mouth
The creamy chocolate center should feel rich and smooth. You can achieve this by melting dark chocolate with a bit of coconut cream or Greek yogurt. These options create a velvety texture without relying on heavy cream or extra sugar.
Textural Harmony
When you layer the crunchy base with the creamy filling, make sure both are balanced. Too much crunch can overwhelm the soft texture; too much cream can make the dessert feel heavy. Try alternating layers, then chill the bar so everything sets with the right consistency.
This harmony of crunch and creaminess defines the Knafeh Chocolate Bar—turning it into a dessert that’s both exciting and satisfying.
A Dessert That Bridges Tradition and Modern Tastes
The Knafeh Chocolate Bar beautifully connects the rich culinary history of the Middle East with the evolving preferences of today’s dessert lovers. It offers a satisfying blend of old and new, ideal for those who appreciate cultural depth and modern flavor.
Rooted in Tradition
Knafeh holds a special place in Middle Eastern cuisine. For generations, families have prepared it using shredded phyllo dough or semolina, sweet cheese, and floral syrup. These time-honored ingredients provide not just flavor but also a strong cultural identity. The chocolate bar version keeps these key elements, preserving the essence of the traditional dish.
Modernized with Chocolate
By adding chocolate, this dessert embraces a more modern profile. Dark, milk, or white chocolate introduces a creamy richness that appeals to broader audiences. It also makes the dish more versatile, fitting both festive and casual occasions. Chocolate elevates the dessert while making it more familiar to those who didn’t grow up with traditional knafeh.
A Balanced Experience
This dessert doesn’t choose between past and present—it merges both. The crispy base nods to tradition, while the smooth chocolate layer adds a contemporary twist. Together, they create a delightful contrast in texture and taste that speaks to multiple generations and culinary styles.
Adaptable for Health-Conscious Lifestyles
The Knafeh Chocolate Bar offers more than indulgence—it provides flexibility for those who prioritize wellness without sacrificing flavor. With a few mindful changes, you can enjoy this rich dessert while staying aligned with your health goals.
Choose Wholesome Ingredients
Opt for high-quality, natural ingredients to boost the dessert’s nutritional value. Replace refined semolina or phyllo dough with whole wheat alternatives to increase fiber intake. Use natural sweeteners like honey, agave syrup, or date syrup instead of processed sugar to maintain a lower glycemic index.
Incorporate Plant-Based Swaps
You can easily adapt this recipe for dairy-free or vegan diets. Instead of traditional sweet cheese, try plant-based ricotta or cashew cream. Coconut oil makes a great substitute for butter, providing a healthy fat alternative that still delivers rich flavor. For the chocolate layer, choose vegan dark chocolate that contains at least 70% cocoa.
Add Superfoods and Nutrient Boosts
Enhance the recipe with health-supportive extras. Sprinkle chia seeds or flaxseeds into the chocolate layer for added omega-3s and fiber. Top the bars with crushed pistachios, almonds, or even fresh berries for added crunch and antioxidants. These additions create a more satisfying and nutritious dessert.
Conclusion: Knafeh Chocolate Bar Recipe – A Sweet Twist on a Classic Dessert
Conclusion: Knafeh Chocolate Bar Recipe – A Sweet Twist on a Classic Dessert
The Knafeh Chocolate Bar is the perfect fusion of tradition and innovation—bringing together the beloved textures of classic Middle Eastern knafeh with the rich indulgence of chocolate. Whether you stick to the traditional recipe or explore healthier alternatives, this dessert offers something for everyone. With its balance of crunch and creaminess, it satisfies sweet cravings while honoring cultural roots. Perfect for gatherings or as a homemade treat, the Knafeh Chocolate Bar is a delightful way to enjoy a timeless classic with a modern twist.