Baking can feel intimidating for beginners, especially when it comes to getting dough to rise perfectly. But don’t worry—this easy rising recipe for beginners is here to change that! Whether you’re making bread, pizza dough, or soft dinner rolls, mastering the art of dough rising is essential for achieving that light, airy texture we all love.
With just a few simple ingredients and some helpful tips, you’ll be able to bake like a pro in no time. This beginner-friendly guide will walk you through the entire process, from activating the yeast to proofing your dough, ensuring that every bake is a success. Get ready to create delicious, fluffy baked goods with confidence—let’s dive in!
Why This Easy Rising Recipe Is Perfect for Beginners
Simple Ingredients You Already Have at Home
Baking bread doesn’t require fancy or hard-to-find ingredients. This recipe uses simple staples you likely have in your kitchen, making it perfect for beginners.
Flour: The Base of Your Bread
All-purpose flour is a great choice for beginners. It provides enough gluten to give your bread structure without being too tricky to work with. If you want a chewier texture, bread flour is an option, but not required.
Yeast: The Rising Star
Yeast helps the dough rise by producing gas bubbles. You can use active dry yeast or instant yeast—both work well. Instant yeast mixes directly with dry ingredients, saving you a step. Just be sure your yeast is fresh to ensure a good rise.
Water and Salt: Essential Ingredients
Use lukewarm water (about 105–110°F) to activate the yeast without killing it. Salt enhances flavor and controls yeast activity, so don’t skip it!
Optional Extras: Sugar and Oil
Sugar can speed up yeast activation, but you can skip it if you want a more natural loaf. A little oil or butter adds softness but isn’t necessary.
No Special Equipment Required
This easy rising bread recipe is beginner-friendly partly because you don’t need any special kitchen tools. Most of what you’ll use is likely already in your kitchen.
Basic Mixing Tools
You only need a large mixing bowl and a wooden spoon or spatula to combine your ingredients. These simple tools let you control the dough’s texture as you mix and knead.
Optional: Stand Mixer or Bread Machine
A stand mixer with a dough hook can save time kneading, and a bread machine can handle the whole process. But if you don’t have these, don’t worry—hand kneading works just as well.
Simple Proofing Setup
You don’t need a fancy proofing box. Cover your dough with a clean kitchen towel or plastic wrap and place it in a warm spot, like near a sunny window or inside an oven with just the light on.
Baking Tray or Loaf Pan
Bake your bread on a baking sheet or in a loaf pan. Both work well and depend on your preference and what you have available.
Healthy Ingredient Alternative: Whole Wheat Flour Swap
Swapping all-purpose flour for whole wheat flour is a simple way to make your bread healthier. Whole wheat flour contains more fiber and nutrients, which benefits digestion and adds a nice nutty flavor.
Why Use Whole Wheat Flour?
Whole wheat flour keeps the bran and germ of the grain, unlike all-purpose flour. This means it has more fiber, vitamins, and minerals. Using it makes your bread more nutritious and filling.
How to Substitute Whole Wheat Flour
Start by replacing half of the all-purpose flour with whole wheat flour. This helps keep your bread soft while adding the health benefits. Whole wheat flour absorbs more water, so add a little extra water when mixing the dough.
Tips for Baking
Knead the dough a bit longer to develop gluten and give the bread structure. You might also need to let the dough rise a little longer because whole wheat slows yeast activity.
Step-by-Step Guide to Making the Perfect Dough
How to Activate Yeast Correctly
Activating yeast properly is key to getting your bread to rise perfectly. Yeast is a living organism that needs the right conditions to wake up and start producing the gas that makes dough fluffy. Follow these simple steps to activate your yeast like a pro.
Choose the Right Yeast
Most beginners use active dry yeast or instant yeast. Active dry yeast needs to be dissolved in warm water first, while instant yeast can mix directly with dry ingredients. For activation, focus on active dry yeast, as it requires a few extra steps.
Use Warm Water at the Right Temperature
Yeast thrives in warm water between 105°F and 110°F (40°C to 43°C). Water that is too hot can kill the yeast, while water that is too cold won’t activate it properly. Use a kitchen thermometer or test by feeling — the water should feel warm, like a cozy bath.
Dissolve Yeast with Sugar for a Boost
Add a small amount of sugar to the warm water when activating active dry yeast. Sugar feeds the yeast and helps it wake up faster. Stir the yeast and sugar into the water gently to mix.
Wait and Watch for Bubbles and Foam
Let the mixture sit for 5 to 10 minutes without stirring. You should see bubbles or a foamy layer forming on top. This foam shows the yeast is alive and active. If nothing happens after 10 minutes, your yeast may be old or the water temperature was incorrect — try again with fresh yeast.
Mixing and Kneading Made Easy
Mixing and kneading are two essential steps in bread making that develop the dough’s texture and structure. When you get these right, you set the foundation for a soft and airy loaf.
Mixing Your Ingredients
Start by combining your dry ingredients—flour, yeast, salt—in a large bowl. Gradually add the warm water and any liquids like oil or melted butter. Use a wooden spoon or spatula to mix everything until the dough starts to come together. At this stage, the dough may seem sticky and rough — that’s perfectly normal.
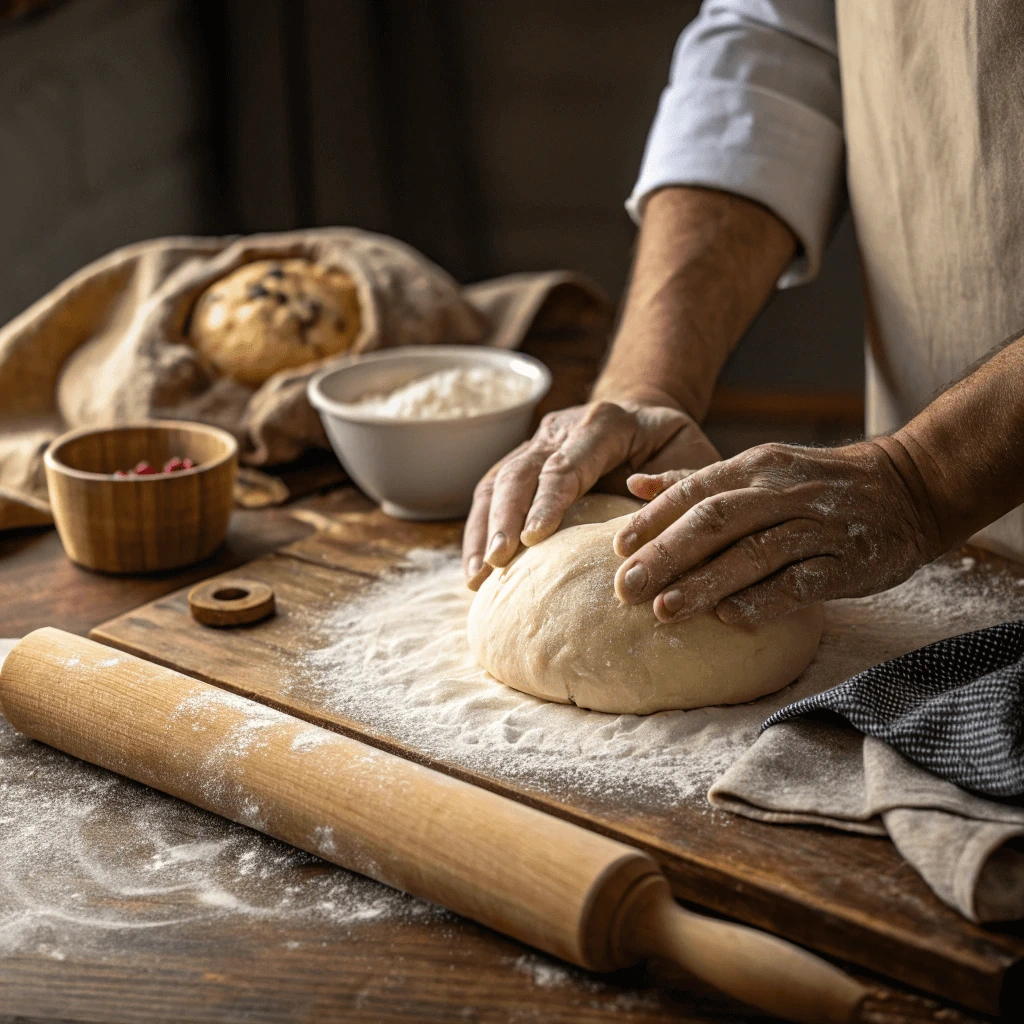
When to Start Kneading
Once your dough forms a shaggy ball and pulls away from the sides of the bowl, it’s time to knead. Kneading develops gluten, the network of proteins that traps air and gives bread its chewy texture.
Lightly flour a clean surface and turn your dough out onto it. Use the heels of your hands to push the dough away from you, then fold it back over itself. Rotate the dough a quarter turn and repeat. Continue this rhythmic motion for about 8 to 10 minutes.
Tips for Effective Kneading
Don’t add too much flour while kneading, as it can make your bread dense. If the dough sticks to your hands, wet them slightly instead of adding flour. Properly kneaded dough will feel smooth, elastic, and slightly tacky.
Using a Stand Mixer for Kneading
If you have a stand mixer, attach the dough hook and knead on low speed for 6 to 8 minutes. This saves effort and still develops gluten well.
Healthy Ingredient Alternative: Use Olive Oil Instead of Butter
Switching from butter to olive oil in your bread recipe is a simple way to make your baked goods healthier without losing flavor or moisture. Olive oil adds a rich texture and heart-healthy fats that can improve your bread’s nutritional profile.
Why Choose Olive Oil?
Olive oil contains monounsaturated fats, which help reduce bad cholesterol levels and support heart health. Butter, on the other hand, contains saturated fats, which are best consumed in moderation. By using olive oil, you make your bread lighter and better for your cardiovascular system.
How to Substitute Olive Oil for Butter
You can replace butter with olive oil in a 1:1 ratio for most bread recipes. For example, if your recipe calls for 2 tablespoons of melted butter, use 2 tablespoons of olive oil instead. Olive oil blends smoothly with the dough and keeps the crumb tender.
Flavor Considerations
Extra virgin olive oil brings a subtle fruity flavor that complements many bread types. If you prefer a milder taste, use light or pure olive oil. This swap can add a Mediterranean twist to your homemade bread.
Tips for Baking with Olive Oil
Because olive oil is liquid at room temperature, it integrates easily into the dough, helping to create a soft texture. When mixing, add the olive oil with your wet ingredients. If you want a slightly crispier crust, brush the top of your dough with olive oil before baking.
Understanding the Dough Rising Process
How Long Should Dough Rise?
Allowing your dough to rise properly is a crucial step for fluffy, well-textured bread. Rising times depend on several factors, including temperature, yeast type, and recipe specifics. Understanding how to manage this process helps you achieve consistent results.
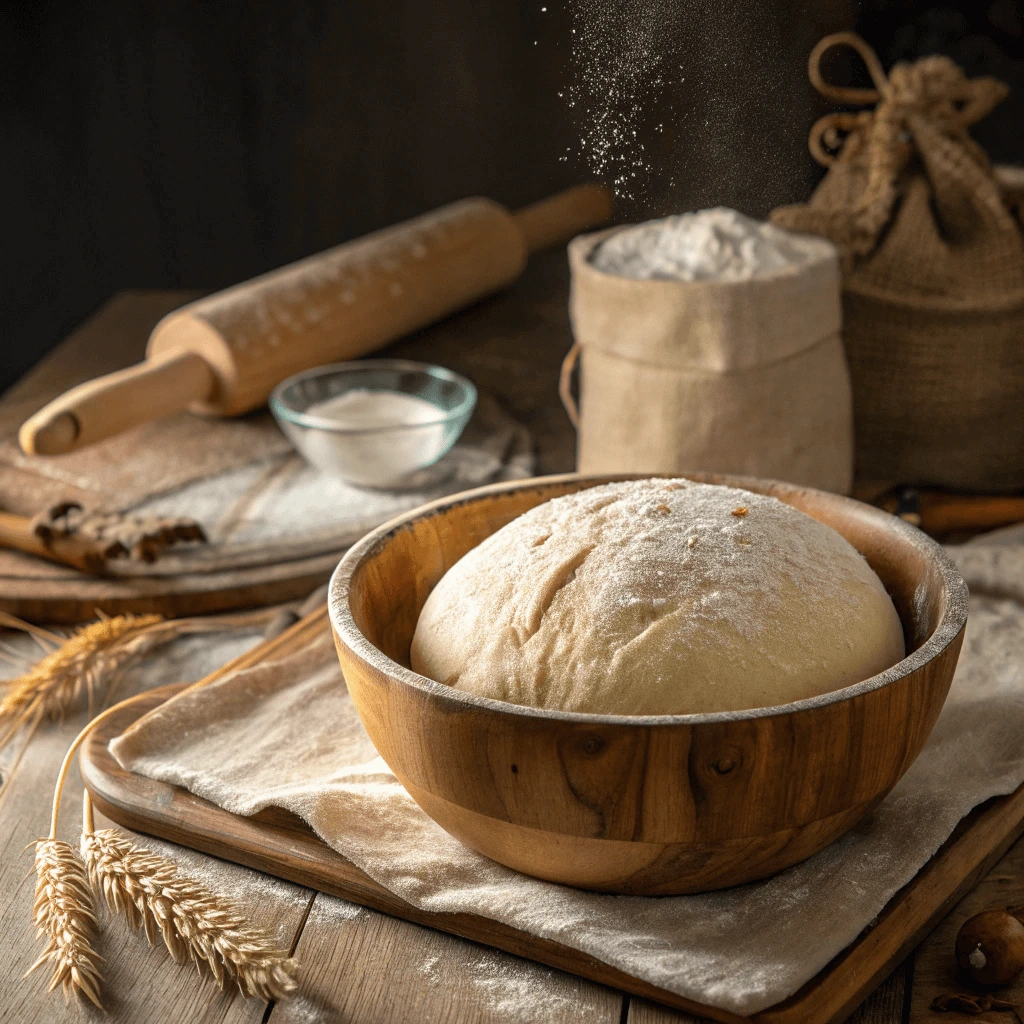
The First Rise: Bulk Fermentation
After kneading, place your dough in a lightly oiled bowl and cover it with a clean towel or plastic wrap. Let it rest in a warm, draft-free spot. Typically, the first rise takes about 1 to 2 hours. The dough should double in size. This expansion means the yeast has produced enough gas to aerate the dough, creating lightness.
Factors That Affect Rising Time
Temperature plays a major role. In a warm kitchen (around 75°F to 80°F), dough rises faster. Cooler temperatures slow down yeast activity and extend rising time. If your kitchen is chilly, you can place the dough near a warm spot—like inside an oven with the light on—to speed things up.
The Second Rise: Shaping and Proofing
After the first rise, punch down the dough gently to release excess gas. Shape it into a loaf or rolls, then let it rise again. This second rise usually takes 30 minutes to 1 hour and allows the dough to relax and expand further before baking.
Signs Your Dough Has Risen Enough
Instead of relying solely on time, use the “poke test.” Press your finger lightly into the dough—if the indentation springs back slowly and partially, the dough is ready. If it springs back quickly, it needs more time. If it doesn’t spring back at all, it may have over-risen.
Best Practices for First and Second Rise
Mastering the first and second rise stages sets the foundation for perfectly risen bread with great texture and flavor. Follow these tips to get the best results at each step.
Preparing for the First Rise
After kneading, place your dough in a clean, lightly oiled bowl. This prevents sticking and helps the dough expand smoothly. Cover the bowl tightly with plastic wrap or a damp kitchen towel to maintain moisture. Choose a warm, draft-free spot—such as near a sunny window or inside your oven with the light on—to encourage yeast activity.
Monitoring the First Rise
Let the dough rest until it doubles in size, typically between 1 to 2 hours depending on room temperature. Avoid rushing this step; a slow rise often develops better flavor. You can gently press the dough to check if it springs back slowly, indicating readiness.
Preparing for the Second Rise
Once the first rise is complete, punch down the dough gently to release built-up gas. Shape the dough into your desired form—loaf, rolls, or boule—and place it on or in your baking vessel. Cover it again to prevent drying out.
Managing the Second Rise
The second rise, also called proofing, usually takes 30 minutes to 1 hour. This final rest allows the dough to relax and expand, creating an airy crumb inside. Keep the dough in the same warm, draft-free environment. Don’t let the dough over-proof; if it rises too much, it may collapse during baking.
Healthy Ingredient Alternative: Add Flaxseeds for Extra Nutrition
Flaxseeds are a simple yet powerful way to boost the nutritional value of your homemade bread. These tiny seeds are rich in fiber, omega-3 fatty acids, and plant-based protein—making them a smart, wholesome addition for beginner bakers.
Why Choose Flaxseeds?
Flaxseeds support heart health, aid digestion, and keep you feeling full longer. They’re also packed with antioxidants called lignans, which may reduce inflammation. Adding flaxseeds to your dough gives your bread a mild, nutty flavor and a pleasant texture.
How to Use Flaxseeds in Bread
You can use whole flaxseeds or ground flaxseeds, depending on your preference. Ground flaxseeds are easier to digest and allow the body to absorb more nutrients. To include them in your recipe, mix 1–2 tablespoons of ground flaxseeds with the dry ingredients. If using whole seeds, you can sprinkle them on top of the loaf for extra crunch.
For added softness and moisture, try making a flaxseed “gel” by mixing ground flaxseeds with warm water (1 tablespoon flaxseed to 3 tablespoons water). Let it sit for 5–10 minutes until it thickens. Then stir it into your dough with the wet ingredients.
Tips for Best Results
Don’t overdo it—adding too many flaxseeds can make the dough too dense. Stick to 2 tablespoons per loaf to keep the texture light. Store flaxseeds in the fridge or freezer to maintain freshness, especially after grinding them.
Baking Bread Like a Pro – Tips for a Golden Crust
Preheating the Oven for Maximum Rise
Preheating your oven is a small but critical step in bread baking. It ensures your dough gets the initial burst of heat it needs to rise fully and form a crisp, golden crust. Skipping this step can flatten your loaf and affect the final texture.
Why Preheating Matters
When you place dough into a cold or lukewarm oven, the yeast doesn’t receive the heat shock needed for oven spring—the final dramatic rise that occurs in the first 10 minutes of baking. A fully preheated oven activates the yeast quickly, locks in air bubbles, and helps set the bread’s shape and structure.
Ideal Preheating Temperature
For most homemade bread, set your oven to 375°F to 450°F (190°C to 230°C), depending on the recipe. Higher heat encourages better oven spring and a deeper crust color. Allow your oven to preheat for at least 20 minutes to ensure the heat distributes evenly.
Use an Oven Thermometer
Many ovens run slightly hotter or cooler than the temperature shown. Use an oven thermometer to verify the internal temperature. If the oven is too cool, the bread won’t rise properly. If it’s too hot, the outside may brown too quickly while the inside stays undercooked.
Preheating Baking Equipment
If you’re using a Dutch oven, baking stone, or cast iron pan, place it in the oven while it preheats. A hot surface helps form a crisp bottom crust and evenly bakes the loaf. Don’t skip this step if your recipe calls for it.
How to Know When the Bread Is Done
One of the most common questions beginners have is: How do I know when my bread is fully baked? Visual cues alone aren’t always reliable. Instead, use a few simple methods to ensure your bread is baked through and ready to enjoy.
Check the Color and Crust
Start by looking at the crust. A fully baked loaf should have a deep golden brown color. The surface should look firm and evenly browned, with a slightly crisp finish. If the crust looks pale or feels soft when tapped, the bread likely needs more time in the oven.
Tap the Bottom of the Loaf
Carefully remove the bread from the pan and turn it over. Give the bottom a gentle tap with your knuckles. If it sounds hollow, the bread is most likely done. If it sounds dense or dull, return it to the oven for an additional 5–10 minutes and check again.
Use a Thermometer for Accuracy
For the most accurate result, insert an instant-read thermometer into the center of the loaf. The internal temperature should read 190°F to 200°F (88°C to 93°C) for soft sandwich bread and up to 210°F (99°C) for crustier artisan loaves. This ensures the center has cooked completely and won’t be doughy or underbaked.
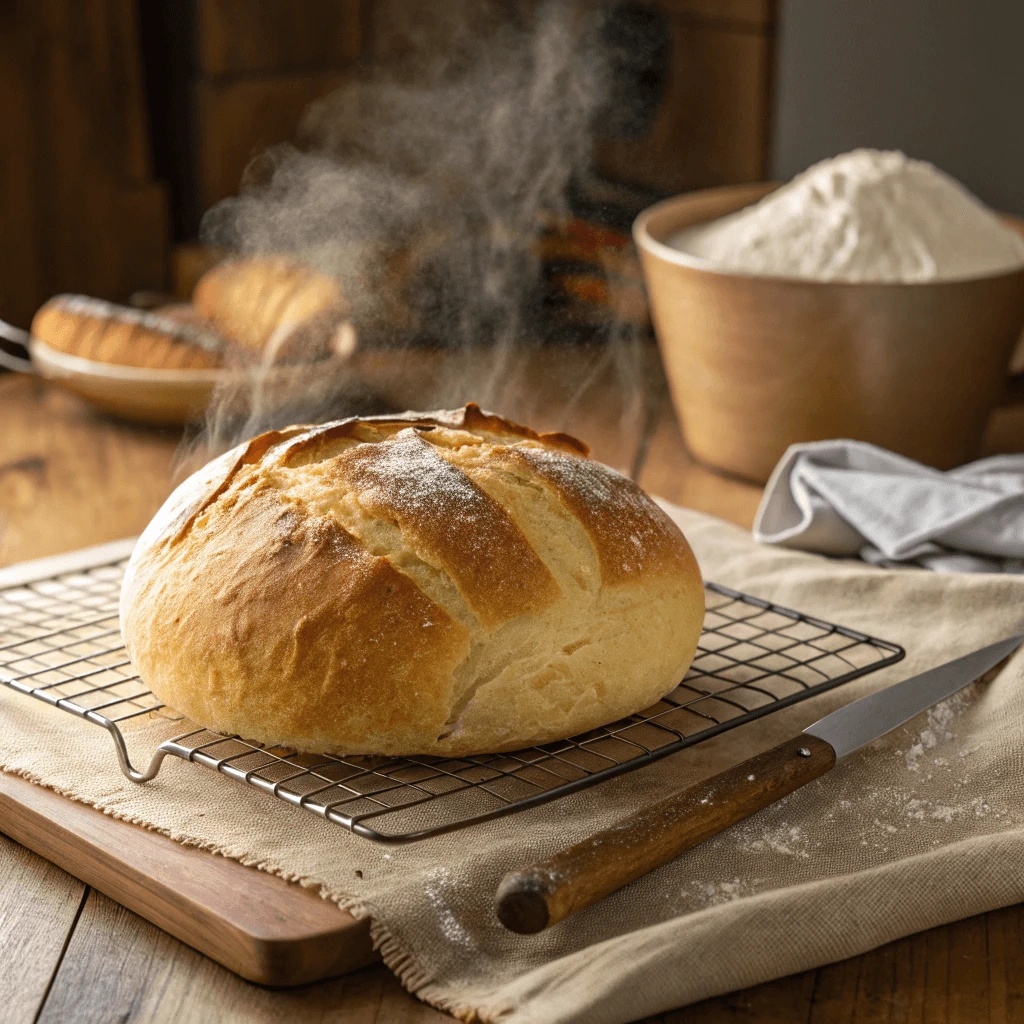
Let It Cool Before Slicing
Once you remove the bread from the oven, place it on a cooling rack. Let it cool for at least 20–30 minutes before slicing. Cutting too soon can compress the crumb and release steam, making the texture gummy.
Healthy Ingredient Alternative: Use Unsweetened Applesauce Instead of Sugar
If you’re looking to cut down on refined sugar in your baking, unsweetened applesauce is a fantastic natural substitute. It not only sweetens your bread but also adds moisture and nutrients—making your recipe healthier and just as delicious.
Why Choose Applesauce?
Unsweetened applesauce contains natural fruit sugars, fiber, and vitamins like vitamin C and potassium. Unlike refined sugar, it doesn’t cause sharp spikes in blood sugar. When you use it in bread, you boost nutrition while reducing empty calories.
How to Substitute Applesauce for Sugar
You can usually replace sugar with an equal amount of unsweetened applesauce in a 1:1 ratio. For example, if your recipe calls for ½ cup of sugar, use ½ cup of applesauce instead. Because applesauce adds moisture, reduce the other liquids in your recipe slightly—about ¼ cup less for every cup of applesauce used.
Best Uses in Bread Recipes
Applesauce works best in quick breads, soft sandwich loaves, and breakfast-style recipes like cinnamon raisin bread. It adds a subtle fruity note without overpowering other flavors. If you’re making a yeast bread, use applesauce in moderation to avoid interfering with the dough structure.
Tips for Best Results
Make sure to use unsweetened applesauce to keep added sugars low. Read the label to avoid brands with hidden sweeteners or preservatives. For extra texture and flavor, combine applesauce with warm spices like cinnamon or nutmeg in your dough.
Serving, Storing, and Troubleshooting Your Bread
Best Ways to Serve Your Homemade Bread
After putting in the effort to bake a fresh loaf, serving it in a delicious and thoughtful way makes it even more rewarding. Whether you enjoy it warm from the oven or incorporate it into a meal, homemade bread can shine in many creative ways.
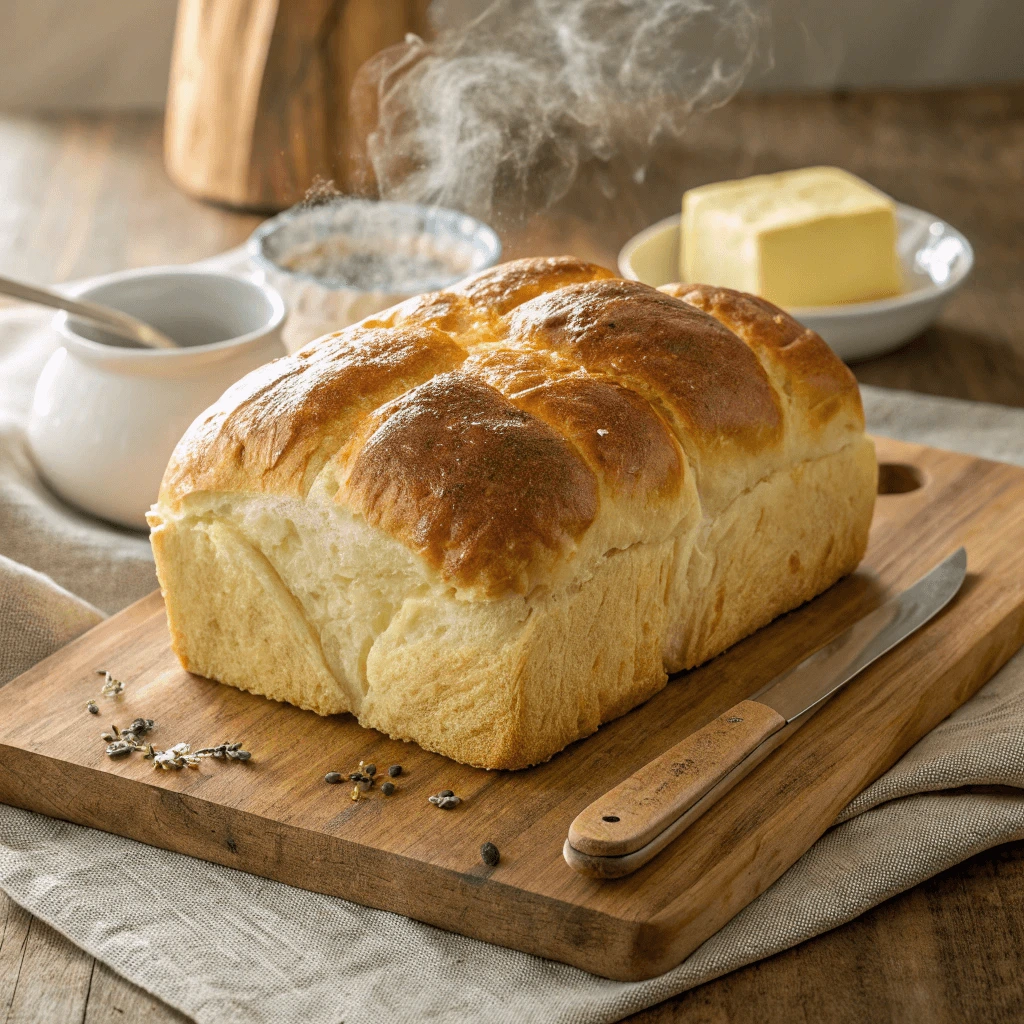
Enjoy It Fresh and Warm
There’s nothing quite like a slice of warm bread fresh from the oven. Spread on some butter, a drizzle of honey, or a spoonful of homemade jam. The bread’s soft texture and warm aroma make it a perfect companion to a cozy morning or an afternoon snack.
Pair It with Soups and Salads
Serve your bread as a hearty side with soups, stews, or crisp salads. A rustic slice of whole wheat or multigrain bread pairs beautifully with tomato basil soup, lentil stew, or a fresh Greek salad. Toast it lightly for extra crunch and dip it into your bowl for satisfying texture and flavor.
Make Sandwiches or Toast
Turn your homemade bread into the base for sandwiches or healthy toast toppings. Try an avocado toast with a sprinkle of chili flakes, or a veggie sandwich layered with hummus, cucumber, and sprouts. Your bread’s homemade quality adds flavor that store-bought versions simply can’t match.
Use Leftovers Creatively
If you have extra bread, don’t let it go to waste. Transform leftovers into croutons, breadcrumbs, or a savory bread pudding. You can also freeze slices for future meals—just toast them when needed, and they’ll taste freshly baked.Serving, Storing, and Troubleshooting Your Bread
How to Store Bread and Keep It Fresh
You’ve baked a beautiful loaf—now it’s time to keep it fresh for as long as possible. Proper storage helps maintain your bread’s flavor, texture, and moisture without relying on preservatives.
Let the Bread Cool Completely
Before storing your bread, allow it to cool fully on a wire rack. If you store warm bread too soon, trapped steam will create a soggy crust and promote mold growth. Wait at least 1–2 hours so the interior sets properly and excess moisture escapes.
Store at Room Temperature (Short-Term)
For daily use, keep your bread in a paper bag, cloth bread bag, or bread box at room temperature. These options allow the loaf to breathe while preserving its crust. Avoid sealing it in plastic unless you prefer a softer crust. Even then, opt for a loose seal to reduce moisture buildup.
Bread stored this way will stay fresh for up to 3 days. After that, the texture may start to change.
Refrigeration: A Common Mistake
Many people store bread in the refrigerator, thinking it prolongs freshness. In reality, cold air dries out bread quickly and makes it go stale faster. Unless you live in a very humid climate or the bread contains dairy or eggs, avoid refrigerating your loaf.
Freeze for Long-Term Storage
If you want to keep your bread for longer than three days, freeze it. Slice the bread first so you can take out just what you need. Wrap the slices tightly in plastic wrap or foil, then place them in a resealable freezer bag. When ready to eat, toast or warm a slice for that fresh-baked feel.
Healthy Ingredient Alternative: Add Herbs Like Rosemary or Basil
Incorporating herbs like rosemary or basil into your bread dough is a simple and flavorful way to boost both the taste and nutrition of your homemade loaf. These fresh or dried additions transform a basic recipe into a bakery-worthy creation.
Why Choose Fresh Herbs?
Fresh herbs like rosemary and basil offer more than just flavor—they bring antioxidants, vitamins, and anti-inflammatory properties to your bread. Rosemary supports digestion and circulation, while basil offers vitamin K and natural antibacterial compounds. These ingredients not only taste great but also add nutritional value without altering the structure of your dough.
How to Add Herbs to Your Dough
Chop your herbs finely before mixing them into the dough. You can use about 1 to 2 tablespoons of fresh herbs or 1 to 2 teaspoons of dried herbs per loaf, depending on how bold you want the flavor to be. For rosemary, strip the needles from the stem and chop them to avoid tough bites. For basil, use tender leaves and fold them gently into the dough after the first mix.
Mix herbs in during the kneading stage to distribute them evenly throughout. Alternatively, sprinkle a few extra on top of the loaf before baking for a fragrant crust and appealing look.
Pairing Ideas and Flavor Combos
Herbed bread pairs beautifully with savory dishes. Try rosemary bread with soups or roasted vegetables, or pair basil bread with tomato-based sauces and pasta. You can even combine herbs like rosemary and thyme or basil and oregano for added complexity.
Conclusion
Baking bread doesn’t have to be intimidating. With simple ingredients, easy techniques, and a few smart substitutions, anyone can create soft, flavorful homemade loaves. This easy rising recipe is perfect for beginners looking to build confidence and skill in the kitchen. By following the tips on mixing, rising, and baking, you’ll enjoy fresh, delicious bread every time. Don’t be afraid to experiment with healthy ingredients like olive oil, whole wheat flour, or fresh herbs. Start baking today—and rise to the occasion like a pro!