To bake perfect gluten-free treats, mastering the right ingredients, techniques, and tools is essential. The Gluten-Free Bakeries Recipe guides you through every step to achieve soft, fluffy, and delicious baked goods. Whether you’re an experienced baker or just starting out, these secrets will help you create bakery-quality gluten-free treats right in your own kitchen. From selecting the best gluten-free flour blends to understanding key baking methods, this recipe has everything you need for success!
Understanding the Basics of Gluten-Free Bakeries
What Makes Gluten-Free Baking Unique?
Gluten-free baking stands apart from traditional baking because it requires creative ways to replace gluten’s role in structure and texture. Gluten provides elasticity and helps baked goods rise and hold their shape. Without it, bakers must use alternative ingredients to achieve the same fluffy, tender results.
The Challenge of Replacing Gluten
Gluten traps air and gives baked goods their familiar chewy or soft texture. In gluten-free baking, that structure comes from binders such as xanthan gum or psyllium husk. These ingredients help hold everything together and improve the final product’s texture.
The Variety of Alternative Flours
Gluten-free baking depends on a mix of flours to create balance. Almond flour offers moisture, while coconut flour absorbs liquid quickly. Rice flour adds lightness. Many recipes combine these flours with starches like tapioca or potato starch to achieve a soft, fluffy texture without crumbliness.
The Importance of Precision
Measuring ingredients carefully matters even more in gluten-free baking. Small errors can affect moisture, density, and texture. Use a kitchen scale whenever possible for accuracy. Following tested recipes helps you understand how different ingredients work together and leads to better, more consistent results.
Key Ingredients in Gluten-Free Recipes
Gluten-free baking relies on a careful blend of ingredients that work together to mimic the structure and texture gluten provides. Each component serves an important role in creating baked goods that are soft, fluffy, and delicious.
Gluten-Free Flours That Build the Base
A mix of flours forms the foundation of most gluten-free recipes. Almond flour adds moisture and a rich, nutty flavor. Coconut flour helps absorb liquid and creates a tender crumb, though it must be used sparingly. Brown rice flour and sorghum flour provide mild taste and structure. Most recipes combine these flours with starches for balance.
Starches and Binders That Add Structure
Tapioca starch, potato starch, and cornstarch help lighten the texture of baked goods. These starches give muffins, breads, and cakes a soft, airy feel. Binders like xanthan gum, guar gum, or psyllium husk replace the elasticity gluten usually provides. They prevent crumbling and help baked goods hold their shape during and after baking.
Sweeteners, Fats, and Flavor Enhancers
Sweeteners such as honey, maple syrup, or coconut sugar not only add flavor but also retain moisture. Healthy fats like olive oil, avocado oil, and butter contribute to tenderness and richness. Spices, vanilla extract, and citrus zest enhance flavor, ensuring gluten-free baked goods taste as good as they look.
The Role of Binders Like Xanthan Gum and Psyllium Husk
Gluten-free baking relies on special ingredients to mimic the structure that gluten provides. Two of the most effective binders are xanthan gum and psyllium husk. They ensure your baked goods stay soft, moist, and easy to handle.
Why Do You Need Binders in Gluten-Free Baking?
In recipes that use wheat flour, gluten forms a network that traps air bubbles and gives baked goods their shape and chewy texture. Without gluten, batters and doughs can fall apart or feel dense. Binders replace gluten’s role by holding everything together and supporting the rise.
Xanthan Gum: Creating Stretch and Structure
Xanthan gum acts like glue. It thickens the batter, adds flexibility, and helps trap air for a light crumb. Use small amounts—typically ½ teaspoon to 1 teaspoon per cup of gluten-free flour blend—to achieve the best texture. It works especially well in cookies, cakes, and soft breads.
Psyllium Husk: Locking in Moisture
Psyllium husk absorbs water and creates a gel-like consistency in your dough. This gel helps prevent dryness and keeps your baked goods fresh longer. Psyllium also makes bread dough easier to knead and shape. Many bakers use it in gluten-free bread recipes for a better rise and a softer crumb.
Building the Perfect Gluten-Free Flour Blend

Combining Almond Flour and Coconut Flour for Flavor and Texture
When you blend almond flour and coconut flour in your gluten-free recipes, you achieve a balanced flavor and an ideal texture. Each flour brings unique benefits, and together they help create baked goods that are soft, moist, and rich in taste.
Why Pair Almond Flour and Coconut Flour?
Almond flour provides a subtle nutty flavor and a tender crumb. It’s naturally high in protein and healthy fats, which help add richness and moisture. On the other hand, coconut flour is highly absorbent and adds a mild sweetness. By combining these two, you create a dough that’s easier to work with and less likely to feel dry or crumbly.
How to Get the Right Ratio
Since coconut flour absorbs much more liquid than almond flour, you need to adjust your liquid ingredients accordingly. A common blend is about 3 parts almond flour to 1 part coconut flour. This mix keeps your batter moist while giving it structure. Always monitor the consistency and add extra liquid, like milk or oil, if needed.
Tips for Baking Success
When using this flour combination, be sure to sift the flours before mixing to avoid clumps. Also, let your batter rest for a few minutes after mixing. This pause allows the coconut flour to absorb moisture fully, preventing surprises during baking. The result is a soft, fluffy texture that rivals traditional baked goods in both taste and appearance.
Using Tapioca Starch and Other Starches to Add Moisture
Tapioca starch and other gluten-free starches play a vital role in improving the texture and moisture of gluten-free baked goods. Because gluten is absent, these starches help mimic the elasticity and softness that traditional wheat flour provides.
Why Tapioca Starch is Essential
Tapioca starch comes from the cassava root and acts as a natural binder and moisture retainer. When you add it to your gluten-free recipes, it helps create a chewy yet tender texture. It also enhances the overall moisture content, preventing your baked goods from becoming dry or crumbly. Many gluten-free bakery recipes rely on tapioca starch to achieve that soft, fluffy consistency everyone loves.
Other Starches to Consider
Besides tapioca starch, you can use potato starch, arrowroot powder, or cornstarch to add lightness and moisture. Each starch absorbs liquid differently and contributes unique qualities. For example, potato starch offers a smooth texture and adds volume, while arrowroot powder gives a glossy finish and holds moisture well. Experimenting with different starches can help you perfect your gluten-free baking.
How to Use Starches Correctly
To get the best results, blend these starches with your primary gluten-free flours. Usually, they replace about 20-30% of the total flour mixture. Be careful not to overuse starches, as too much can make your baked goods gummy or dense. Also, mix the starch thoroughly with other dry ingredients to ensure even distribution.
Choosing Trusted Brands for Quality Flour
Selecting the right gluten-free flour brand makes a big difference in the success of your baked goods. Since gluten-free baking depends heavily on the quality of the flour blends, choosing trusted brands helps ensure consistent texture, flavor, and structure.
Why Brand Quality Matters
Not all gluten-free flours perform the same. High-quality brands source premium ingredients and carefully balance their flour blends. This attention to detail results in flours that mix well and produce soft, fluffy, and delicious baked goods. Low-quality flours may contain fillers or inconsistent starch ratios, which can cause dryness, crumbling, or off flavors.
Popular Trusted Brands to Consider
Many home bakers rely on brands like Bob’s Red Mill, King Arthur, and Cup4Cup for their gluten-free baking needs. Bob’s Red Mill offers a wide range of single-ingredient flours and well-balanced blends. King Arthur’s gluten-free flour performs well in bread, cakes, and cookies, providing excellent rise and crumb. Cup4Cup produces blends designed to closely mimic traditional wheat flour, making it a favorite among gluten-free bakeries and chefs.
Tips for Finding Quality Flour Locally and Online
You can find trusted gluten-free flours at many health food stores and larger supermarkets. Specialty online retailers also provide access to a broader selection of quality brands. When shopping, read product reviews and check ingredient lists to avoid fillers or additives you don’t want. Consider purchasing smaller bags first to test how each flour blend works in your recipes.
Must-Have Kitchen Tools for Gluten-Free Baking
Why a Digital Kitchen Scale Makes a Difference
Using a digital kitchen scale can significantly improve your gluten-free baking results. Accurate measurements play a crucial role in creating soft, fluffy, and delicious baked goods. Let’s explore why a digital scale matters and how it can elevate your baking.
Precision Matters in Gluten-Free Baking
Gluten-free flours and ingredients vary in density and texture, so measuring by volume (cups or tablespoons) often leads to inconsistent results. A digital kitchen scale provides exact weights, ensuring you use the right amount of each ingredient. This precision prevents common baking problems like dryness, heaviness, or crumbling that occur when ingredients are unevenly measured.
Benefits of Using a Digital Scale
A digital scale speeds up the baking process by eliminating the need for multiple measuring cups and spoons. You simply place your mixing bowl on the scale, zero it out, and add ingredients one by one. This method reduces cleanup and saves time. It also helps when scaling recipes up or down since you can measure ingredients proportionally with ease.
Tips for Using Your Digital Kitchen Scale
To get the best results, place your bowl or container on the scale and press the tare (zero) button before adding each ingredient. Use grams for the most precise measurements, as many gluten-free recipes list ingredient weights in grams rather than cups. Calibrate your scale regularly to maintain accuracy, especially if you bake frequently.
Investing in a digital kitchen scale takes your gluten-free baking to the next level. It removes guesswork, helps you replicate recipes accurately, and consistently produces soft, fluffy, and delicious treats.
Essential Tools: Stand Mixers, Silicone Mats, and More
Using the right tools makes gluten-free baking easier and more consistent. Here are some must-have kitchen tools that help you create perfect baked goods.
Stand Mixers for Easy Mixing
Stand mixers save time and mix ingredients evenly. They help create light, fluffy textures by incorporating air into your batter. Attachments like dough hooks make kneading gluten-free dough much simpler.
Silicone Mats for Non-Stick Baking
Silicone baking mats provide a reusable non-stick surface. They prevent your cookies and pastries from sticking without extra oil, and they help bake items evenly by distributing heat well.
Measuring Tools for Accuracy
Accurate measurements are key in gluten-free baking. While measuring cups work for liquids, a digital kitchen scale gives precise amounts of dry ingredients, ensuring consistent results every time.
How to Keep Your Baking Space Gluten-Free
Maintaining a gluten-free baking environment is essential to avoid cross-contamination and keep your baked goods safe for those with gluten sensitivities. Follow these practical steps to create and maintain a clean, dedicated gluten-free baking area.
Designate a Gluten-Free Baking Zone
Set aside a specific section of your kitchen or countertop exclusively for gluten-free baking. Keeping this area separate reduces the risk of gluten particles contaminating your ingredients and tools.
Use Separate Tools and Equipment
Assign separate mixing bowls, measuring cups, spatulas, and baking pans for gluten-free baking. Avoid sharing these with gluten-containing foods. Labeling your tools helps you and others in the household remember their purpose.
Clean Surfaces Thoroughly Before Baking
Before you start, wipe down all surfaces with a damp cloth and a gluten-free approved cleaner. Sweep or vacuum the floor to remove any stray crumbs. Keeping your workspace spotless prevents accidental gluten transfer.
Store Gluten-Free Ingredients Safely
Keep gluten-free flours and other baking ingredients in sealed containers or airtight jars. Store them away from regular flours or gluten-containing products to prevent cross-contact.
Wash Hands and Change Gloves When Needed
If you handle gluten-containing foods, wash your hands thoroughly before working with gluten-free ingredients. Wearing disposable gloves during baking can provide extra protection, especially when handling both gluten and gluten-free foods.
Be Mindful with Appliances
Some appliances, like toasters or mixers, can trap gluten particles. Use separate appliances for gluten-free baking or clean them carefully after each use to eliminate gluten residues.
Recipes for Gluten-Free Bakery Favorites
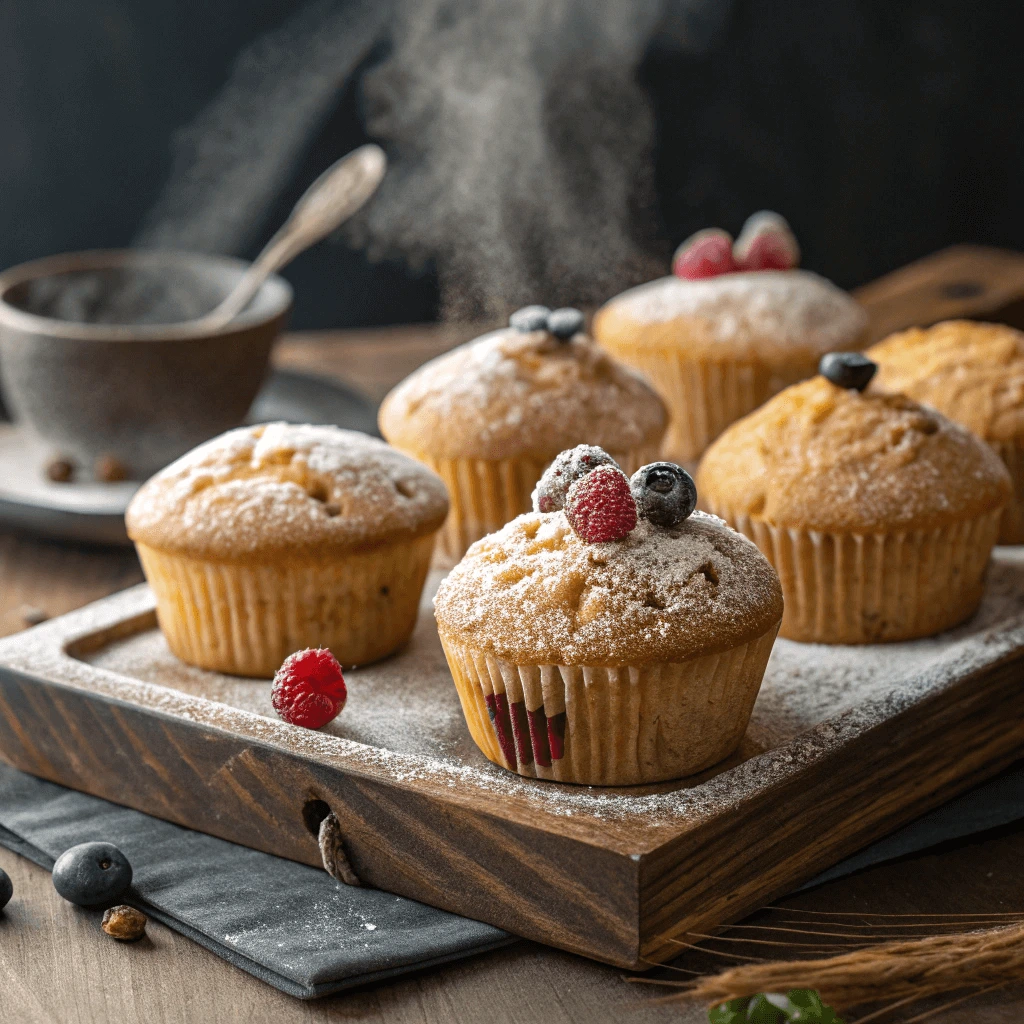
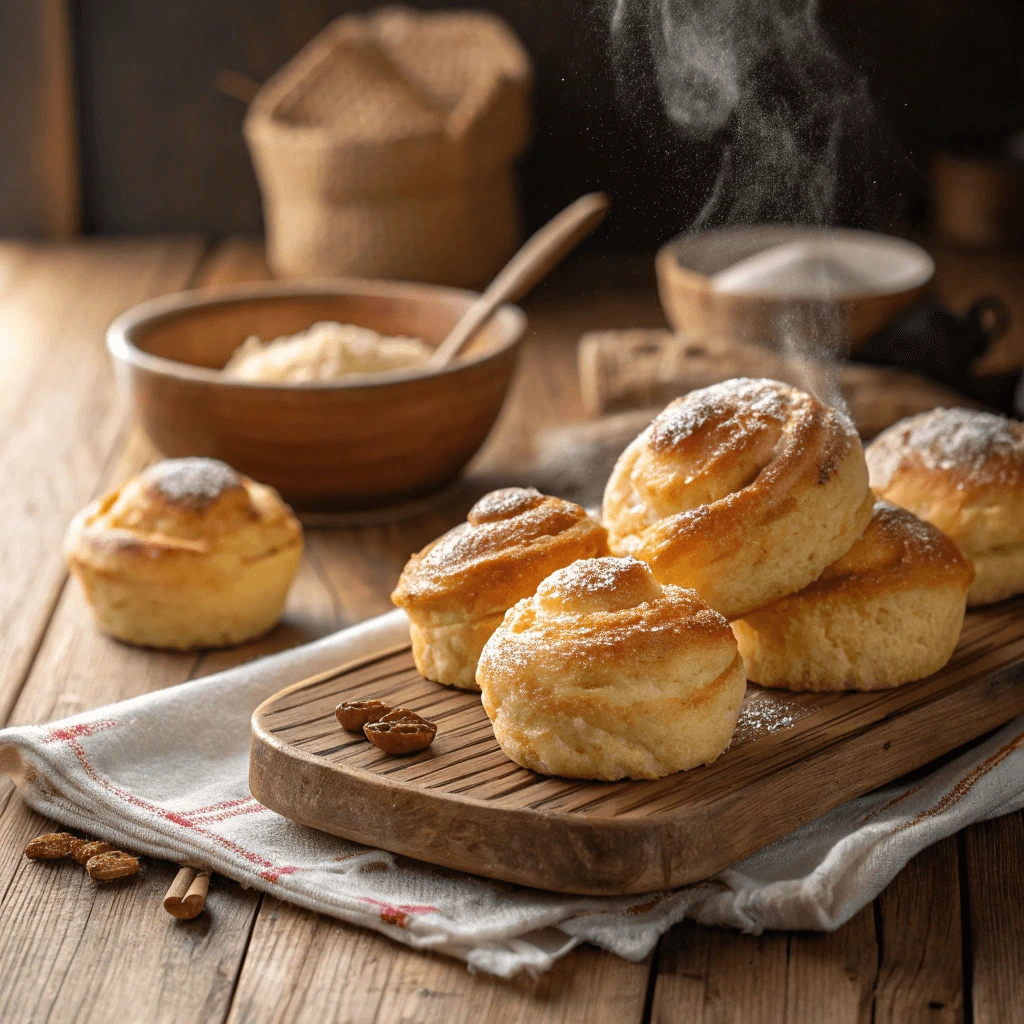
Soft and Fluffy Gluten-Free Bread and Muffins
Creating soft and fluffy gluten-free bread and muffins requires understanding the unique properties of gluten-free ingredients and how they interact. With the right techniques and ingredients, you can enjoy baked goods that rival traditional versions in texture and flavor.
Choosing the Right Flour Blend
Start with a well-balanced gluten-free flour blend that combines rice flour, tapioca starch, and potato starch. These flours provide structure and moisture while preventing dryness. Avoid using a single flour type, as it may cause dense or crumbly results.
Adding Moisture and Fat
Gluten-free baked goods often benefit from extra moisture. Incorporate ingredients like yogurt, applesauce, or mashed bananas to keep bread and muffins tender. Healthy fats such as olive oil, butter, or coconut oil also contribute to a moist texture and richer flavor.
Using Binders for Structure
Since gluten provides elasticity in traditional baking, use binders like xanthan gum or psyllium husk powder to mimic this effect. These binders hold the dough together and improve crumb structure, resulting in softer bread and lighter muffins.
Proper Mixing Techniques
Mix ingredients gently but thoroughly to avoid overworking the batter. Overmixing can lead to dense textures. Allow the batter or dough to rest for 10-15 minutes before baking. This rest time hydrates the flours and helps improve the final texture.
Baking and Cooling Tips
Bake gluten-free bread and muffins at a moderate temperature to ensure even cooking. Avoid opening the oven door too often, which can cause collapse. After baking, cool on a wire rack to prevent sogginess and maintain softness.
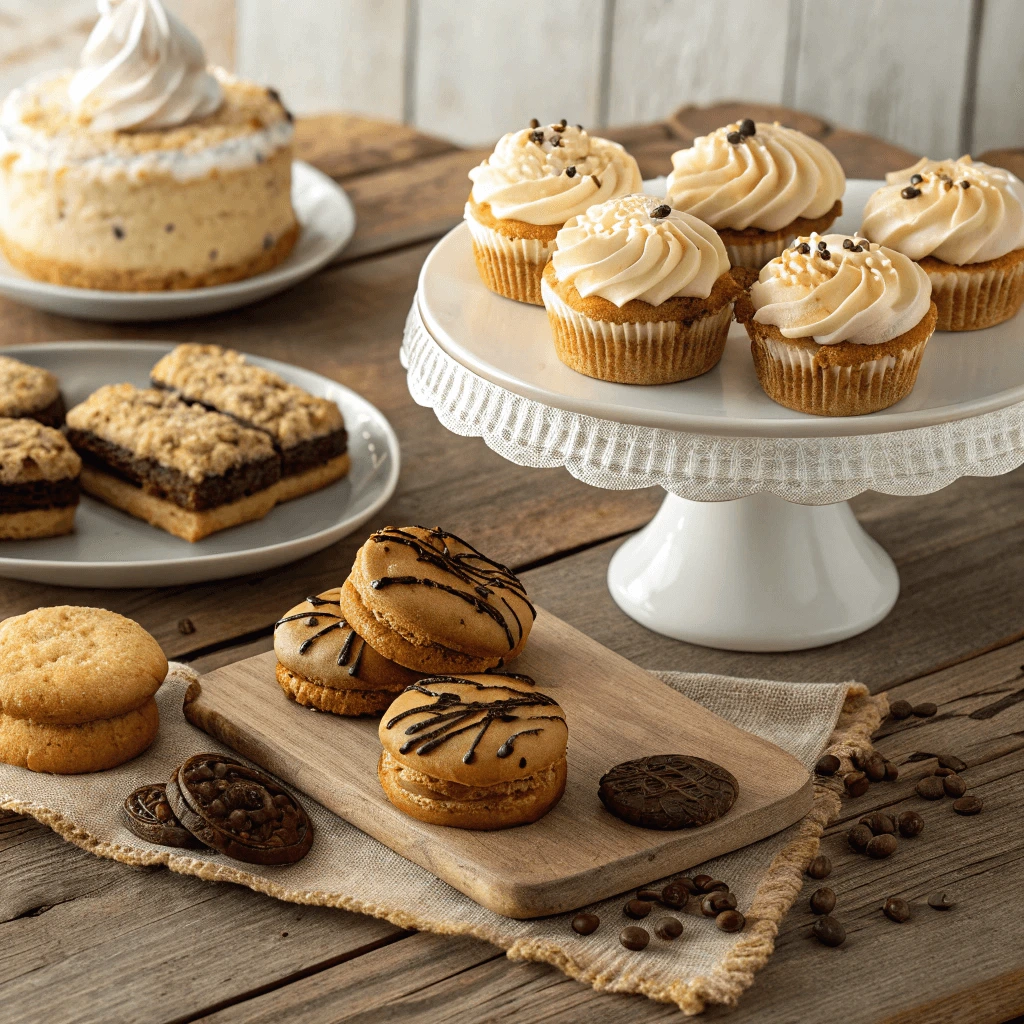
Gluten-Free Cookies and Cupcakes Everyone Will Love
Gluten-free cookies and cupcakes can be just as delicious and satisfying as their traditional counterparts. The key lies in choosing the right ingredients and mastering a few simple techniques to achieve the perfect texture and flavor.
Selecting the Right Flours for Cookies and Cupcakes
Use a blend of almond flour and tapioca starch for cookies to create a tender yet chewy texture. For cupcakes, combine rice flour with a bit of coconut flour to keep them moist without being dense. This balance prevents the dry, crumbly texture that sometimes happens in gluten-free baking.
Sweetening Naturally and Enhancing Flavor
Natural sweeteners like maple syrup, honey, or coconut sugar add depth to gluten-free baked goods. Adding vanilla extract, cinnamon, or citrus zest can elevate the flavor profile and keep your treats tasting fresh and delightful.
Achieving Perfect Texture in Cookies
To make cookies soft yet slightly crisp on the edges, chill the dough before baking. This step controls spreading and helps maintain shape. Incorporate a small amount of xanthan gum to improve elasticity and binding, resulting in a chewy bite.
Baking Cupcakes That Stay Moist and Fluffy
Avoid overmixing cupcake batter; mix just until ingredients combine. Overmixing can cause cupcakes to turn dense. Bake at the recommended temperature and test doneness with a toothpick to prevent overbaking. Let cupcakes cool completely before frosting to maintain their soft texture.
Creative Additions for Extra Fun
Add-ins like chocolate chips, chopped nuts, or dried fruit bring extra texture and flavor to cookies and cupcakes. For a festive touch, top cupcakes with homemade frosting flavored with natural extracts or fresh fruit purées.
Tender Gluten-Free Pastries and Scones at Home
Making tender gluten-free pastries and scones at home takes some care but is definitely achievable. Using the right flour blends, such as rice flour, tapioca starch, and almond flour, helps create a light and flaky texture. Adding xanthan gum or psyllium husk improves dough elasticity and binds ingredients together.
Preparing the Dough
Keep your butter or coconut oil cold and cut it quickly into the flour to form small pieces. This technique creates flaky layers during baking. Avoid overworking the dough, as it can make pastries tough.
Moist and Soft Scones
For soft scones, use buttermilk or yogurt to add moisture. Gently fold the dough instead of mixing vigorously to keep it tender. Letting the dough rest before baking helps the flours absorb moisture better.
Baking Tips
Bake pastries on parchment paper for even heat. Brush with egg wash or milk to get a nice golden color. Check doneness by feeling the surface—firm but not hard.
Troubleshooting and Enhancing Your Gluten-Free Bakes
Common Gluten-Free Baking Challenges (And How to Solve Them)
Baking without gluten presents unique challenges, but knowing how to handle them will lead to better results. Let’s explore the most common issues and practical solutions.
Dry and Crumbly Texture
Gluten gives baked goods elasticity and moisture. Without it, baked items can turn dry or crumbly. To fix this, add moisture-rich ingredients like applesauce, yogurt, or mashed bananas. Using xanthan gum or psyllium husk also helps bind the ingredients and improve texture.
Dense or Heavy Baked Goods
Gluten-free flours tend to be heavier than wheat flour, which can make your bread or cakes dense. To keep your goods light and fluffy, combine multiple gluten-free flours such as rice flour, tapioca starch, and almond flour. Also, avoid overmixing the batter to prevent compactness.
Lack of Rise
Without gluten, dough struggles to trap air and rise. To encourage better rising, use fresh yeast or baking powder, and ensure you give the dough enough time to rest. Whipping egg whites separately and folding them into your batter can add extra lift.
Off Flavors
Some gluten-free flours, like chickpea or sorghum flour, have strong flavors that may affect your baked goods. Mask these with natural flavor enhancers like vanilla extract, cinnamon, or citrus zest to balance the taste.
Using Natural Flavor Enhancers for Better Taste
Gluten-free baked goods sometimes lack the rich flavor found in traditional recipes. Luckily, you can boost their taste by incorporating natural flavor enhancers. These ingredients not only add depth but also complement gluten-free flours’ unique profiles.
The Power of Spices and Herbs
Spices such as cinnamon, nutmeg, cardamom, and ginger bring warmth and complexity to gluten-free treats. Adding freshly ground spices enhances aroma and flavor more effectively than pre-ground options. Additionally, fresh herbs like rosemary or thyme can work well in savory gluten-free baked goods, adding a refreshing twist.
Using Citrus Zest and Juices
Citrus zest from lemons, limes, or oranges brightens flavors and adds a subtle tang. You can incorporate zest into batters or doughs, or add a splash of fresh juice to balance sweetness. Citrus also pairs beautifully with almond and coconut flours, enhancing their natural nuttiness.
Extracts and Natural Sweeteners
Vanilla, almond, and coconut extracts are excellent for enriching flavor without adding calories. These extracts intensify sweetness and mask any off-notes from gluten-free flours. Natural sweeteners like honey, maple syrup, or agave nectar not only sweeten your recipes but also add a layer of flavor complexity.
Roasted Nuts and Toasted Seeds
Adding roasted nuts or toasted seeds can give your baked goods a pleasant crunch and nutty aroma. Toasting intensifies their flavor, making your treats more satisfying. Sprinkle chopped nuts on top before baking or fold them into the batter for texture and taste.
Where to Find Quality Gluten-Free Ingredients and Brands for Gluten-Free Bakeries
Sourcing high-quality ingredients is essential for anyone running or baking like gluten-free bakeries. The success of your baked goods depends on using reliable, safe, and flavorful components. Knowing where to shop and which brands to trust will help your gluten-free bakeries deliver consistent, delicious results.
Specialty Stores and Health Food Markets for Gluten-Free Bakeries
Many gluten-free bakeries turn to specialty stores and health food markets to find top-notch gluten-free ingredients. These shops typically stock a variety of gluten-free flours, starches, and binders specifically designed to meet the needs of gluten-free bakeries. Shopping here ensures you get fresh products that maintain the integrity of your baked goods.
Online Shopping for Gluten-Free Bakeries Ingredients
Online retailers provide gluten-free bakeries with the convenience and variety necessary for recipe success. Websites like Amazon and dedicated gluten-free marketplaces carry a wide selection of gluten-free baking essentials. Gluten-free bakeries can easily order in bulk, which helps maintain supply and save costs while ensuring quality.
Trusted Brands Used by Gluten-Free Bakeries
Leading gluten-free bakeries rely on trusted brands that guarantee gluten-free certification and superior performance. Brands like Udi’s Gluten-Free, Bob’s Red Mill, and Enjoy Life are popular among gluten-free bakeries due to their consistent quality and wide range of products. These brands supply flours, mixes, and baking ingredients that help gluten-free bakeries produce soft, fluffy, and delicious baked goods.
Reading Labels and Certifications for Gluten-Free Bakeries
Gluten-free bakeries must pay close attention to product labels to avoid cross-contamination and hidden gluten sources. Always choose ingredients with clear gluten-free certifications such as GFCO seals. This practice protects customers and maintains the reputation of your gluten-free bakeries for safe, trustworthy treats.
Conclusion
Mastering gluten-free bakeries recipes unlocks the secrets to perfectly baked goods that are soft, fluffy, and delicious. By understanding key ingredients, using trusted brands, and applying the right baking techniques, you can create treats that rival traditional bakery favorites. Consistent measuring, quality tools, and careful attention to avoiding cross-contamination ensure success every time. Whether you’re baking bread, muffins, or cookies, these secrets will help you enjoy homemade gluten-free bakeries delights that satisfy everyone’s taste buds while keeping gluten-free living easy and enjoyable.