Craving a scoop of something creamy, dreamy, and entirely crafted by you? This Homemade Journeyman ice cream recipe is the answer. Whether you’re avoiding additives or just want a more wholesome dessert, making your own ice cream at home gives you full control over flavor, texture, and ingredients. Best of all, it’s surprisingly simple. You don’t need fancy equipment or hours of effort—just a few key steps and the right ingredients. In this post, you’ll learn how to create artisan-quality ice cream with ease, plus flavor ideas and tips to make each batch better than the last.
Why Make Journeyman Ice Cream at Home?
Healthier Than Store-Bought
When you make your own Journeyman-style ice cream at home, you take control of what goes into each scoop. Unlike many commercial brands loaded with preservatives, stabilizers, and artificial flavorings, homemade versions use whole, recognizable ingredients that support your wellness goals.
Fewer Additives and Preservatives
Store-bought ice cream often contains synthetic ingredients to extend shelf life or improve texture. These include emulsifiers, artificial thickeners, and food dyes. In contrast, homemade ice cream allows you to skip these extras altogether. You can use natural stabilizers like arrowroot or agar agar—or leave them out entirely if you prefer a pure, creamy finish.
Control Over Sugar and Fats
Another key advantage is the ability to adjust sugar and fat content to your preferences. Commercial ice cream is often packed with high fructose corn syrup or refined sugar. At home, you can opt for natural sweeteners like honey, maple syrup, or dates. You can also experiment with low-fat dairy or plant-based milk to lighten up the texture while keeping it rich and satisfying.
Adaptability for Dietary Needs
Homemade ice cream also offers incredible flexibility. Whether you’re dairy-free, gluten-free, or reducing your sugar intake, you can tailor your recipe to match your needs. For example, almond or coconut milk provides a creamy base for those avoiding lactose, while monk fruit or stevia can sweeten the dessert without adding extra calories.
Customize to Your Preferences
One of the best things about making homemade Journeyman ice cream is the freedom to tailor every batch to your taste. Whether you’re craving bold flavors or need to avoid certain ingredients, the possibilities are endless—and delicious.
Choose Your Ideal Base
You’re not limited to one type of dairy or milk substitute. Prefer a richer texture? Use full-fat coconut milk or heavy cream. Want something lighter? Try almond milk, oat milk, or a mix of Greek yogurt and cashew milk. This control over the base gives you the power to balance flavor, creaminess, and nutritional content.
Pick Your Sweetness Level
Everyone’s sweet tooth is different. Fortunately, homemade ice cream lets you adjust the level and type of sweetness easily. You can use classic cane sugar, or choose natural alternatives like honey, maple syrup, agave nectar, or dates. If you’re watching your sugar intake, low-glycemic options like monk fruit or erythritol still deliver great taste without the sugar spike.
Flavor It Your Way
Now comes the fun part—flavors! Go classic with vanilla bean or cocoa powder, or get adventurous with lavender, cardamom, espresso, or matcha. For texture, stir in your favorite mix-ins like chopped nuts, chocolate chips, dried fruit, or even swirls of peanut butter or fruit jam. Don’t forget to taste as you go to ensure the flavor suits your palate.
Cost-Effective and Fun
Making your own Journeyman ice cream at home isn’t just rewarding—it’s also friendly on your wallet and packed with opportunities for creativity and enjoyment. Let’s break down why this delicious hobby is worth the investment of your time.
Save Money on Premium Flavors
Store-bought artisanal or “clean label” ice creams can cost $6 to $10 per pint—or more! When you make ice cream at home, you can create a gourmet-quality treat at a fraction of the cost. Simple ingredients like cream, milk alternatives, natural sweeteners, and flavor add-ins cost significantly less per serving when bought in bulk. Plus, you can reuse ingredients like vanilla extract or cocoa powder across multiple batches.
Maximize Ingredients and Reduce Waste
Homemade ice cream gives you a great way to use up leftover ingredients in your pantry or fridge. Have a few overripe bananas? Blend them into the base. Too many strawberries or mint leaves? Toss them in for a refreshing twist. By creatively using what you already have, you save money and reduce food waste—an eco-friendly bonus.
Make It a Family or Group Activity
Beyond the savings, making ice cream can be a fun bonding experience. Involve your kids, friends, or roommates in the process—from picking flavors to churning the mix. Let everyone create their own version and have a “taste-off.” It’s a hands-on, screen-free activity that turns dessert-making into a joyful memory.
Not only is homemade Journeyman ice cream cost-effective, but it also brings fun, learning, and flavor into your kitchen. You’ll enjoy both the process and the end result without breaking the bank.
Ingredients for the Perfect Homemade Journeyman Ice Cream Recipe
Choosing the Right Base
The base is the foundation of your homemade Journeyman ice cream. Whether you’re aiming for a creamy dairy version or a plant-based alternative, the right choice sets the stage for flavor, texture, and nutrition. Understanding your options makes it easier to create a dessert that matches your preferences and dietary needs.
Traditional Dairy Bases
If you’re not avoiding dairy, a blend of heavy cream and whole milk is the classic option. This combo delivers a rich, smooth texture and that iconic mouthfeel ice cream lovers crave. Adding egg yolks creates a custard-style base, which adds even more creaminess and depth. To keep things simple, you can skip the eggs and stick to just cream and milk—especially if you’re after a lighter, no-cook version.
Plant-Based Alternatives
For those who prefer a dairy-free option, several plant-based bases work wonderfully. Coconut milk is a favorite because of its high fat content and silky texture. Almond milk, oat milk, and cashew milk also make great alternatives, especially when blended with coconut cream or soaked cashews to boost richness. Choose unsweetened versions to control the sweetness and flavor balance more effectively.
Tips for Better Texture
The right balance of fat, sugar, and water is crucial. Low-fat bases may produce icy textures unless you add a natural stabilizer like arrowroot or a touch of nut butter. Try blending your base with soaked dates, banana, or avocado to improve creaminess without relying on dairy or added fats. Also, chill your base mixture for at least 4 hours before churning—it helps the ice cream freeze more evenly and churn better.
Natural Sweeteners That Enhance Flavor
Choosing the right sweetener is just as important as selecting the base when crafting your homemade Journeyman ice cream. Natural sweeteners don’t just add sweetness—they also bring depth, character, and even nutritional benefits. By understanding their unique qualities, you can enhance flavor while staying clear of refined sugars.
Popular Natural Sweetener Options
Several natural sweeteners work beautifully in ice cream recipes:
- Maple Syrup: This classic choice adds a warm, earthy sweetness that complements vanilla, pecan, and even chocolate flavors. Because it dissolves easily, maple syrup integrates well into both warm and cold mixtures.
- Honey: Known for its floral notes, honey pairs especially well with fruits and spices. Choose raw, local honey for added health benefits and richer flavor.
- Agave Nectar: This neutral, low-glycemic sweetener blends seamlessly into creamy bases and won’t overpower delicate flavors like matcha or coconut.
Lesser-Known But Flavorful Choices
If you want to experiment, try these alternatives:
- Date Syrup: Made from pureed dates, this thick syrup adds a caramel-like richness along with fiber and minerals.
- Coconut Sugar: Though granulated, it dissolves well in warm bases and brings a deep, almost brown-sugar-like flavor.
- Monk Fruit or Stevia (Natural Zero-Calorie Options): For a lower-sugar ice cream, use monk fruit or stevia. These natural sweeteners don’t spike blood sugar and are safe for most diets. Just be cautious—too much can cause bitterness.
Tips for Balancing Sweetness
Start with small amounts of your chosen sweetener and taste as you go. If your mixture includes sweet fruits like bananas or mangos, you may need less added sugar. Also, remember that cold dulls sweetness—your base should taste slightly sweeter than you want the final ice cream to be. Chilling the sweetened base overnight can help flavors meld and mellow for a more balanced result.
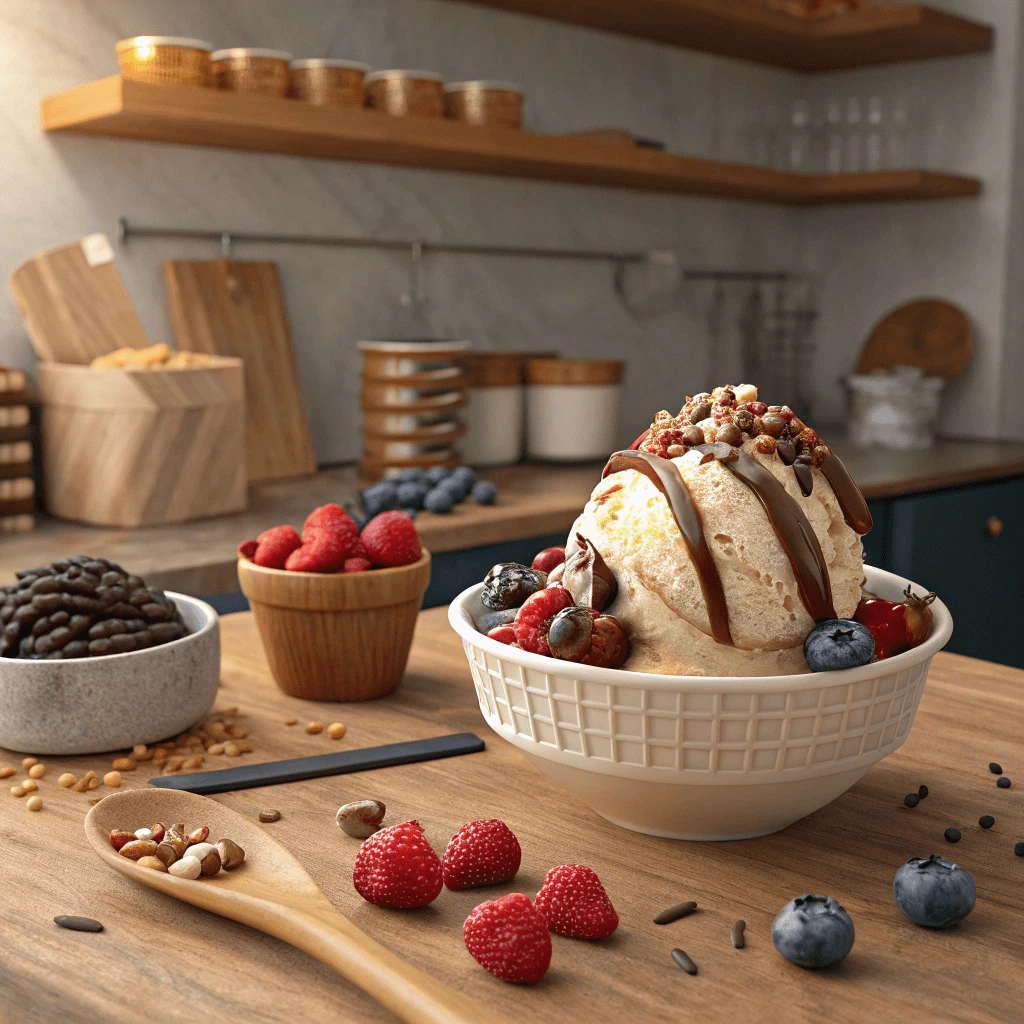
Flavor Boosters and Nutrient Add-ins
Homemade Journeyman ice cream allows you to boost both flavor and nutrition. By adding simple ingredients, you can transform your ice cream into a healthier treat without compromising on taste.
Natural Flavor Enhancers
To enrich your ice cream’s flavor, try these natural ingredients:
- Vanilla Bean: Real vanilla deepens sweetness and adds a rich aroma.
- Citrus Zest: A dash of lemon or lime zest brightens the flavor and cuts through creaminess.
- Spices: Ground cinnamon or cardamom offers a warm, fragrant twist.
Nutritional Add-ins
Incorporate superfoods for a nutritional boost:
- Chia Seeds: Packed with omega-3s and fiber, these add texture and nutrition.
- Matcha Powder: Provides antioxidants and a subtle green tea flavor.
- Cacao Nibs: A crunchy, antioxidant-rich alternative to chocolate chips.
Delicious, Functional Combos
Mix taste and health with these combos:
Coconut Cream + Collagen: Boosts creaminess while supporting skin and joints.
Peanut Butter + Flaxseed: A protein-packed, creamy combo.
Berries + Chia: Antioxidant-rich and adds a jammy texture.
Step-by-Step Homemade Journeyman Ice Cream Recipe
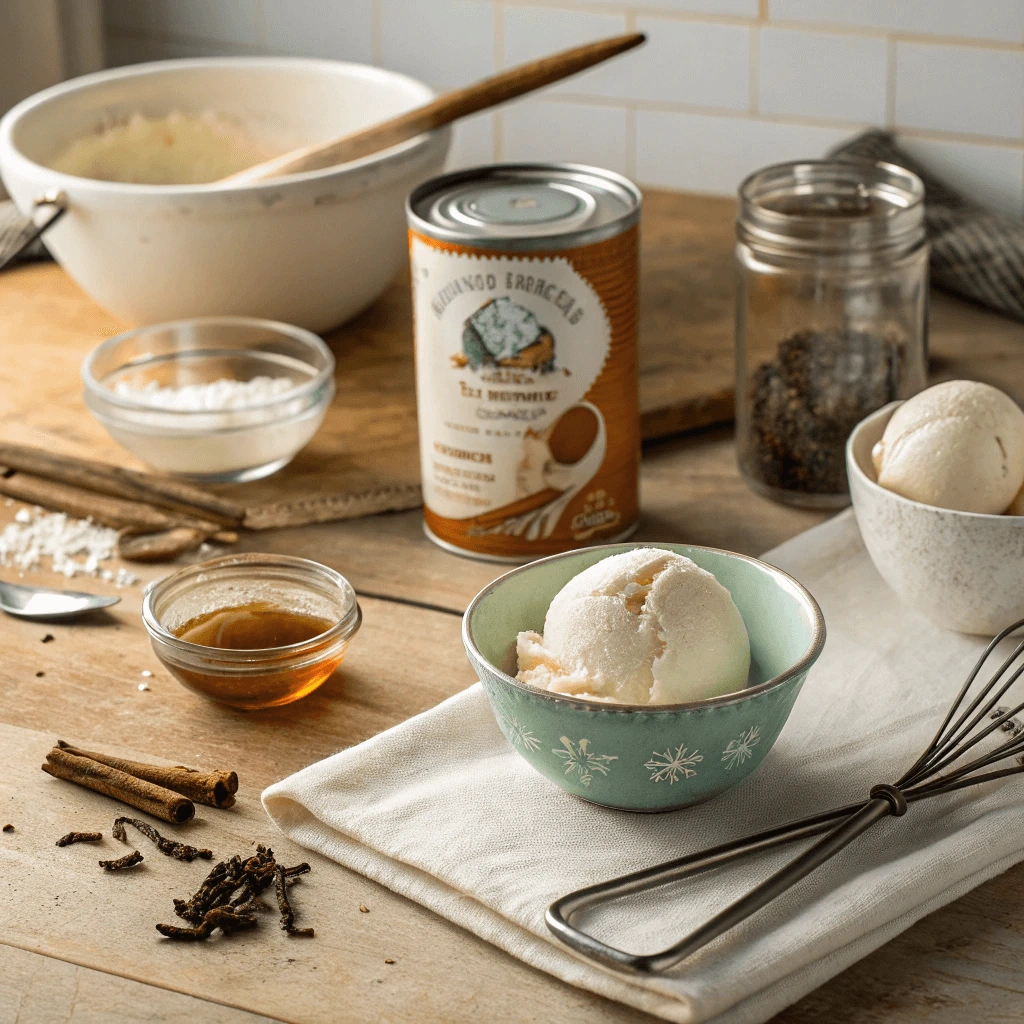
Blending and Preparing the Base
The base is the heart of any homemade ice cream, and its preparation is essential for a smooth, creamy texture.
Choosing Ingredients
Start with your base: cream, milk, and sugar. For dairy-free ice cream, use coconut or almond milk. Add flavorings like vanilla or fruit purees as desired.
Mixing the Ingredients
Combine your cream and milk in a bowl. Gradually mix in the sweetener and flavorings. Whisk to avoid lumps, and be sure to dissolve the sugar thoroughly.
Heating the Mixture
Heat the mixture over low to medium heat, stirring constantly. If using egg yolks for a custard-style base, cook gently to avoid curdling.
Cooling the Base
Once heated, chill the mixture in the refrigerator for at least 2 hours. This step helps the flavors develop and ensures the base is properly cooled for churning.
Flavoring and Chilling the Mixture
Once your ice cream base is prepared, the next step is to infuse it with your chosen flavors. Whether you’re using fruits, spices, or extracts, flavoring is a key step in making your homemade ice cream stand out.
Adding Flavorings
Start by adding flavorings such as vanilla extract, cocoa powder, or fruit purees. For chocolate ice cream, you might melt chocolate into the base. If you’re adding spices, like cinnamon or nutmeg, mix them in gradually to avoid overpowering the base.
Infusing Flavors
Let the mixture sit for a few minutes after adding the flavorings to allow the ingredients to meld together. For a deeper flavor, you can heat the base slightly, but avoid cooking it to prevent separation.
Chilling the Mixture
Once the flavor is fully incorporated, cover the mixture and place it in the refrigerator for at least 2 hours, or overnight. Chilling is crucial, as it helps to thicken the base and enhances the flavors. A cool base churns more efficiently and results in creamier ice cream.
Why Chilling is Important
Chilling the mixture ensures the right texture for churning. A cold base also prevents the formation of ice crystals during the freezing process, which makes the ice cream smoother. So, don’t skip this important step!
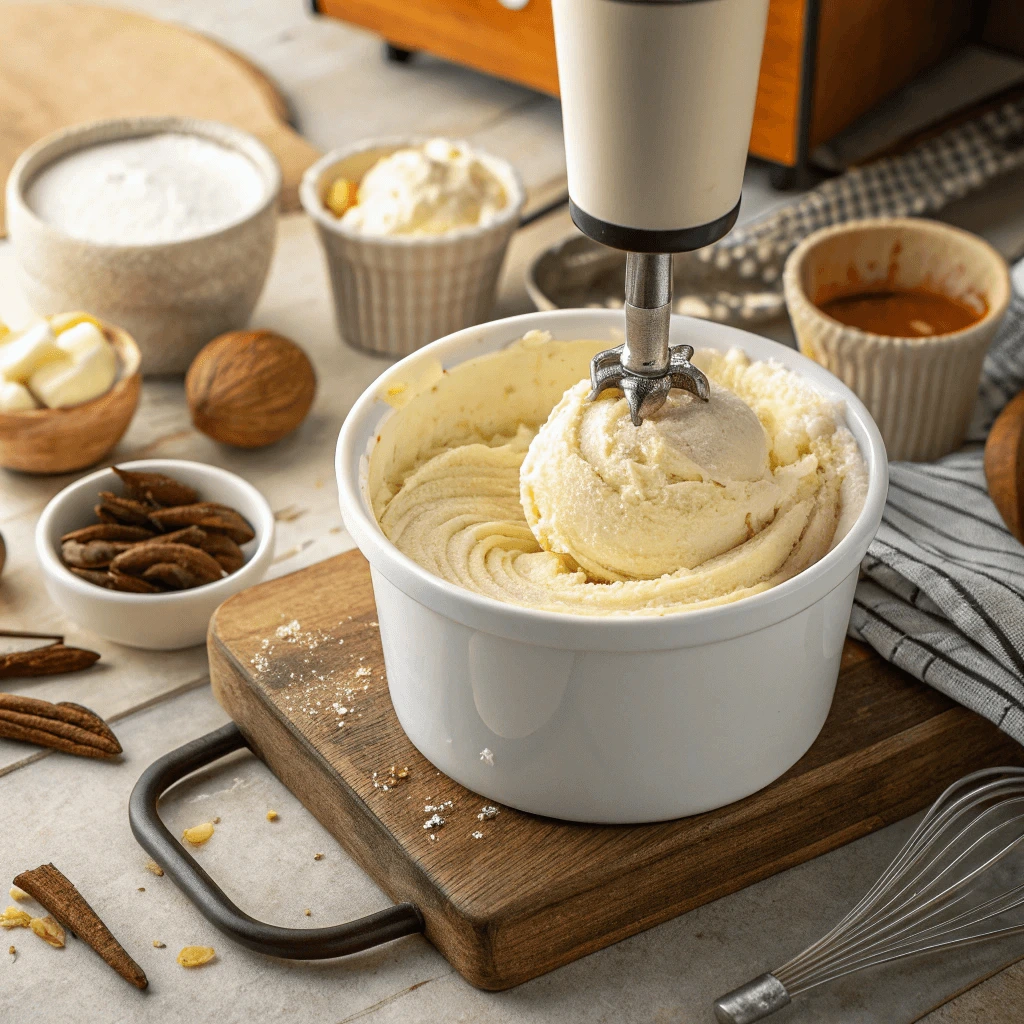
Churning, Freezing, and Serving
Once your ice cream base is chilled, it’s time for churning and freezing to achieve that smooth, creamy texture.
Churning the Base
Use an ice cream maker to churn the mixture according to the manufacturer’s instructions. This step incorporates air into the mix, giving it a lighter texture. Without an ice cream maker, place the base in a shallow pan and stir it every 30 minutes as it freezes, breaking up ice crystals.
Freezing for Texture
Transfer the churned ice cream to an airtight container and freeze for 4 hours or overnight. The longer it freezes, the firmer and more flavorful it will be.
Serving the Ice Cream
Before serving, let the ice cream soften for 5–10 minutes to make scooping easier. Use a warm spoon for smoother servings and add toppings like chocolate chips or fruit to elevate the flavor.
Tips for Creamier Texture Without Dairy
Using Stabilizers like Arrowroot Powder or Agar Agar
Stabilizers like arrowroot powder and agar agar are great tools for enhancing your homemade ice cream’s texture and preventing ice crystals from forming. These natural ingredients create a smoother, creamier consistency, improving the overall eating experience.
Arrowroot Powder for Smoothness
Arrowroot powder acts as a natural thickener by binding water molecules. It reduces the formation of ice crystals, resulting in a smoother texture. Use about one tablespoon per 2 cups of liquid in your base for best results.
Agar Agar for Firmness
Agar agar is a vegan alternative to gelatin that adds firmness to ice cream. It’s perfect for preventing ice crystals and ensuring a denser, creamier consistency. Dissolve one teaspoon of agar agar per 2 cups of liquid in a hot base.
Combining Both Stabilizers
For optimal texture, try using both stabilizers together. Arrowroot smoothens, while agar agar adds firmness, preventing ice crystals and improving texture. Be sure to follow their specific preparation methods for best results.
Stirring During the Freezing Process
Stirring is a crucial step in the homemade ice cream process. As the mixture begins to freeze, it’s important to regularly stir it to prevent ice crystals from forming and to ensure a smooth, creamy texture. Without proper stirring, the ice cream may become icy and less enjoyable. Here’s how to do it effectively:
Why Stirring Is Important
When ice cream freezes, water in the mixture begins to form ice crystals. Stirring helps break up those crystals, keeping the texture smooth and creamy. If you skip this step, the ice cream can become too hard and grainy, detracting from the experience.
How Often to Stir
If you’re using an ice cream machine, follow the manufacturer’s instructions for stirring. Typically, the machine will stir the mixture every few minutes as it freezes. For no-churn recipes, you’ll want to stir the mixture every 30 minutes to an hour until it reaches the desired consistency.
Manual Stirring Tips
For homemade, no-churn ice cream, you’ll need to stir by hand. Use a spatula or spoon to scrape down the sides of the container, breaking up any ice crystals that form. Stir for about 5 minutes at a time, making sure to mix thoroughly.
The Benefits of Stirring Regularly
By stirring the mixture regularly, you encourage even freezing and prevent any large ice crystals from forming. This process results in a smoother, more luxurious texture that is closer to what you would find in store-bought ice cream, but with a homemade touch.
Base and Ingredient Ratios that Work
Getting the right base and ingredient ratios is key to making homemade ice cream with the perfect texture and flavor. Let’s look at the essential components and how to adjust them for a smooth, creamy treat.
The Essential Ice Cream Base
A classic ice cream base typically uses:
- 2 parts heavy cream
- 1 part whole milk
This ratio creates a creamy texture without being too heavy. If you prefer a lighter base, increase the milk and reduce the cream. For a dairy-free version, use coconut milk, almond milk, or cashew cream. Coconut milk, in particular, is thicker, so mix it with a lighter milk for the best texture.
Sweeteners
Sugar is the most common sweetener, and the general ratio is:
- 1/2 to 3/4 cup of sugar per 2 cups of liquid (milk + cream)
You can substitute with honey, maple syrup, or agave, but liquid sweeteners may alter the texture slightly, so adjust your ratios accordingly.
Flavoring and Mix-ins
Flavorings like vanilla extract, cocoa powder, and fruit purees should be added in moderation to balance the base. A typical guideline is:
- 1-2 teaspoons of extract per batch
- 2-3 tablespoons of cocoa powder for chocolate flavors
When adding solid mix-ins, like fruit or chocolate chips, reduce the liquid slightly to keep the texture smooth.
Flavor Ideas to Inspire Your Next Homemade Journeyman Ice Cream Recipe
Seasonal and Light Journeyman Ice Cream Options
When making homemade ice cream, experimenting with seasonal ingredients and lighter options can elevate your creations and offer a refreshing twist. Whether you’re using fresh, in-season fruits or creating a lighter base, these options can add flavor without compromising on quality.
Embrace Seasonal Fruits for Fresh Flavors
Seasonal fruits are packed with flavor and can transform your ice cream into a delightful treat. Consider these options:
- Spring/Summer: Strawberries, peaches, cherries, and mangoes offer a sweet and vibrant flavor. Pureeing them and adding them to your base can create refreshing fruit ice creams.
- Fall/Winter: Apples, pears, and pomegranates provide a rich, cozy taste. Spices like cinnamon and nutmeg complement these fruits perfectly, giving you ice cream that tastes like a warm, autumn dessert.
You can blend fruits into the base for a smooth texture or swirl them in as a chunky mix-in for extra bite and color.
Lighter and Healthier Alternatives
If you’re looking to make a lighter version of your homemade ice cream, here are a few ideas:
- Use Greek Yogurt or Coconut Milk: Replace some or all of the cream with Greek yogurt or coconut milk for a healthier, tangier, and lower-calorie base. These alternatives provide richness while keeping the treat light.
- Sweeten with Natural Alternatives: Try using honey, maple syrup, or stevia instead of refined sugar for a healthier sweetening option. These add unique flavors and a lower glycemic index, making them a better choice for those looking to reduce their sugar intake.
Add Fresh Herbs and Zest for Extra Lightness
Herbs like mint, basil, and lemon zest can infuse your ice cream with fresh and light flavors, perfect for a seasonal twist. A handful of mint leaves or a teaspoon of lemon zest added to your base will give your ice cream a refreshing lift. These light additions can help cut through the richness of the cream, offering a more balanced, flavorful dessert.
Infused and Functional Journeyman Ice Cream Varieties
Infused and functional ice cream offers the perfect way to create unique flavors while adding health benefits. Infusing your base with distinct ingredients or adding functional elements can enhance the taste and provide added nutrition.
Infusing Flavors
You can infuse your ice cream with flavors like herbs (mint, basil), spices (cinnamon, cardamom), or teas (matcha, chai). Steep them in the milk or cream to extract their essence, then strain before churning. These infusions create a sophisticated and aromatic ice cream.
Adding Functional Ingredients
Incorporate superfoods (like acai or cacao nibs) for a nutritional boost, or add probiotics (via yogurt or kefir) for gut health benefits. Collagen peptides are another great addition for skin and joint support. These ingredients bring both flavor and health benefits to your treat.
Healthier Sweeteners
Consider using natural sweeteners like honey, maple syrup, or monk fruit. These options are lower in calories and can provide additional health benefits such as anti-inflammatory properties or improved blood sugar control.
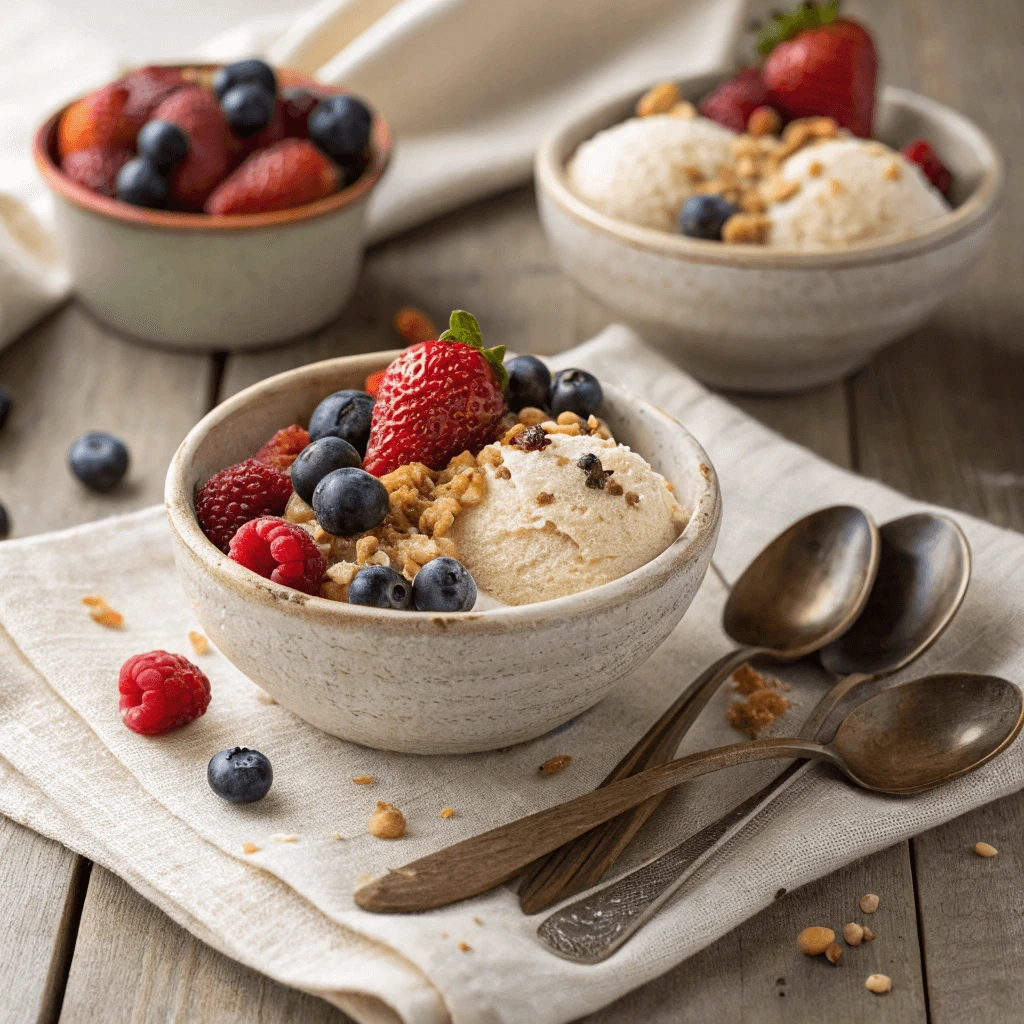
Crunchy and Colorful Toppings for Your Homemade Journeyman Ice Cream Recipe
Toppings add the perfect finishing touch to your homemade journeyman ice cream, providing texture, flavor, and visual appeal. A variety of crunchy and colorful toppings can elevate your ice cream experience while allowing you to customize each serving.
Crunchy Options to Enhance Texture
The right toppings can transform a simple bowl of ice cream into a delightful treat. Some popular crunchy options include:
- Nuts: Almonds, pecans, and walnuts are great choices for adding a satisfying crunch. They also provide healthy fats and protein.
- Granola: A sprinkle of granola offers a perfect balance of crunch and sweetness. Choose a granola with oats, seeds, and dried fruit for extra texture.
- Cookie Crumbles: Crushed cookies like Oreos, biscotti, or shortbread cookies provide a sweet, buttery crunch that complements the smoothness of the ice cream.
These toppings not only add texture but also create a wonderful contrast with the creamy ice cream base.
Colorful Toppings for Visual Appeal
Adding vibrant toppings to your ice cream gives it a festive, eye-catching look. Consider using:
- Fresh Fruit: Bright fruits like strawberries, raspberries, and kiwi slices not only add color but also provide refreshing natural sweetness and antioxidants.
- Sprinkles: Colorful sprinkles or nonpareils add a fun pop of color and a sweet crunch that appeals to both kids and adults.
- Edible Flowers: For a more elegant touch, try edible flowers like violets, pansies, or marigolds. They add a burst of color and a touch of sophistication to your dessert.
These toppings make your ice cream visually appealing and provide a refreshing burst of flavors that enhance your treat.
Sweet and Salty Combinations
Sweet and salty combinations are always a hit. Try pairing:
- Pretzel Pieces: Crushed pretzels offer a salty, crunchy element that contrasts beautifully with the sweet ice cream.
- Toffee or Caramelized Nuts: For a sweeter twist, add caramelized almonds or cashews. The sweet-salty balance adds richness to the ice cream.
Mixing salty and sweet toppings provides a complex flavor experience and an irresistible crunch.
Conclusion
The Homemade Journeyman Ice Cream Recipe provides a simple, fun way to enjoy homemade ice cream that rivals store-bought options. By customizing the flavors and choosing quality ingredients, you can create a healthier, more personalized treat. This Homemade Journeyman Ice Cream Recipe not only lets you experiment with exciting flavors but also ensures a creamy, indulgent experience. Whether you stick with classic flavors or get creative with seasonal ingredients, this Homemade Journeyman Ice Cream Recipe will definitely become a favorite in your kitchen.