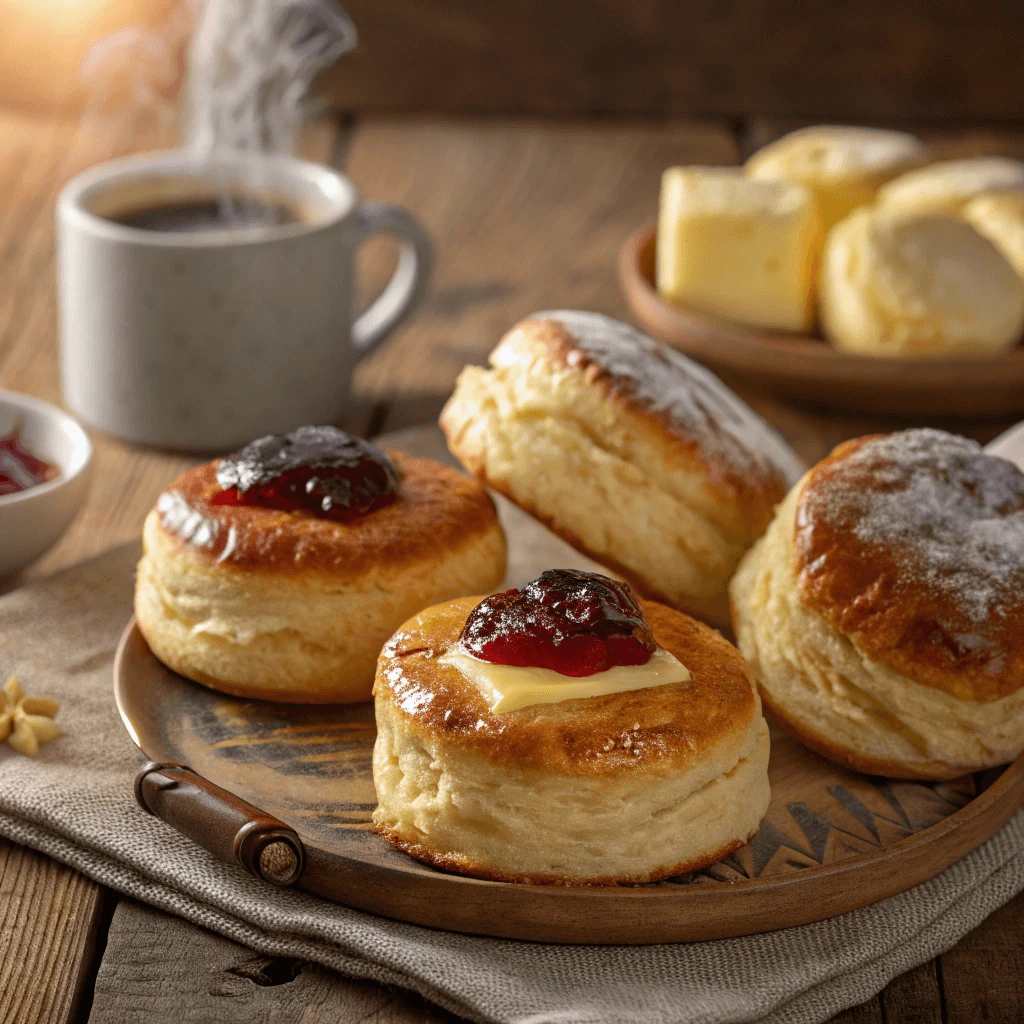
There’s nothing quite like the smell of freshly baked breakfast pastries wafting through your kitchen in the morning. Whether it’s a warm, flaky croissant, a sweet Danish, or a perfectly golden cinnamon roll, these pastries are the ultimate indulgence. But what if you could enjoy these delicious treats without the hassle of a bakery run? The good news is, making flaky, buttery breakfast pastries at home is easier than you might think!
In this guide, we’ll show you how to create the perfect pastry dough from scratch, explain the techniques that give pastries their signature flakiness, and offer tips for filling them with both sweet and savory options. Whether you’re a seasoned baker or a beginner, these simple steps will have you enjoying freshly made pastries right out of your own oven. Get ready to impress your family, friends, or just yourself with some homemade breakfast pastries that are truly out of this world.
Why Flaky, Buttery Breakfast Pastries Are Worth Making at Home
The Irresistible Texture of Homemade Flaky Pastries
Why Texture Matters in Breakfast Pastries
The crisp, buttery layers of a flaky pastry make every bite special. That texture isn’t just appealing—it defines what makes a pastry feel light and luxurious.
How Lamination Creates Flaky Layers
Laminating the dough—folding cold butter into it—forms thin, alternating layers of fat and flour. As the pastry bakes, steam from the butter lifts the dough, creating visible flakiness and a tender bite.
Homemade vs. Store-Bought Texture
Store-bought pastries often contain oils or fillers that result in a denser texture. When you bake at home, you control the butter quality, dough temperature, and folding process—all of which lead to better, flakier results.
Better Flavor with Real Butter and Fresh Ingredients
Why Real Butter Makes a Difference
Real butter gives pastries a rich, creamy flavor that margarine or shortening simply can’t match. It melts smoothly into the dough, creating not only flaky layers but also a full-bodied taste that lingers. Butter also browns beautifully, adding a slightly nutty aroma and golden color to the pastry crust. When you use high-quality unsalted butter, you elevate both flavor and texture in a way that artificial substitutes can’t replicate.
Fresh Ingredients Enhance Aroma and Taste
Fresh eggs, milk, fruit, and flours contribute directly to the flavor and aroma of your breakfast pastries. Fresh fruit fillings—like ripe berries or thinly sliced apples—add natural sweetness and fragrance without the need for extra sugar. Meanwhile, using freshly milled flour or whole grain alternatives can introduce subtle nuttiness and depth. These ingredients work together to create a pastry that not only tastes better but also smells inviting as it bakes.
Clean Ingredients, Cleaner Taste
Homemade breakfast pastries made with simple, recognizable ingredients taste cleaner and more natural. There’s no need for artificial preservatives, colors, or hydrogenated oils. When you rely on fresh, wholesome ingredients, the final result feels lighter and more satisfying. You also gain the flexibility to reduce sugar, choose organic options, or incorporate plant-based elements for healthier results—all while keeping flavor at the forefront.
Control Over Ingredients and Healthier Options
Choose Whole, Nutritious Ingredients
When you bake breakfast pastries at home, you decide what goes in. You can choose whole grain flours, natural sweeteners like maple syrup or honey, and skip processed additives. These swaps not only improve flavor but also add more fiber, vitamins, and minerals to your morning treat.
Customize for Dietary Needs
Homemade pastries make it easy to accommodate different dietary preferences. You can make them gluten-free with oat or almond flour, dairy-free by using plant-based milks and coconut oil, or lower in sugar by using mashed bananas or unsweetened applesauce. This flexibility supports a variety of healthy lifestyles.
Reduce Sugar and Unhealthy Fats
Store-bought pastries often contain high amounts of refined sugar and hydrogenated oils. When you make them yourself, you can lower the sugar content and use healthier fats like avocado oil or nut butters. These choices help reduce empty calories and support better heart health—without sacrificing taste.
Essential Tools and Ingredients for Perfect Flaky Buttery Breakfast Pastries Dough
Must-Have Tools for Pastry Success
1. Rolling Pin for Even Layers
A good rolling pin is essential when making flaky breakfast pastries. It helps you roll the dough evenly, which is key to creating consistent layers that puff up beautifully in the oven. Whether you use a traditional wooden pin or a marble one that stays cool, this tool gives you control over thickness and shape.
2. Pastry Cutter or Bench Scraper
Pastry cutters and bench scrapers simplify tasks like cutting butter into flour or portioning dough. They keep your hands from warming the dough and help maintain those cold pockets of fat that create flakiness. A bench scraper also comes in handy for cleaning up flour-covered workspaces quickly.
3. Baking Sheet and Parchment Paper
Using a quality baking sheet lined with parchment paper ensures even baking and prevents sticking. Parchment also makes cleanup easy and protects delicate pastries from burning on the bottom. Opt for a light-colored pan to promote even browning rather than scorching.
Bonus Tools
- Pastry brush: Perfect for applying egg wash or melted butter.
- Cooling rack: Keeps pastries from getting soggy by allowing air to circulate.
- Digital scale: Ensures accurate measurements, especially for delicate pastry dough.
With the right tools, your homemade breakfast pastries will look and taste just as good as anything from a bakery—if not better.
Choosing the Right Butter and Flour
Selecting High-Quality Butter
Butter plays a crucial role in creating flaky, flavorful pastries. Choose unsalted, high-fat butter because it provides better control over the salt content in your recipe. European-style butter, which contains more butterfat, often yields richer taste and flakier texture. Keep your butter cold before incorporating it into the dough to maintain those distinct layers that puff up when baked.
Understanding Different Types of Flour
The type of flour you use affects the pastry’s texture and structure. All-purpose flour is a versatile choice that works well for most pastries, offering a balance of strength and tenderness. For a lighter, more delicate crumb, consider cake flour, which has lower protein content. Whole wheat or spelt flour can add a nutty flavor and extra nutrients but may produce a denser pastry, so mixing them with all-purpose flour is often best.
Balancing Flavor and Texture
Using the right combination of butter and flour allows you to customize your pastries to your taste and dietary preferences. Experimenting with different flours can introduce unique flavors and textures, while premium butter ensures richness and moistness. Always measure ingredients precisely and keep everything cold to get the best flaky results every time.
Ice-Cold Water and Other Secret Ingredients
Why Ice-Cold Water Is Essential
Using ice-cold water is key to making flaky pastries. It helps keep the butter solid while you mix the dough, which prevents it from melting into the flour too soon. When the butter stays in small, cold pieces, it creates distinct layers that puff beautifully in the oven. Conversely, warm water can make the dough sticky and tough, resulting in dense pastries rather than light and flaky ones.
The Role of Vinegar or Lemon Juice
In addition to water, adding a small amount of vinegar or lemon juice can improve tenderness. These acidic ingredients gently weaken gluten strands in the flour, which helps prevent the dough from becoming too tough while maintaining its structure. This simple trick contributes to pastries that are tender and flaky without falling apart.
Using Yogurt or Buttermilk for Flavor and Moisture
For added moisture and flavor, try replacing some of the water with plain yogurt or buttermilk. These ingredients enrich the dough by adding a subtle tang and softness. However, it’s important to adjust the liquid quantities carefully to keep the dough from becoming too wet.
Salt and Sugar: Simple Enhancers
Finally, a pinch of salt balances the flavors and strengthens the dough’s texture. Meanwhile, a small amount of sugar promotes browning and adds a touch of sweetness. Together, these simple ingredients improve both the taste and appearance of your breakfast pastries.
Step-by-Step Guide: How to Make Flaky Buttery Breakfast Pastry Dough from Scratch
Mixing and Cutting in the Butter
Why Proper Butter Integration Matters
Mixing and cutting butter into your pastry dough is a crucial step that directly impacts the texture and flakiness of the final product. The goal is to incorporate small, cold pieces of butter into the flour without fully blending them. These small butter pockets create layers in the dough that puff and separate when baked, resulting in a flaky, tender pastry.
Techniques for Cutting in Butter
There are several effective ways to cut butter into flour. Using a pastry cutter or two knives, you can chop the butter into small cubes and then press them into the flour with a cutting motion. This technique ensures the butter breaks into pea-sized pieces without melting. Alternatively, you can use your fingers, but be cautious to avoid warming the butter too much, which can negatively affect the dough’s texture.
Using a Food Processor
For a quicker method, many bakers use a food processor. By pulsing cold butter and flour together briefly, you can achieve a coarse mixture with small butter chunks evenly distributed. Be careful not to over-process, as this will turn the mixture into a crumbly paste and eliminate the desired flakiness.
Maintaining Butter Temperature
Keeping the butter cold throughout the mixing process remains essential. Chilling your tools and ingredients, or even briefly placing the dough in the refrigerator between steps, helps maintain the ideal consistency. When you roll out the dough, those cold butter pockets release steam, creating the light layers that make flaky pastries so irresistible.
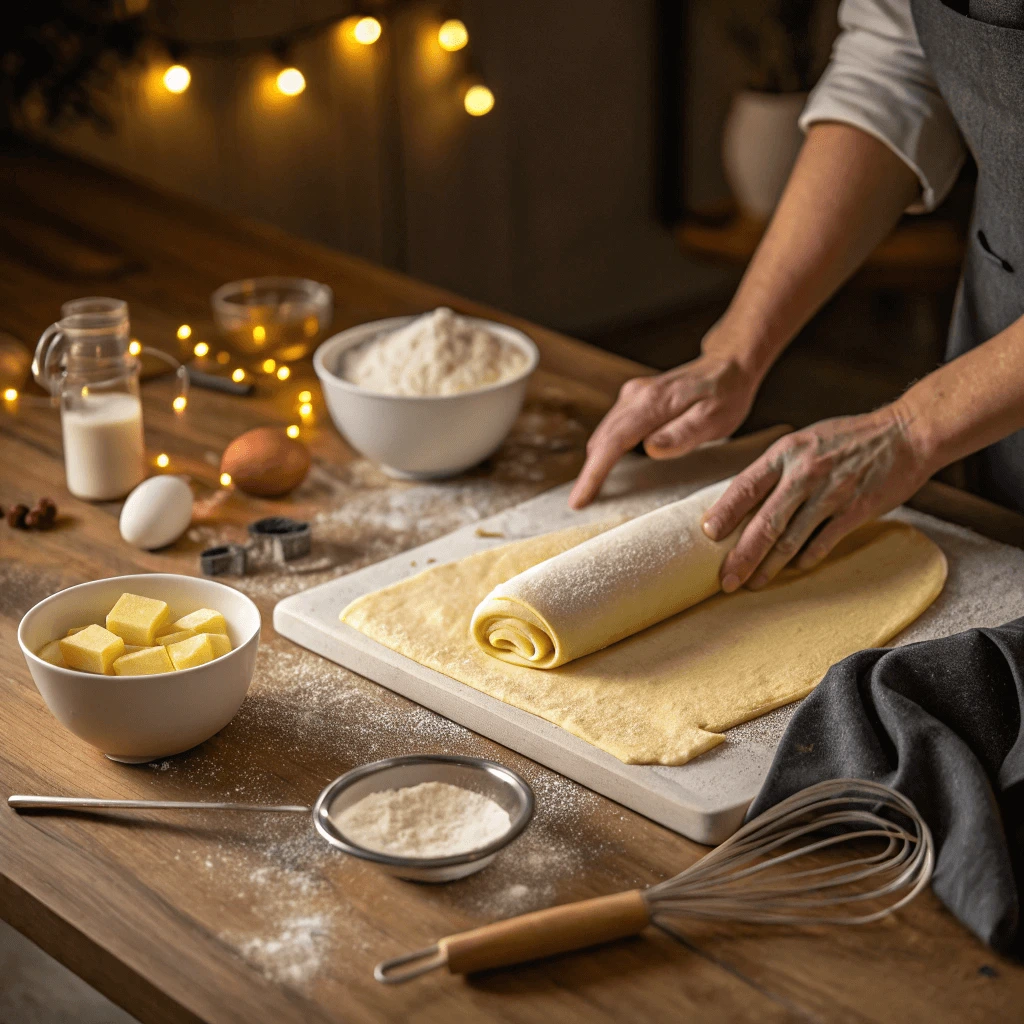
Rolling and Folding (Laminating) for Layers
The Purpose of Laminating
Laminating is the process of rolling and folding dough repeatedly to create multiple layers of butter and dough. These layers are essential for achieving that light, flaky texture in breakfast pastries. When baked, the butter melts and releases steam, which helps separate the layers and creates a tender, airy pastry.
Step-by-Step Laminating Process
Begin by rolling the dough into a rectangle on a lightly floured surface. Fold one-third of the dough toward the center, then fold the opposite third over it, similar to folding a letter. Rotate the dough 90 degrees, chill it for about 20 minutes, and repeat this process two to three times. Chilling helps keep the butter cold and solid, which is crucial to maintain distinct layers.
Tips for Perfect Laminating
Work efficiently but gently when rolling out the dough to avoid melting the butter. Use just enough flour to prevent sticking but not so much that it dries out the dough. The more folds you do, the more layers you create, resulting in a flakier pastry. Avoid pressing too hard, as that can cause the butter to blend fully into the dough, which reduces flakiness.
Resting and Chilling the Dough
Why Resting Is Essential
Resting the dough allows the gluten strands, developed during mixing and rolling, to relax. When gluten tightens, the dough becomes tough and difficult to roll out smoothly. Giving the dough time to rest makes it easier to handle and helps maintain its tenderness. Without proper resting, pastries may turn out dense rather than flaky.
Chilling to Keep Butter Cold
Chilling the dough is crucial because cold butter stays solid and forms distinct layers within the dough. As the dough rests in the refrigerator, the butter firms up, preventing it from melting into the flour. This separation of butter and dough layers is what creates the signature flakiness when baked. Warm dough can cause the butter to melt prematurely, resulting in a greasy and flat pastry.
Best Practices for Resting and Chilling
After each rolling and folding step, wrap the dough tightly in plastic wrap and place it in the refrigerator for at least 20 to 30 minutes. This short chilling period keeps the dough cool and manageable for the next turn. For longer rest, chilling the dough for up to an hour or even overnight improves flavor and texture. Before baking, allow the dough to rest briefly at room temperature so it rolls out smoothly without cracking.
Balancing Time and Temperature
Resting and chilling work together to balance dough elasticity and butter firmness. Cold temperatures keep butter solid while gluten relaxes, making the dough easier to roll and fold multiple times. Skipping or shortening chilling time may cause the dough to stick or become too soft, harming the pastry’s flakiness and rise.
Delicious Filling Ideas for Flaky Buttery Breakfast Pastries (Sweet & Savory)
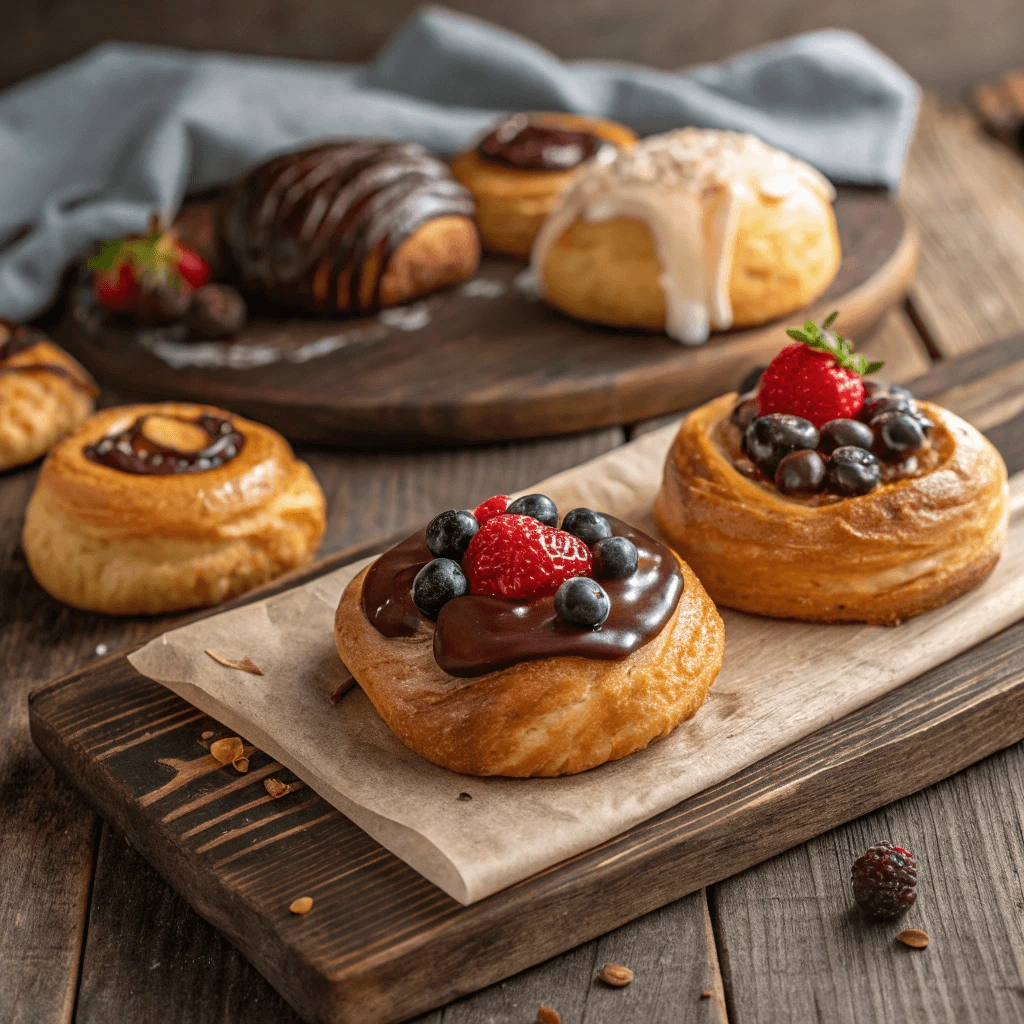
Classic Fruit and Jam-Filled Pastries
Why Fruit and Jam Fillings Work So Well
Fruit and jam fillings add a natural sweetness and vibrant flavor to breakfast pastries. Using fresh or preserved fruits creates a delightful contrast with the flaky, buttery crust. These fillings balance richness and provide a juicy burst in every bite, making the pastries more satisfying and enjoyable.
Popular Fruit Fillings to Try
Some of the classic fruit fillings include strawberries, raspberries, blueberries, and apricots. You can use fresh fruit chopped into small pieces or high-quality jams and preserves for convenience. Mixing fruit with a bit of lemon juice and zest enhances the flavor and brightens the overall taste.
How to Prepare the Filling
When making your own filling, lightly cook fresh fruit with a small amount of natural sweetener like honey or maple syrup until it softens but still holds some texture. This prevents the filling from becoming too watery and helps it set inside the pastry during baking. If using jam, choose one with minimal added sugars and natural ingredients for a healthier option.
Tips for Filling and Sealing Pastries
Spoon the filling onto the center of your rolled-out dough, leaving enough space at the edges to seal properly. Avoid overfilling, which can cause the pastry to leak during baking. Use a fork or your fingers to press and seal the edges tightly. For a decorative touch, crimp the edges or make small slits on top to allow steam to escape.
Baking for Perfect Results
Bake the pastries at a high temperature, usually around 375°F to 400°F (190°C to 200°C), to encourage the dough to puff and crisp while the filling bubbles gently. Keep an eye on the pastries to avoid overbrowning. Once golden and flaky, remove them from the oven and let them cool slightly before serving.
Cream Cheese and Custard-Filled Pastries
Why Cream Cheese and Custard Fillings Are So Popular
Cream cheese and custard fillings add a rich, creamy texture that perfectly complements the flaky pastry crust. These fillings bring a smooth, velvety contrast to the crisp layers, making each bite indulgent yet balanced. Their mild sweetness enhances the pastry without overpowering it, appealing to those who enjoy classic breakfast flavors.
Preparing the Cream Cheese Filling
To make the cream cheese filling, beat softened cream cheese with a little sugar and vanilla extract until smooth and creamy. Some recipes include a touch of lemon zest or juice to add brightness and balance the richness. This filling stays thick during baking, providing a luscious center that holds its shape while staying soft.
Making a Smooth Custard Filling
Custard fillings typically consist of milk or cream, egg yolks, sugar, and vanilla. Whisk the ingredients together and cook gently over low heat, stirring constantly until the mixture thickens. Cooling the custard completely before filling the pastries helps it set well and prevents it from leaking during baking.
Combining Fillings for Extra Flavor
Some recipes combine cream cheese and custard fillings for a decadent treat. Layering or swirling these fillings inside the dough creates a delightful marbled effect and a more complex flavor profile. Adding a hint of cinnamon or nutmeg can enhance warmth and depth in the filling.
Tips for Filling and Baking
When filling your pastries, spoon a moderate amount of filling onto the dough, leaving enough room for folding or sealing. Avoid overfilling to prevent leakage. Bake at a moderate temperature, around 350°F (175°C), to allow the filling to cook gently without curdling. The pastries should turn golden and the filling should set but remain creamy.
Savory Fillings: Cheese, Spinach, and Mushrooms
Why Choose Savory Fillings for Breakfast Pastries
Savory fillings offer a delicious alternative to traditional sweet pastries. Cheese, spinach, and mushrooms create a flavorful combination that adds depth and richness to flaky breakfast pastries. These ingredients provide protein, fiber, and essential nutrients, making the pastries more satisfying and balanced for a morning meal.
Cheese Varieties That Work Best
Using cheese with good melting properties enhances the texture and taste of savory pastries. Cheddar, feta, goat cheese, and mozzarella are popular choices. Each cheese brings a unique flavor: sharpness from cheddar, creaminess from goat cheese, and a mild, gooey texture from mozzarella. Mixing cheeses can add complexity and richness.
Preparing Spinach and Mushrooms
Fresh spinach and mushrooms add earthiness and moisture to the filling. To avoid soggy pastries, sauté the vegetables first to remove excess water. Cook spinach until wilted and mushrooms until golden brown. Season them lightly with salt, pepper, and herbs like thyme or oregano for added aroma and taste.
Combining Ingredients for a Perfect Filling
Mix sautéed spinach and mushrooms with your chosen cheese. Adding garlic or onions can boost flavor intensity. For added texture, incorporate nuts like toasted pine nuts or walnuts. The filling should be well combined but not too wet to prevent the pastry from becoming soggy.
Tips for Filling and Baking Savory Pastries
When assembling pastries, place a spoonful of filling onto the dough and fold or roll to seal completely. Ensure edges are tightly pressed to avoid leaks. Brush the pastry surface with an egg wash to achieve a golden, glossy finish. Bake at 375°F (190°C) until the pastry is crisp and the filling is hot and melted.
Baking, Storing, and Serving Your Homemade Flaky Buttery Breakfast Pastries
Baking Tips for Golden, Buttery Flaky Breakfast Pastries
Preparing Your Oven and Baking Sheet
Start by preheating your oven to the correct temperature, usually around 375°F to 400°F (190°C to 200°C). A hot oven helps the butter in the dough create steam, which produces those flaky layers you want. Line your baking sheet with parchment paper or a silicone mat to prevent sticking and ensure even baking.
Applying the Perfect Egg Wash
Brushing your pastries with an egg wash adds a beautiful golden shine and helps seal the dough edges. Whisk one egg with a tablespoon of water or milk, then apply it evenly using a pastry brush. For extra gloss and richness, you can use just the egg yolk. Make sure to avoid pooling the wash, which can cause uneven coloring.
Managing Baking Time and Temperature
Bake your pastries on the middle rack to promote even heat distribution. Keep an eye on them as baking times can vary based on size and filling. Usually, pastries take about 15-25 minutes to turn golden and crisp. If you notice the edges browning too quickly, reduce the oven temperature slightly or cover the edges with foil to prevent burning.
Using Butter for Better Flavor and Texture
Using real butter in your dough results in superior flavor and a flaky texture. Butter melts during baking, creating steam pockets that lift the layers apart. To maintain these layers, keep your dough and butter cold until baking. Avoid substituting butter with margarine or oils, as they don’t produce the same flaky effect.
Cooling and Storing Your Pastries
Once baked, let your pastries cool on a wire rack to keep the bottoms crisp. If you store them, wrap tightly and keep at room temperature for up to two days, or freeze for longer storage. Reheat pastries in a warm oven to restore crispness rather than using a microwave, which can make them soggy.
Storing and Freezing Flaky Buttery Breakfast Pastries for Later
Proper Cooling Before Storage
Always allow your pastries to cool completely before storing them. Cooling prevents condensation, which can make pastries soggy and spoil their flaky texture. Place them on a wire rack so air can circulate freely around each piece.
Short-Term Storage Tips
For short-term storage, keep your pastries at room temperature in an airtight container or tightly wrapped with plastic wrap. This method maintains freshness for up to two days. Avoid storing pastries in the refrigerator, as the cold environment tends to dry them out and make them less flaky.
Freezing Pastries for Long-Term Use
Freezing is the best way to preserve your homemade pastries if you want to enjoy them later. First, wrap each pastry tightly in plastic wrap or aluminum foil to prevent freezer burn. Then, place them in a freezer-safe airtight container or zip-top bag. Label the package with the date for easy tracking. Frozen pastries can last up to 2-3 months without losing quality.
Thawing and Reheating Frozen Pastries
When you’re ready to eat your frozen pastries, thaw them at room temperature for 1 to 2 hours. To regain their fresh-baked crispiness, reheat them in a preheated oven at 350°F (175°C) for 5 to 10 minutes. Avoid microwaving, as it tends to soften the pastry and ruin the texture.
Tips to Maintain Flakiness and Flavor
To keep your pastries flaky and flavorful after storage, avoid stacking them while wrapping or storing. Single layers help maintain their shape and prevent crushing. If you want to store filled pastries, be cautious with fillings that can become watery after freezing; use firmer fillings or add them fresh after baking for best results.
Serving Ideas for Flaky Buttery Breakfast Pastries at Brunch or On-the-Go
Perfect Pastries for a Relaxed Brunch
Serve your flaky, buttery breakfast pastries alongside fresh fruit and a cup of coffee or tea for a simple yet elegant brunch. Pair fruit-filled pastries with berries or sliced citrus to add a refreshing contrast. Cheese or savory-filled pastries work well with a light green salad or roasted vegetables. Offering a variety of pastries lets guests choose their favorite flavors, making your brunch spread inviting and satisfying.
Portable Pastries for Busy Mornings
Breakfast pastries make excellent on-the-go options for busy mornings. Wrap individual pastries in parchment paper or beeswax wraps to keep them fresh and easy to carry. You can pack them in lunchboxes or tote bags for a quick breakfast at work or school. Savory pastries like spinach and cheese hand pies provide a filling option, while sweet ones like jam-filled croissants satisfy a sweet tooth.
Pairing with Spreads and Beverages
Elevate your pastry experience by serving them with complementary spreads. Offer options such as honey, nut butter, or fruit preserves to enhance the flavors. For savory pastries, consider dips like hummus or yogurt-based sauces. Pair pastries with freshly squeezed juice, herbal tea, or even sparkling water with lemon for a balanced meal.
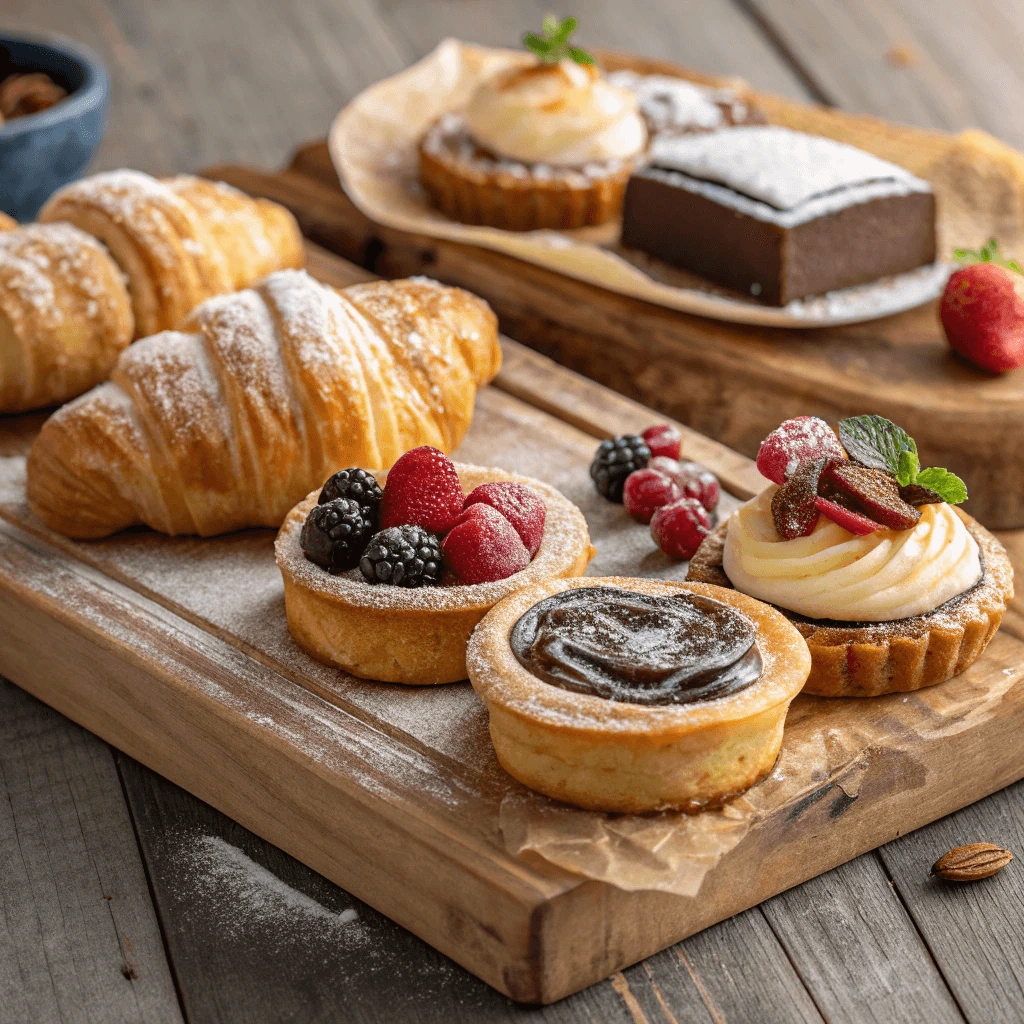
Creative Presentation Tips
Arrange pastries on a wooden board or tiered stand to create an appealing presentation for guests. Garnish with fresh herbs or edible flowers for added color and freshness. You can also slice larger pastries into bite-sized portions for easy sharing at gatherings.
Conclusion
Making flaky buttery breakfast pastries at home allows you to enjoy delicious treats with control over quality and ingredients. These pastries bring rich flavor and irresistible texture to your morning routine, whether you’re serving a relaxed brunch or grabbing a quick bite on-the-go. By mastering simple techniques and choosing fresh, wholesome ingredients, anyone can create perfect flaky buttery breakfast pastries that satisfy both taste and nutrition. Start baking today and experience the joy of homemade, flaky buttery breakfast pastries in your kitchen!