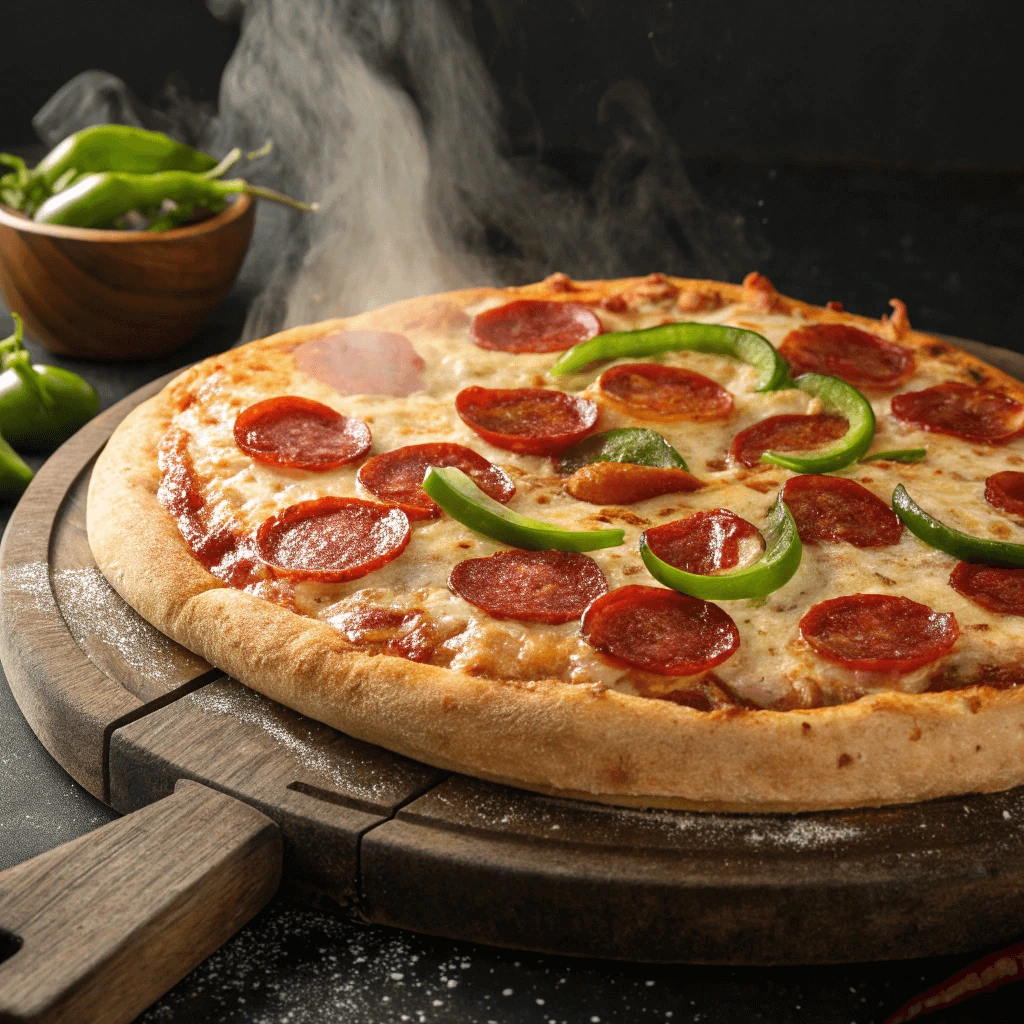
Craving a delicious, perfectly sized pizza without ordering out? A 10-inch pizza is just the right portion for one or two people, making it ideal for a cozy dinner, movie night, or satisfying lunch. Whether you’re a beginner or a seasoned home cook, learning how to make the best 10-inch pizza at home is easier than you think—and the results are incredibly rewarding. From mixing the dough to adding your favorite toppings and getting that golden, crispy crust, this guide will walk you through each step to create a homemade pizza that rivals your favorite pizzeria.
Why the Best 10-Inch Pizza at Home Is the Perfect Choice
Ideal for Small Households or Individual Servings
A 10-inch pizza hits the sweet spot when you’re cooking for one or two people. Unlike larger pizzas that often result in leftovers or food waste, this size offers just the right amount of satisfaction without overindulgence.
Perfect for Solo Dinners or Couples
If you’re dining solo or cooking a casual meal for two, a 10-inch pizza provides enough slices to satisfy your cravings without overwhelming your plate. It typically yields 6 slices, making it a convenient and manageable meal.
No Leftovers, No Waste
Larger pizzas often end up sitting in the fridge, taking up space and losing freshness. With a 10-inch pizza, you can enjoy every slice while it’s hot and flavorful. You won’t need to worry about reheating, soggy crusts, or storing uneaten portions.
Great for Portion Control
Smaller pizzas help you manage portion sizes more effectively. If you’re watching your calories or trying to avoid overeating, this size gives you better control over what you eat—especially when you’re making it from scratch and choosing healthier toppings.
Whether you’re living alone, cooking for a roommate, or preparing a quick lunch for two, the 10-inch pizza delivers convenience without compromising on taste. It’s a perfect canvas for creativity and a great way to master homemade pizza before scaling up to larger sizes.
Easier to Handle for Beginners
If you’re new to making pizza at home, starting with a 10-inch size can make the entire process feel more approachable. From dough shaping to baking, smaller pizzas offer a beginner-friendly experience that builds confidence in the kitchen.
Simpler Dough Management
Handling a full-size pizza dough can feel overwhelming for first-time pizza makers. A 10-inch pizza requires less dough, which makes it easier to knead, roll out, and shape. You can practice your technique on a manageable portion without struggling to stretch a large, sticky mass. Smaller doughs also reduce the chance of tearing or uneven thickness, common beginner mistakes.
Fits Easily on Standard Kitchen Tools
A 10-inch pizza fits well on most standard baking sheets, pizza pans, or stones. You don’t need any oversized or specialty equipment to get started. This size also slips easily onto a pizza peel or parchment paper, making it simpler to transfer in and out of the oven without accidents. Many beginners find this reduces stress and helps the pizza hold its shape better during baking.
Quicker Cooking and Less Room for Error
Smaller pizzas cook faster and more evenly, which is great when you’re still learning how to manage oven heat and timing. With a 10-inch base, it’s easier to monitor the crust, cheese, and toppings as they bake. You’ll see results faster and can make adjustments without waiting 15–20 minutes to find out what went wrong.
Bakes Evenly in Most Ovens
One of the best things about a 10-inch pizza is how well it cooks in the average home oven. Its smaller size allows heat to distribute more evenly across the dough, toppings, and cheese, which leads to better texture, crispier crusts, and fewer undercooked spots.
Small Size, Better Heat Coverage
Home ovens often have uneven hot spots or temperature fluctuations. A larger pizza may bake unevenly—overcooked on one side, underdone on the other. With a 10-inch pizza, the compact size ensures the entire pie receives more consistent heat. This results in a crust that crisps properly, cheese that melts evenly, and toppings that cook through without burning.
Works with Standard Oven Tools
You can bake a 10-inch pizza easily on a standard pizza pan, baking sheet, or even directly on a pizza stone or steel. Unlike extra-large pizzas, you won’t need a commercial oven or oversized stone. Most home bakers already have the tools needed, and the pizza fits comfortably on the middle rack—the best spot for even heat distribution.
Shorter Bake Time, Less Room for Error
Smaller pizzas don’t need as much time in the oven. That means there’s less risk of drying out the crust or burning the cheese. Most 10-inch pizzas cook in 8 to 12 minutes, depending on your oven and setup. As a result, you’ll have more control over the baking process and can achieve that golden-brown finish with less trial and error.
Ingredients for the Best 10-Inch Pizza at Home
Dough Essentials
Great pizza starts with great dough. Whether you prefer a chewy New York-style base or a crisp Neapolitan crust, getting your dough right sets the foundation for success. For a 10-inch pizza, you’ll only need a small batch, making it easy to practice and perfect.
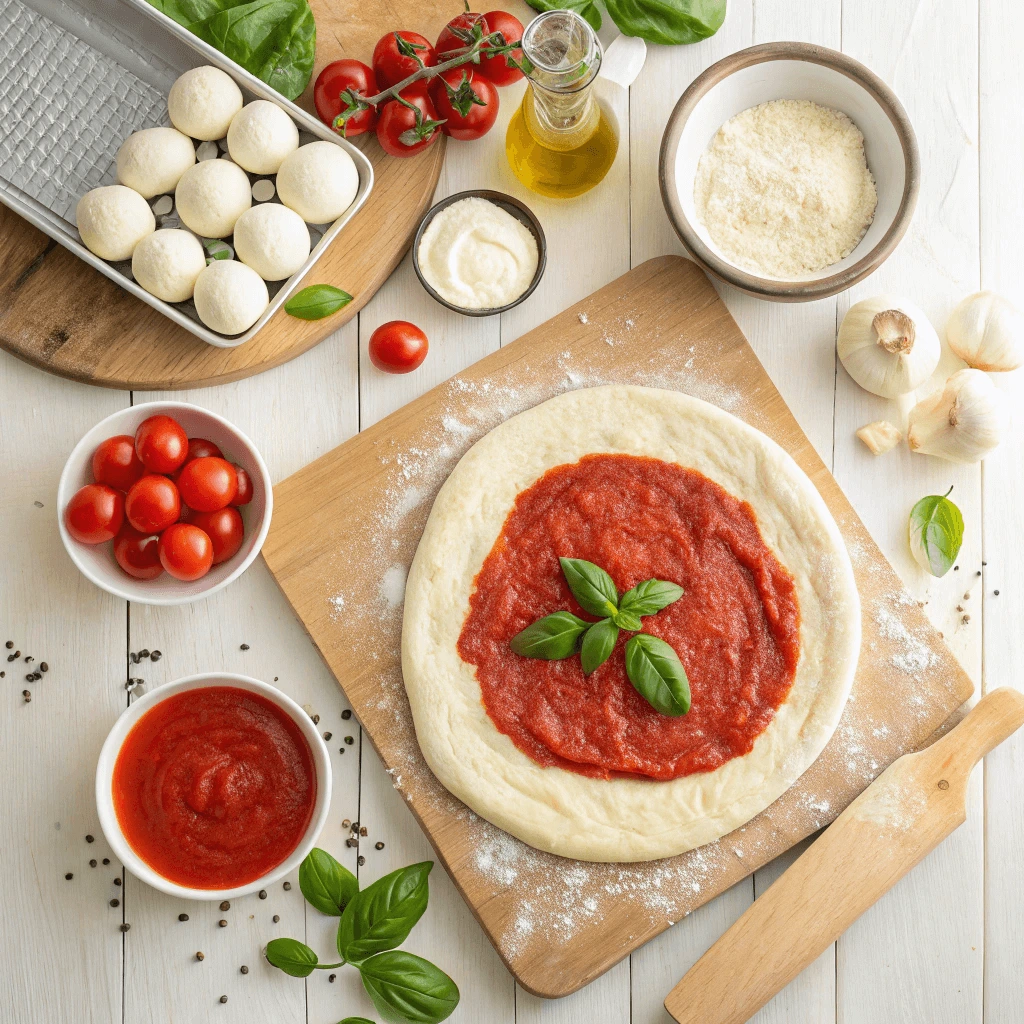
Basic Ingredients for Homemade Dough
You only need a few ingredients to make classic pizza dough:
- Flour – All-purpose flour works well, but bread flour gives a chewier texture.
- Water – Use lukewarm water to activate the yeast.
- Yeast – Instant or active dry yeast both work; just adjust for proofing if needed.
- Salt – Enhances flavor and strengthens the dough structure.
- Olive Oil – Adds moisture and makes the dough more pliable.
Mix these ingredients in a bowl, knead until smooth, and let the dough rest until it doubles in size. This resting period allows gluten to develop and improves the dough’s elasticity.
Ideal Dough Weight for a 10-Inch Pizza
For a 10-inch pizza, you’ll need around 180 to 250 grams (6.3 to 8.8 oz) of dough. This amount gives you a balanced base—not too thick, not too thin. Beginners often find this portion easier to stretch and handle without tearing.
To shape your pizza, gently press the dough into a flat disc and stretch it outward using your hands or a rolling pin. Try to maintain an even thickness across the surface while keeping the edges slightly thicker for a perfect crust.
Letting the Dough Rest and Rise
Always allow your dough to rest after kneading. This relaxes the gluten, making the dough easier to stretch. A first rise of 1 to 2 hours at room temperature works well, or you can do a cold ferment in the fridge for up to 24 hours for deeper flavor. When you’re ready to bake, let the dough sit at room temperature for about 30 minutes so it becomes soft and pliable again.
Getting the dough right doesn’t require professional skills—just a bit of patience and practice. Mastering these dough essentials will elevate every 10-inch pizza you make.
Sauce and Seasoning Options
The right sauce and seasonings bring your 10-inch pizza to life. Whether you’re going classic or bold, these elements set the tone for every bite. A great sauce enhances the crust, complements the toppings, and ties the entire pizza together.
Classic Tomato Sauce Choices
Tomato sauce remains the most popular base for pizza—and for good reason. It’s rich, vibrant, and pairs well with a variety of toppings. You can keep it simple with crushed tomatoes, olive oil, salt, and garlic, or go for a slow-cooked marinara loaded with herbs like basil and oregano.
To make your own quick pizza sauce at home:
- Use canned San Marzano tomatoes or high-quality crushed tomatoes.
- Add a pinch of salt, garlic powder, and Italian herbs.
- Blend or crush by hand for a smooth or chunky texture.
Let the sauce sit for 15–20 minutes before using it. This helps the flavors blend and settle.
Alternative Sauces to Try
If you want to get creative, switch out the tomato base for something unexpected:
- White Sauce – Made with butter, garlic, flour, and milk, this creamy option works great with spinach, mushrooms, or chicken.
- Pesto – Adds a fresh, herbal flavor. Basil pesto or sun-dried tomato pesto can completely transform your pizza.
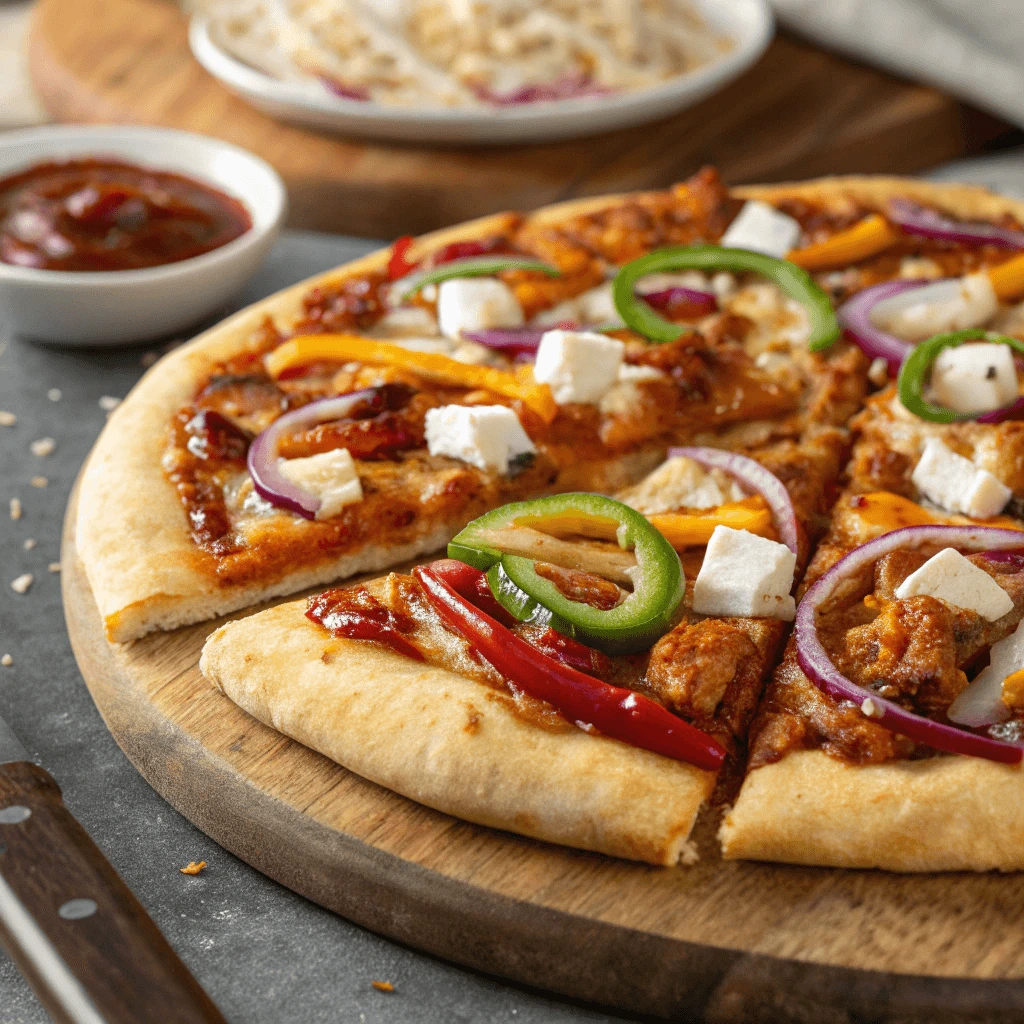
- Barbecue Sauce – Ideal for smoky toppings like grilled chicken or veggies. Its tangy sweetness adds a bold twist.
You can even go sauce-less and brush the crust with olive oil and minced garlic for a light, crisp finish.
Must-Have Seasonings for Flavor Boost
Seasonings make the difference between a good pizza and a great one. Here are a few to consider:
- Dried Oregano – Offers classic pizzeria flavor.
- Crushed Red Pepper Flakes – Add heat and intensity.
- Garlic Powder – Gives depth to your sauce or crust.
- Fresh Basil or Parsley – Sprinkled after baking, these herbs brighten up the entire dish.
Don’t forget a drizzle of extra-virgin olive oil or a light sprinkle of grated Parmesan before serving to tie everything together.
The beauty of homemade pizza lies in the freedom to experiment. With the right sauce and seasonings, your 10-inch pizza will go from simple to spectacular.
Cheese and Toppings That Work Best
Choosing the right cheese and toppings can elevate your 10-inch pizza from good to unforgettable. With a smaller pizza, you have limited space—so every ingredient should be flavorful, balanced, and thoughtfully placed.
Top Cheese Choices for a Perfect Melt
Cheese is the heart of most pizzas, and selecting the right one can dramatically impact the texture and flavor:
- Low-Moisture Mozzarella – This is the gold standard for pizza. It melts smoothly and gives you that irresistible stretch without making the crust soggy.
- Fresh Mozzarella – Ideal for Neapolitan-style pizzas, it melts into creamy puddles. Use it sparingly to avoid excess moisture.
- Provolone – Offers a slightly sharper taste and blends beautifully with mozzarella.
- Fontina, Gouda, or Monterey Jack – These options bring a buttery, rich flavor and a silky melt.
You can blend cheeses to add complexity or sprinkle a little grated Parmesan or Pecorino Romano after baking for a salty finish.
Topping Combinations That Shine
A 10-inch pizza isn’t a canvas for piling on dozens of ingredients. Instead, go for quality over quantity. Keep the number of toppings to two or three to avoid sogginess or uneven baking.
Here are some great topping combos:
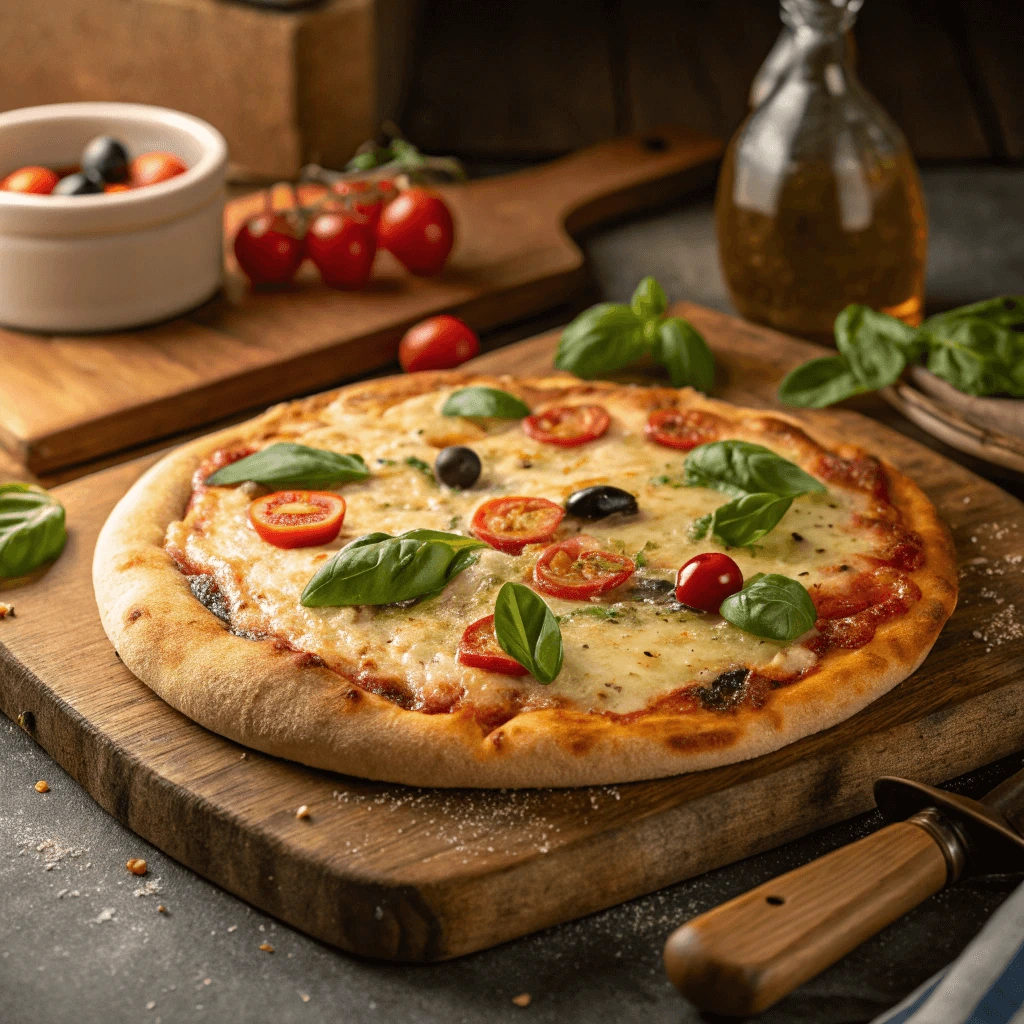
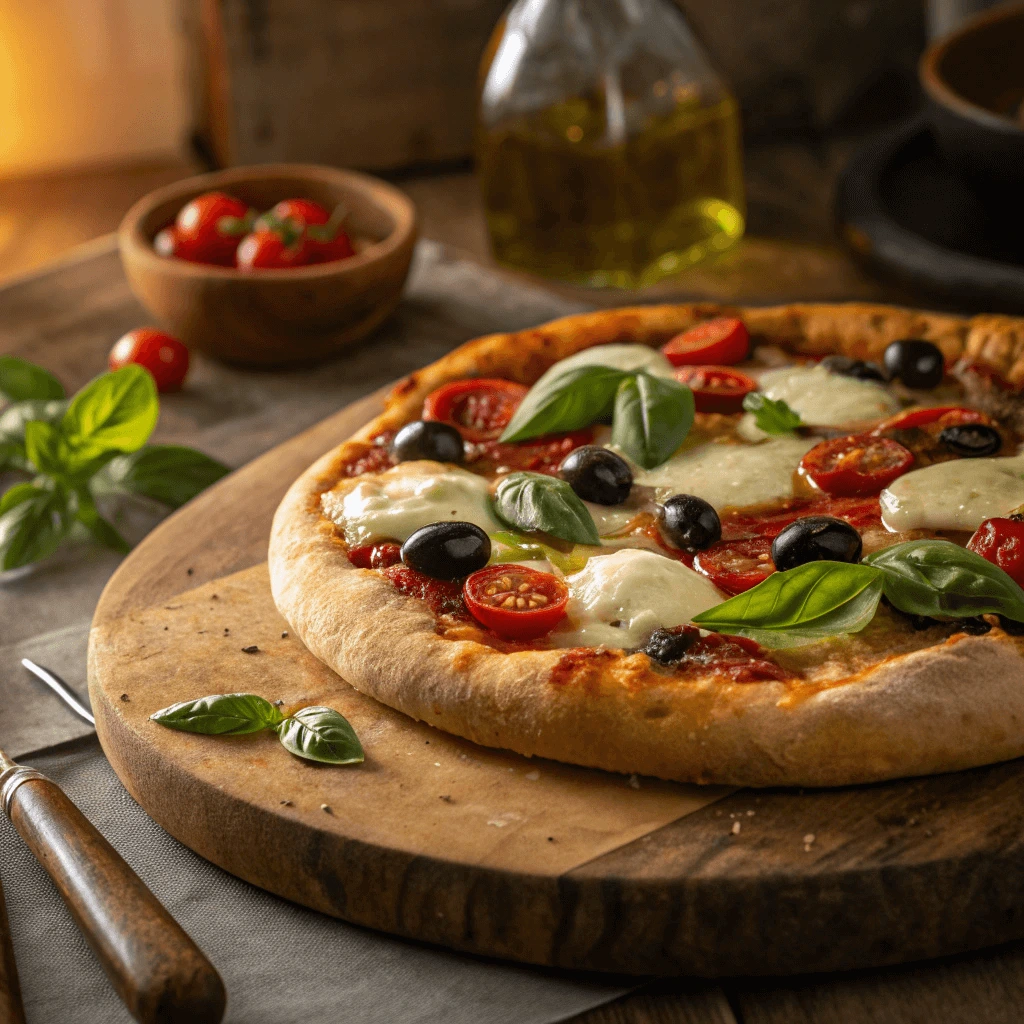
- Classic Margherita – Fresh mozzarella, basil, and tomato slices.
- Veggie Delight – Bell peppers, red onions, mushrooms, and black olives.
- Meaty Combo – Grilled chicken, turkey sausage, and red onion.
- Sweet and Savory – Pineapple, jalapeños, and mozzarella (if you’re a fan of contrast).
Spread your toppings evenly and leave a small border for the crust to puff and brown nicely.
Layering Tips for Even Cooking
How you layer your pizza matters:
- Start with sauce and spread it evenly to avoid soggy spots.
- Add cheese next, covering most of the surface without going overboard.
- Place toppings last, spacing them evenly so they all cook properly.
Always preheat your oven fully before baking, and if you’re using watery toppings (like fresh tomatoes or mushrooms), pat them dry first to avoid excess moisture on the dough.
With the right cheese and thoughtful toppings, your 10-inch pizza will not only bake beautifully but also deliver incredible flavor in every bite.
How to Make the Best 10-Inch Pizza Dough at Home
Mixing and Proofing the Dough
Making the dough properly is essential for a perfect 10-inch pizza. The mixing and proofing steps play a crucial role in achieving a light, chewy crust with just the right texture.
Mixing the Dough
Start by combining your dry ingredients—flour, salt, and yeast. In a separate bowl, mix warm water and olive oil, then gradually add it to the dry ingredients. Stir until the dough begins to form. Once it does, knead for about 8–10 minutes until the dough is smooth and elastic. It should pass the “windowpane test,” meaning you can stretch a small piece of dough without it tearing.
Proofing the Dough
After mixing, shape the dough into a ball and place it in a lightly oiled bowl. Cover and let it rise for 1–2 hours in a warm spot, or until it doubles in size. This is where the yeast works its magic, making the dough light and airy.
Once the dough has risen, punch it down gently to release excess gas. Shape it into a ball again and let it rest for 30–45 minutes before stretching it into your 10-inch pizza shape. This final proof helps relax the dough, making it easier to work with and improving its texture.
Rolling Out the Perfect 10-Inch Pizza Crust
Rolling out your dough to a perfect 10-inch base is an important step in pizza making. With the right technique, you’ll achieve a thin, even crust that bakes beautifully.
Prepare Your Work Surface
Flour your countertop or use a silicone mat to prevent sticking. Lightly flour your rolling pin as well. If you don’t have a rolling pin, a wine bottle can work just fine.
Start Rolling the Dough
Once the dough has proofed, place it on the surface and gently press it down with your hands to release air bubbles. Begin rolling from the center outward, applying even pressure. Rotate the dough to ensure even thickness. If the dough resists, let it rest for a few minutes before continuing.
Shape the Dough
Aim for a 10-inch diameter, checking the size as you go. Use a pizza pan or a bowl to guide the shape if you want a more uniform look. Trim any excess dough for a clean edge.
Transfer to Your Baking Surface
Once rolled out, carefully transfer the dough to a pizza peel or baking sheet. Dust it with flour or cornmeal to prevent sticking. Gently lift the dough to avoid deflating it.
Prepping the Dough for Baking
Properly prepping your dough before baking ensures a crispy, golden crust and even baking. Here’s how to do it:
Dock the Dough
Use a fork or dough docker to poke small holes all over the dough. This prevents large bubbles from forming and ensures an even bake.
Preheat the Oven
Set your oven to 475°F (245°C) or higher. If using a pizza stone, place it in the oven to heat up as well.
Brush with Olive Oil (Optional)
For a golden, crispy crust, lightly brush the edges of the dough with olive oil. This adds flavor and enhances browning.
Transfer the Dough
Carefully transfer your dough to a preheated pizza stone or baking sheet. If using a peel, dust it with flour or cornmeal to prevent sticking.
Avoid Overloading with Toppings
Don’t overdo it with toppings. A balanced amount ensures the dough cooks evenly and prevents a soggy crust.
Assembling and Baking the Best 10-Inch Pizza at Home
Adding Sauce and Toppings Evenly
Evenly distributing sauce and toppings is key to a perfectly baked pizza. Here’s how to do it:
Spread the Sauce
Start with a spoonful of sauce and spread it evenly, leaving about an inch around the edges for the crust. Aim for a thin layer to avoid sogginess.
Add the Cheese
Sprinkle cheese evenly over the sauce. Don’t overload it, as too much cheese can make the pizza greasy.
Distribute the Toppings
Add your toppings sparingly, ensuring every slice gets a bit of everything. Slice vegetables thinly to avoid excess moisture, and pre-cook meats to reduce fat.
Season Lightly
Finish by sprinkling a pinch of salt, pepper, and dried herbs for extra flavor. A few red pepper flakes can add some spice if you like it.
Choosing the Best Bakeware for a 10-Inch Pizza
The right bakeware can make a big difference in your pizza’s quality. Here’s a breakdown of the best options:
Pizza Stone: Crispy Crust
A pizza stone absorbs moisture and distributes heat evenly, helping achieve a crispy, golden crust. Preheat it for 30 minutes to get the best results.
Baking Sheet: Convenient and Easy
A baking sheet is an easy option, though it won’t give you the same crispy crust as a stone. Use parchment paper or cornmeal to prevent sticking.
Cast-Iron Pan: Deep-Dish Style
For a thick, crispy crust, a cast-iron pan is perfect. It holds heat well and creates a beautiful golden bottom. Lightly grease the pan for easy removal.
Other Considerations
Make sure your bakeware is durable and the right size for a 10-inch pizza. Non-stick surfaces work well, but avoid over-greasing to prevent sogginess.
How Long and at What Temperature to Bake
Getting the temperature and baking time just right is essential for a perfectly baked 10-inch pizza. The right heat will ensure a golden, crispy crust, while the proper time ensures all the toppings are cooked to perfection. Here’s how to nail it.
Oven Temperature: Preheat for Optimal Results
The best temperature for baking a 10-inch pizza is usually between 475°F to 500°F (245°C to 260°C). This high temperature ensures the crust cooks quickly, giving it that crispy texture while keeping the toppings fresh and flavorful.
Always preheat your oven before placing the pizza inside. A properly preheated oven ensures even cooking, so the dough doesn’t turn out soggy or undercooked. Allow at least 10-15 minutes for your oven to reach the desired temperature.
Baking Time: Achieving the Perfect Balance
Baking a 10-inch pizza typically takes 10 to 15 minutes, depending on your oven and the thickness of your crust. Keep an eye on it after 10 minutes; the crust should turn golden, and the cheese should melt and bubble.
If you’re using a pizza stone, the baking time may be slightly shorter, as the stone distributes heat more efficiently. If you’re using a baking sheet or cast-iron pan, expect the baking time to be closer to 15 minutes.
Checking for Doneness: Visual Cues
To check if your pizza is done, look for a golden, crispy crust around the edges and bubbling cheese in the center. If you like your crust extra crispy, leave the pizza in for another minute or two.
For a more accurate test, use a spatula to lift the pizza and check the underside. The bottom should be golden brown and crisp.
Adjusting for Personal Preferences
If you prefer a softer crust, bake the pizza for a slightly shorter time at a slightly lower temperature. On the other hand, for a crispier, more charred crust, increase the baking time by 1-2 minutes or raise the oven temperature slightly.
Tips for Making the Best 10-Inch Pizza at Home Even Better
Thin Crust vs. Thick Crust for Your 10-Inch Pizza
Choosing between thin and thick crust for your 10-inch pizza can drastically change the texture and overall experience. Each type of crust offers unique benefits, so the choice depends on personal preference.
Thin Crust: Crispy and Light
Thin crust is ideal for those who prefer a crispy, crunchy base. It cooks quickly at high temperatures and complements toppings without overwhelming them.
- Crispier Texture: The thinner dough crisps up in the oven, giving you a satisfying crunch.
- Toppings Shine: A thin crust allows the sauce and toppings to take center stage.
- Lighter Option: Perfect for a lighter, less filling meal.
To make thin crust, roll your dough to about 1/8 inch and bake at 475°F for 10-12 minutes.
Thick Crust: Soft and Hearty
Thick crust offers a chewy, bread-like texture that can support heavier toppings. It’s perfect for those who want a more substantial pizza.
- Filling and Hearty: The thick base is more satisfying and holds up to extra toppings.
- Soft and Chewy: The dough provides a comforting, soft bite.
- Great for Dipping: Perfect for dipping sauces like marinara or ranch.
For thick crust, roll the dough to about 1/4 to 1/2 inch thick and bake at 425°F for 12-15 minutes.
Choosing the Right Crust
Your decision between thin or thick crust depends on your preference. Thin crust gives you a crisp and light pizza, while thick crust offers a soft, hearty base.
Creative Toppings and Cheese Combos for 10-Inch Pizzas
When it comes to making a 10-inch pizza at home, experimenting with toppings and cheese blends allows you to create a truly unique and flavorful experience. The right toppings and cheese combinations can turn a simple pizza into something extraordinary.
Popular Toppings
For a classic, well-balanced pizza, these toppings work wonders:
- Mushrooms: Mushrooms add an earthy flavor that pairs well with most cheese types, enhancing the pizza without overwhelming it.
- Bell Peppers: Their slight sweetness and crunch make them an excellent topping, adding both flavor and color.
- Onions: Caramelized onions can provide a savory-sweet element that complements a variety of toppings.
Creative Toppings to Try
If you’re in the mood for something different, experiment with unconventional toppings:
- Arugula: Adding fresh arugula after baking brings a peppery crunch that pairs well with creamy cheeses.
- Pineapple: For a touch of sweetness, pineapple contrasts nicely with savory ingredients, offering a unique flavor combination.
- Goat Cheese: This tangy cheese is perfect for adding richness and pairs beautifully with roasted vegetables or a drizzle of honey.
Cheese Blends for Extra Flavor
Cheese is the star of any pizza, and using different blends can create exciting flavor profiles:
- Mozzarella and Parmesan: A classic blend that offers the perfect balance of meltiness and sharpness.
- Provolone and Gouda: This combination adds a smoky, savory depth, great for richer toppings like sausage.
- Cheddar and Monterey Jack: These cheeses offer a tangy, bold flavor, ideal for spicier toppings like jalapeños.
Achieving the Perfect Balance
When experimenting with toppings and cheeses, aim for balance. Too many toppings can weigh down the pizza, while too few might leave it lacking. Layer the cheese directly on the dough and add toppings in moderation to maintain harmony. Contrast textures, like creamy cheese with crunchy veggies, for a satisfying bite.
Common Mistakes to Avoid When Making the Best 10-Inch Pizza
Baking a perfect 10-inch pizza at home can be tricky, but by avoiding common mistakes, you can get it just right. Here are some mistakes to watch out for:
1. Not Preheating the Oven Properly
Many home bakers forget to preheat their oven. If the oven isn’t hot enough, the dough won’t cook properly, leading to a soggy crust. Always preheat your oven to 475°F (245°C) for best results.
2. Using Too Much Sauce
While sauce is essential, too much can make the crust soggy. Apply just a thin layer to ensure the pizza bakes properly.
3. Overloading with Toppings
Adding too many toppings can weigh down the pizza and prevent it from baking evenly. Stick to a few key ingredients to maintain balance and ensure the crust cooks through.
4. Using Cold Ingredients
Cold cheese or toppings can prevent the pizza from cooking evenly. Let your ingredients come to room temperature before placing them on the dough.
5. Baking on the Wrong Rack
Baking the pizza too close to the top or bottom can lead to uneven cooking. Always place the pizza in the center of the oven to ensure even heat distribution.
6. Not Checking the Pizza Early Enough
Start checking your pizza about 5 minutes before the recommended baking time. This helps prevent overcooking, especially if your oven runs hot.
7. Using the Wrong Flour
Flour type affects the dough texture. Bread flour will give you a chewier, more elastic dough, while all-purpose flour results in a lighter crust.
8. Not Letting the Dough Rest Long Enough
Rushed dough can turn out dense. Let it rest for at least an hour to allow the gluten to relax and help the dough rise properly.
9. Cutting the Pizza Too Early
Cutting your pizza too soon can make it soggy. Wait about 5 minutes after baking to let it cool slightly and set before slicing.
Conclusion
making the Best 10-Inch Pizza at Home is achievable with the right preparation, ingredients, and technique. From preparing the perfect dough to choosing the best sauce and toppings, every step is essential for crafting the Best 10-Inch Pizza at Home. Don’t forget to preheat your oven and experiment with different cheese blends to elevate your pizza. By avoiding common mistakes, you’ll soon be enjoying the Best 10-Inch Pizza at Home on a regular basis. With practice, you’ll create pizzeria-quality pizza in your own kitchen!