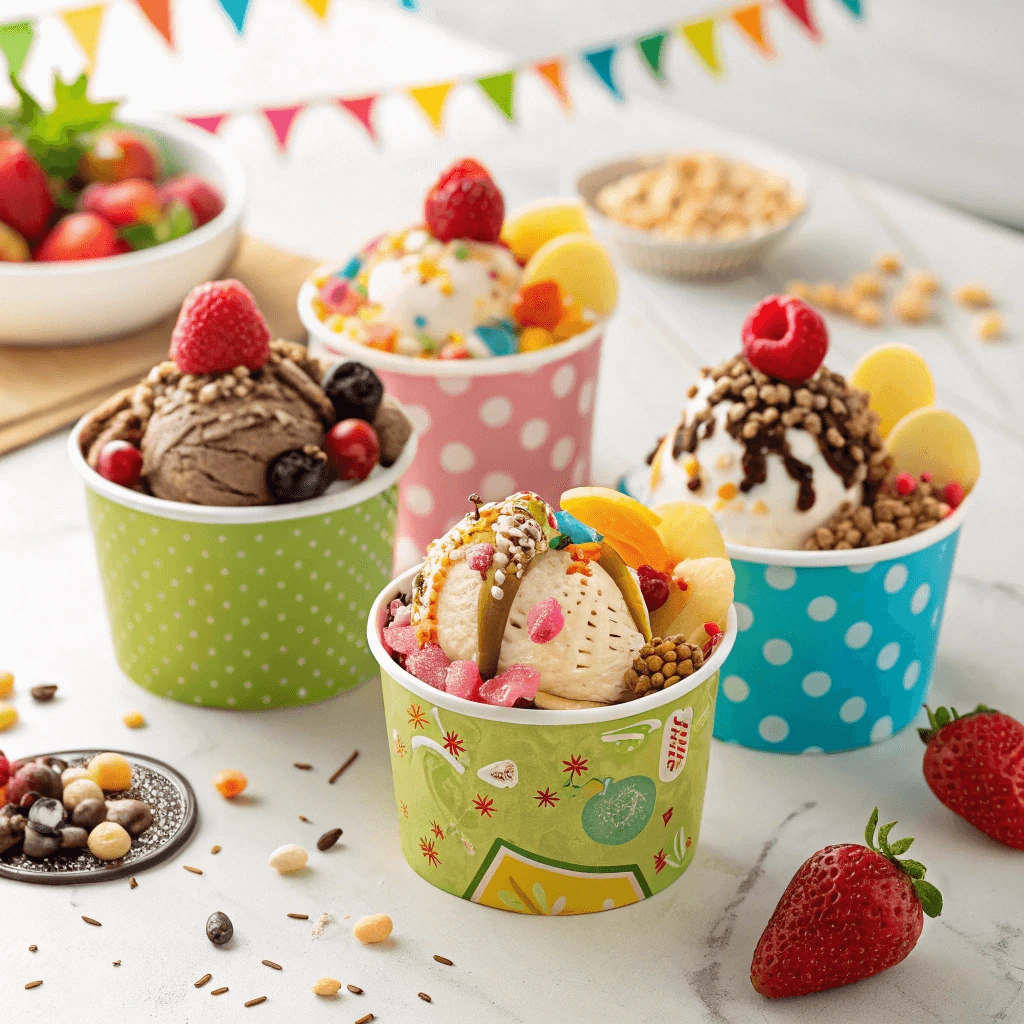
Looking for a fun, refreshing treat that’s easy to make and perfect for any occasion? This easy ice cream cup recipe is your answer! Whether you’re hosting a party, prepping after-school snacks, or simply craving a healthier dessert, these customizable frozen cups are a hit with both kids and adults. Made with simple, wholesome ingredients like fruit, yogurt, or non-dairy alternatives, they offer all the flavor without the guilt. Get ready to enjoy a delicious dessert that’s just as fun to make as it is to eat!
Why Easy Ice Cream Cups Are the Perfect Frozen Treat
Portion-Controlled and Single-Serve Convenience
Ice cream cups offer the perfect solution for those who want to enjoy dessert without overindulging. Each cup provides a pre-measured portion, making it easy to control how much you’re eating—especially when compared to digging into a full tub of ice cream.
Ideal for Healthy Eating Goals
When you’re trying to eat mindfully, portion control can make all the difference. By preparing individual servings in advance, you remove the temptation to scoop out more than you need. These cups help you stick to your nutritional goals without feeling deprived. Whether you’re watching calories, sugar intake, or overall portion sizes, these cups let you stay on track while still enjoying a treat.
Great for Busy Schedules and Meal Prep
You can prepare ice cream cups in batches and store them in the freezer, so you always have a quick dessert or snack ready to go. This convenience is especially helpful during hectic weekdays or when entertaining guests. Instead of dishing out servings one by one, you simply grab the exact amount you need—saving time and reducing mess.
Kid-Friendly and Less Wasteful
Children benefit from single-serve treats, too. They get a perfectly sized dessert without the risk of sugar overload, and parents don’t have to worry about leftover ice cream going to waste. Smaller portions also help reduce food waste, as everyone only takes what they need.
Kid-Friendly and Customizable for Every Taste
Ice cream cups are more than just tasty—they’re fun, easy, and perfect for kids. These treats give children the chance to get involved in the kitchen and enjoy desserts made just for them.
Let Kids Pick Their Toppings
Set up a simple topping station. Include sliced fruits, sprinkles, crushed cereal, and chocolate chips. Kids love choosing their own mix-ins, and this activity helps even picky eaters feel excited. When they choose the toppings, they’re more likely to enjoy the treat.
Customize for Allergies and Preferences
Need a dairy-free or allergy-safe option? Use coconut milk, almond yogurt, or oat-based alternatives. For nut allergies, go with sunflower seed butter or fruit-based toppings. Making individual cups avoids cross-contamination and makes each dessert safe and special.
Explore Fun Flavor Combos
Try classic flavors like chocolate-banana or strawberry-vanilla. For a tropical twist, blend mango with coconut cream. Want a healthy boost? Mix in a bit of spinach or avocado—most kids won’t even taste it. Let each child choose a flavor they love, so everyone gets their own favorite.
These ice cream cups keep kids happy, engaged, and eating well—all while having fun.
Great for Parties, Snacks, or Weeknight Desserts
Ice cream cup recipes are incredibly versatile, making them a perfect fit for any occasion—whether you’re hosting a party, prepping school snacks, or winding down after dinner. These single-serve treats deliver just the right amount of sweetness without overindulging.
Perfect for Parties and Gatherings
If you’re planning a birthday party, baby shower, or summer barbecue, ice cream cups add a festive, customizable touch. You can prepare them ahead of time and store them in the freezer until you’re ready to serve. Guests can choose from a variety of flavors and toppings, turning dessert into a fun DIY experience. Use colorful molds, sprinkles, or themed labels to match the celebration.
Easy and Healthy Snack Option
Busy parents love these cups as grab-and-go snacks. With wholesome ingredients like fruit, Greek yogurt, or nut butters, they can satisfy cravings while still offering nutrients. They’re also great after-school snacks—just pop one out of the freezer and it’s ready to enjoy within minutes.
Quick Weeknight Dessert
After a long day, making dessert from scratch may feel like too much work. Ice cream cups solve that problem. You can prepare a batch over the weekend and enjoy them all week. They’re satisfying, refreshing, and portion-controlled, making it easy to treat yourself without guilt. For a simple twist, drizzle a bit of honey or melted dark chocolate on top before serving.
Core Ingredients for an Easy Ice Cream Cup Recipe

Frozen Bananas or Greek Yogurt as a Creamy Base
When it comes to creating a healthier ice cream cup recipe, choosing the right base is essential. Both frozen bananas and Greek yogurt offer naturally creamy textures, making them perfect substitutes for heavy cream or processed ice cream. They’re nutritious, easy to use, and taste delicious when blended with your favorite mix-ins.
Why Choose Frozen Bananas?
Frozen bananas are naturally sweet and creamy when blended. They contain potassium, fiber, and vitamin C, making them a smart choice for a guilt-free dessert. To use bananas as a base, slice ripe bananas and freeze them for at least 2 hours. Then, blend until smooth and creamy. Add vanilla extract, cocoa powder, or nut butter to enhance the flavor without using added sugars or artificial ingredients.
Tip: Ripe bananas work best because they’re sweeter and blend more easily.
Benefits of Using Greek Yogurt
Greek yogurt brings a thick, rich texture with a protein boost. It has probiotics for gut health, fewer carbs than regular yogurt, and a mild tang that pairs well with fruits and natural sweeteners. To use it as a base, mix it with honey, berries, or vanilla, and freeze in individual cups. You can also combine it with blended banana for a perfect balance of creaminess and sweetness.
Tip: Choose plain, full-fat Greek yogurt for the creamiest result.
Which One Should You Pick?
If you’re looking for a dairy-free or vegan option, go with frozen bananas. For a protein-rich snack or post-workout treat, Greek yogurt is your go-to. You can even mix the two to get the best of both worlds.
Natural Sweeteners Like Honey, Maple Syrup, or Dates
Choosing natural sweeteners enhances the flavor and health benefits of your ice cream cups. Honey, maple syrup, and dates offer a healthier alternative to refined sugar while adding natural sweetness.
Honey: A Sweet and Nutritious Option
Honey adds a mild sweetness and is rich in antioxidants, vitamins, and minerals. It blends easily into your base mixture for a smooth and natural sweetness.
Maple Syrup: Rich and Flavorful
Maple syrup has a rich, earthy flavor and provides minerals like manganese and zinc. Choose pure maple syrup for the best taste and health benefits.
Dates: Naturally Sweet and Fiber-Rich
Dates are packed with fiber and potassium, offering a caramel-like sweetness. Soak them to soften and blend them into your ice cream base for added nutrition.
Why Choose Natural Sweeteners?
These natural options provide more nutrients than refined sugar, contributing to your overall health while giving your ice cream cups a delightful flavor. Adjust the sweetness to your taste by experimenting with these alternatives.
Healthy Add-Ins: Chia Seeds, Nut Butters, or Cacao Nibs
Adding healthy ingredients like chia seeds, nut butters, or cacao nibs is a great way to enhance the flavor and nutritional profile of your ice cream cups. These add-ins provide healthy fats, fiber, and antioxidants, turning your treat into a supercharged dessert.
Chia Seeds: Tiny Powerhouses of Nutrition
Chia seeds are packed with omega-3 fatty acids, fiber, and protein. These tiny seeds absorb liquid and expand, creating a unique texture in your ice cream cups. Add chia seeds directly to the base or layer them with fruits for an extra boost of nutrients. The fiber in chia seeds supports digestion, and the healthy fats provide long-lasting energy.
Nut Butters: Creamy and Rich in Healthy Fats
Nut butters, such as almond, peanut, or cashew butter, bring a rich, creamy texture and a punch of healthy fats and protein. They not only add a satisfying flavor to your ice cream cups but also make them more filling. Opt for natural, unsweetened nut butters to keep the recipe healthier. Swirl a spoonful into your ice cream base or drizzle it over the top for added richness.
Cacao Nibs: A Crunchy, Antioxidant-Rich Delight
Cacao nibs are the raw, unprocessed form of chocolate. They’re packed with antioxidants, iron, and magnesium. When sprinkled on top of your ice cream cups, they add a crunchy texture and a bold chocolate flavor without the added sugar. Cacao nibs can satisfy chocolate cravings while providing heart-healthy benefits, making them an ideal addition to your healthy treat.
Why Add These Superfoods?
By including chia seeds, nut butters, and cacao nibs, you increase the health benefits of your ice cream cups. These ingredients provide essential nutrients like healthy fats, protein, and antioxidants, while also adding texture and flavor. Customize your cups to suit your taste preferences while keeping the treat nutritious and satisfying.
How to Make Easy Ice Cream Cups Step-by-Step
Blend or Mix the Base Ingredients for Creamy Easy Ice Cream Cups
To create a creamy, smooth texture for your ice cream cups, start by blending or mixing the base ingredients well. This step is crucial for a smooth, velvety consistency that will hold up when you layer in fruits or toppings.
Choose Your Base Ingredients
For the best base, consider frozen bananas, Greek yogurt, or coconut cream. These ingredients are rich in creaminess and can be adjusted based on dietary preferences. Frozen bananas offer natural sweetness, Greek yogurt adds protein and tang, and coconut cream provides a dairy-free option with a mild flavor.
The Blending Process
Add the base ingredients to your blender and blend until smooth. If needed, add a small amount of liquid (like almond or coconut milk) to help the blending process. The goal is a thick yet smooth mixture—too much liquid can make it too runny.
Achieving the Right Texture
A smooth, creamy texture is key for making great ice cream cups. Make sure the mixture holds together but is easy to scoop. After blending, check the consistency before moving on to the next step of layering.
Layering Fresh Fruits, Granola, and Dairy-Free Whipped Cream for Easy Ice Cream Cups
Layering your ice cream cups with fresh fruits, granola, and dairy-free whipped cream adds flavor, texture, and a touch of indulgence to each bite. This step allows you to get creative with different flavor combinations, giving your ice cream cups a customizable, vibrant finish.
Fresh Fruits for Natural Sweetness
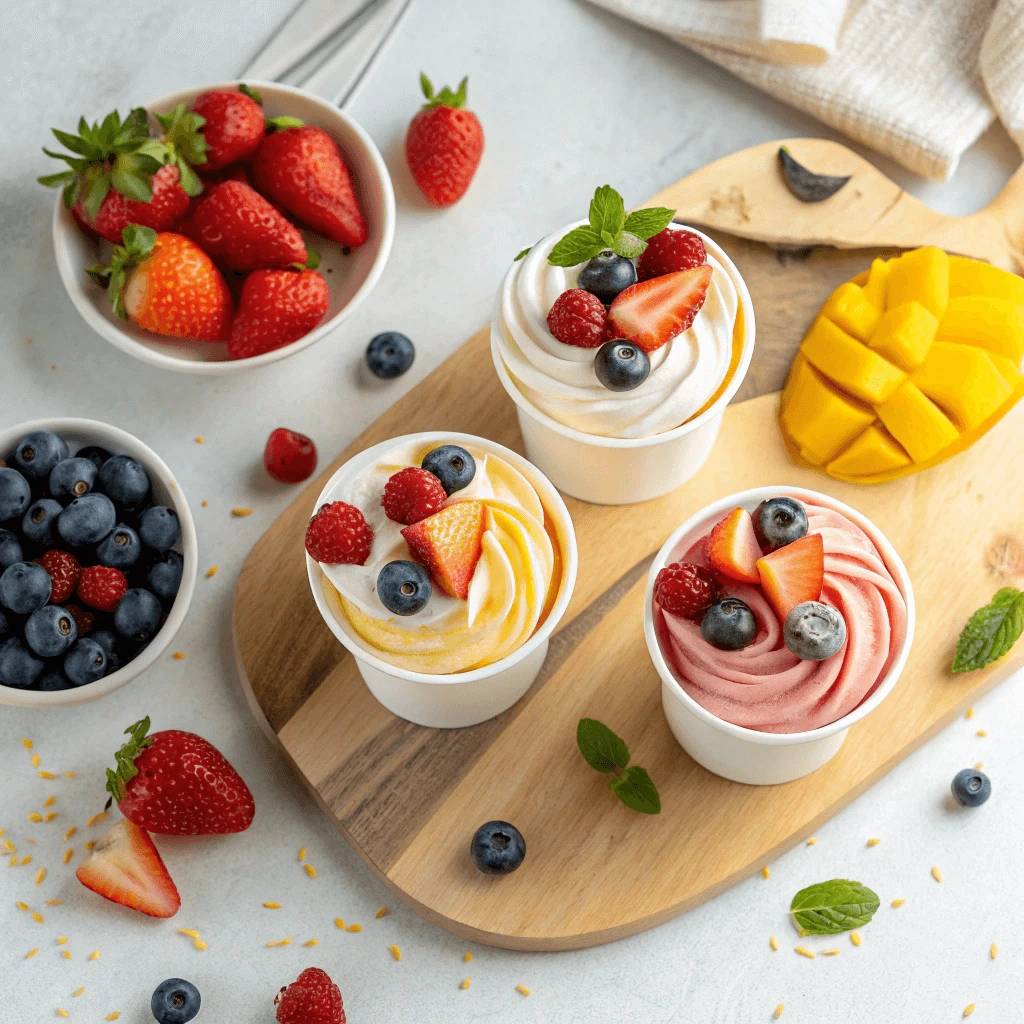
Fresh fruits provide a burst of natural sweetness and color that pairs wonderfully with the creamy base. You can use a variety of fruits like sliced strawberries, blueberries, raspberries, mango chunks, or kiwi slices. The tangy contrast of berries works beautifully with the richness of the ice cream, while tropical fruits like mango or pineapple lend a sweet, refreshing twist. Layering fruits also adds a nutritious element, as they are packed with vitamins, antioxidants, and fiber.
Granola for Crunchy Texture
Adding granola to your ice cream cups gives a delightful crunch that balances the creamy texture. You can either sprinkle granola on top or layer it between the fruits and cream for added variety. Opt for granola that is low in sugar or make your own with oats, nuts, seeds, and a touch of honey or maple syrup. Granola not only enhances the texture but also adds healthy fats and a satisfying crunch that contrasts nicely with the soft, creamy base.
Dairy-Free Whipped Cream for a Luxurious Finish
Dairy-free whipped cream brings a light, fluffy texture and creamy finish to your ice cream cups, making them feel extra indulgent without the dairy. You can use store-bought dairy-free whipped cream or easily make your own at home with coconut milk or cashew cream. The addition of whipped cream complements the sweetness of the fruits and adds a creamy, smooth layer that elevates the overall dessert. For an extra touch, drizzle some melted dairy-free chocolate or sprinkle a dash of cinnamon on top.
Freeze in Silicone Molds for Easy Removal
Silicone molds are an excellent choice for freezing ice cream cups because of their flexibility and non-stick properties, which make removal easy and hassle-free.
Why Silicone Molds Work
Silicone molds allow for easy release of frozen treats without sticking. Once the ice cream cups are frozen, the flexible material helps gently pop them out intact. No more worrying about stuck cups or damaged shapes!
Tips for Using Silicone Molds
You don’t always need to grease silicone molds, but a light coating of coconut oil or non-stick spray can make removal even smoother. Choose molds based on the size of your servings, whether small muffin molds for individual cups or larger molds for bigger portions.
Freezing and Removing Your Ice Cream Cups
Pour the ice cream mixture into the molds, level them, and freeze for 4-6 hours or overnight. Once frozen, gently flex the molds to release the ice cream cups. For extra ease, run a warm cloth along the outside of the mold to loosen the cups if needed.
3 Healthy and Fun Easy Ice Cream Cup Variations
Vegan Coconut Mango Easy Ice Cream Cups
Vegan Coconut Mango Cups offer a refreshing tropical treat with a creamy coconut base complemented by sweet mango. These cups are dairy-free, naturally sweet, and easy to prepare.
Creamy Coconut Base
To achieve a rich and creamy base, blend coconut milk or coconut cream with a touch of sweetener. Coconut yogurt can be added for an even creamier texture. This smooth base serves as the perfect foundation for your cup.
Fresh Mango for Sweetness
Next, fresh mango adds a burst of tropical flavor. For a smoother texture, puree the mango, or simply dice it for some texture. Whether you choose fresh or frozen, mango’s sweetness will shine through.
Layer, Freeze, and Enjoy
Once the coconut and mango layers are prepared, fill your silicone molds. Freeze for several hours or overnight to allow the cups to set. After that, pop them out of the molds, and you’re ready to serve!
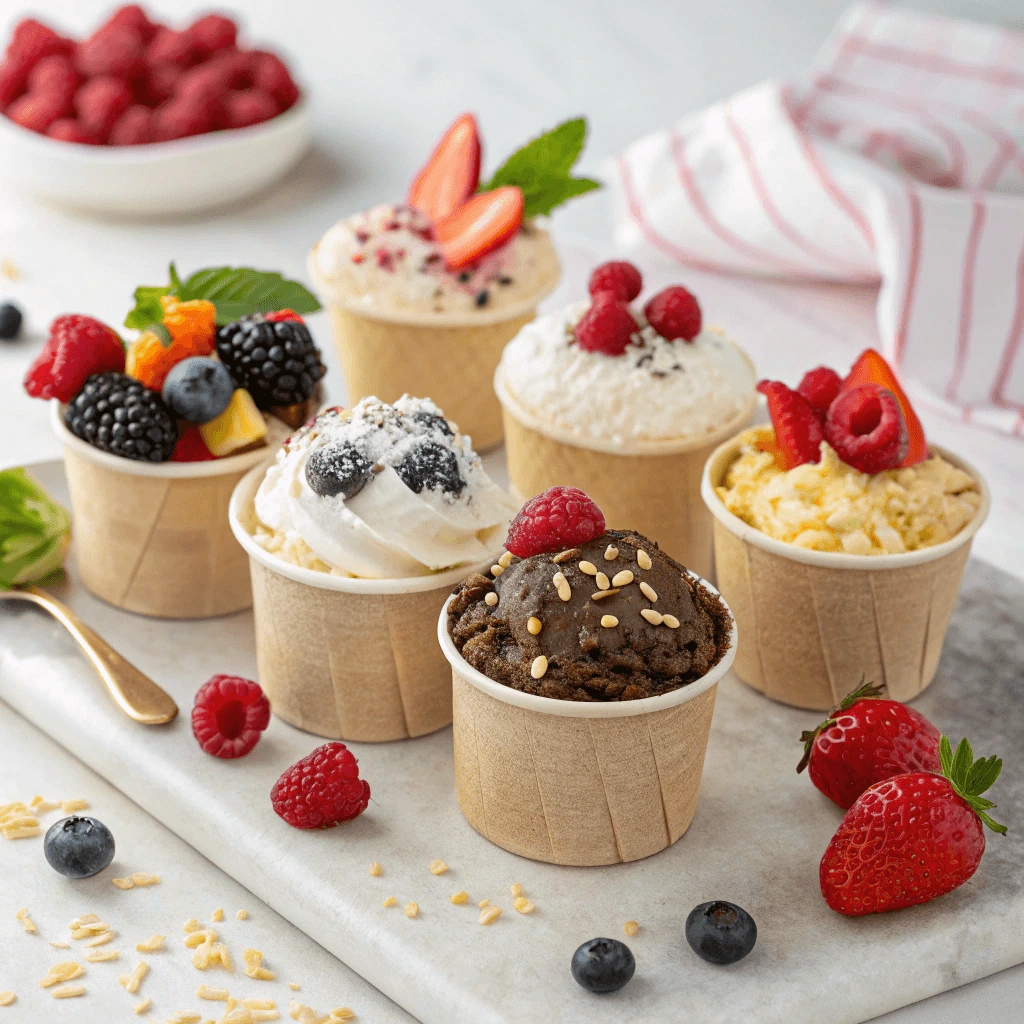
Chocolate-Banana Protein Easy Ice Cream Cups
Chocolate-Banana Protein Cups are a flavorful combination of rich chocolate and sweet bananas, making them the perfect post-workout snack or healthy treat for any time of day.
Creamy Chocolate Base
To create a smooth and indulgent base, mix your choice of protein powder with almond or coconut milk. This creamy foundation not only satisfies your chocolate cravings but also provides a much-needed protein boost.
Fresh Bananas for Natural Sweetness
Ripe bananas are ideal for adding natural sweetness and essential nutrients like potassium and fiber. Mash them into the mixture for a smooth, creamy texture, or slice them to add a bit of bite.
Customizing with Toppings
For extra flavor and texture, top your protein cups with your favorite healthy add-ins, such as nuts, cacao nibs, or a drizzle of honey. These toppings not only enhance the taste but also boost the nutritional value of the treat.
Freeze and Serve
After assembling the cups, place them in the freezer until they firm up. In just a few hours, you’ll have a cool, creamy, and protein-packed treat ready to enjoy whenever you like.
Berry Yogurt Granola Easy Ice Cream Cup
Berry Yogurt Granola Cups are a delicious, healthy option for breakfast, a snack, or even a fun dessert. These cups combine creamy yogurt, fresh berries, and crunchy granola to create a satisfying treat that’s full of flavor and nutrients.
Layering the Yogurt Base
Start by selecting a creamy, unsweetened yogurt of your choice, whether it’s Greek yogurt, plant-based alternatives, or even coconut yogurt. For a smoother texture, you can blend it with a splash of almond milk. This layer forms the base of your cup, providing protein and probiotics to keep you energized.
Adding Fresh Berries for Natural Sweetness
Next, layer in your fresh berries. Strawberries, blueberries, raspberries, and blackberries are excellent options for adding natural sweetness. Rich in antioxidants, these fruits bring a refreshing burst of flavor while offering numerous health benefits, such as supporting heart health and boosting the immune system.
Granola for Crunch and Texture
Granola adds the perfect crunch to complement the smooth yogurt and juicy berries. Opt for a low-sugar, high-fiber variety to keep things healthy, or make your own granola at home using oats, nuts, and seeds. This step not only adds a delightful texture but also provides a dose of healthy fats and fiber, making these cups more satisfying.
Additional Toppings to Boost Flavor
For even more flavor, you can top your Berry Yogurt Granola Cups with a drizzle of honey, a sprinkle of chia seeds, or a few chopped nuts. These additional ingredients not only enhance the taste but also add more health benefits. For example, chia seeds provide omega-3 fatty acids, and nuts deliver healthy fats and proteins.
Chill and Serve
Once your layers are built, refrigerate the cups for a couple of hours to allow the flavors to meld and for the yogurt to firm up. You can also serve them immediately for a fresh, cool treat. They are perfect for preparing in advance and keeping in the fridge for busy mornings or spontaneous snack cravings.
Storage and Serving Tips for the Best Easy Ice Cream Cup
How to Prevent Freezer Burn in Your Easy Ice Cream Cup with Proper Storage
To keep your ice cream cups fresh and avoid freezer burn, proper storage is essential. Fortunately, there are simple steps you can take.
Use Airtight Containers or Bags
First, seal your ice cream cups in airtight containers or freezer-safe bags. By pressing out excess air, you can prevent moisture loss, which keeps the cups fresh for longer.
Wrap Individually for Extra Protection
Additionally, wrapping each cup in plastic wrap or wax paper before placing them in containers adds an extra layer of protection. This prevents moisture from forming on the surface and helps preserve the flavor and texture.
Store at the Right Temperature
Moreover, ensure your freezer is set to 0°F (-18°C) to maintain the best texture. It’s also important to avoid opening the freezer door too frequently, as this can cause temperature fluctuations that may affect the quality of your ice cream cups.
Best Time to Serve Easy Ice Cream Cup for Ideal Texture
To achieve the perfect texture in your ice cream cups, timing is everything. The texture of the frozen treat can greatly impact the overall experience. Here’s how to serve your ice cream cups at the ideal moment.
Let the Ice Cream Cups Thaw Slightly
If you want your ice cream cups to have a smooth, creamy consistency, it’s best to allow them to thaw slightly before serving. Take them out of the freezer about 5 to 10 minutes before serving. This short wait will soften them just enough, giving you that perfect balance between creamy and firm.
Check Consistency for Best Results
After letting the cups thaw, check the texture. You should be able to scoop into them easily without them being too soft or hard. If they still feel a bit too firm, let them sit out for another minute or two.
Serve Immediately for Maximum Freshness
Once your ice cream cups are at the perfect consistency, serve them right away for the best experience. The longer they sit, the more likely they are to melt, losing their texture. You want that satisfying creamy texture, so enjoy them as soon as they’re ready!
Make-Ahead Tips and Batch-Freezing Ideas for Easy Ice Cream Cup
Making ice cream cups ahead of time is a great way to save time and ensure that you have a fun, healthy treat ready whenever you want it. By prepping these cups in batches, you can enjoy them throughout the week without having to spend time preparing them every time. Here are some tips to help you get the most out of batch-freezing:
Prep the Cups in Bulk
One of the best ways to save time is by making several ice cream cups at once. Prepare a large batch of the base mixture, then fill multiple silicone molds. Store the cups individually or in groups, depending on how you want to serve them. If you’re planning to make multiple flavors, consider dividing the base and mixing in different fruits, sweeteners, or flavorings. This way, you’ll have a variety of options on hand, all stored conveniently in the freezer.
Freeze in Layers for Better Texture
To get a smooth, consistent texture, freeze your ice cream cups in layers. Start with the base, then add any additional mix-ins such as fruits, nuts, or chocolate. Each layer will freeze solid before you add the next, which helps prevent the layers from mixing too much and ensures even freezing. If you use silicone molds, the layers will be easier to remove and maintain a neat, uniform look.
Label and Store for Easy Access
Once your ice cream cups are frozen solid, store them in airtight containers or freezer bags. Label each container with the date and any flavor details so you can easily grab what you need. For easy access, consider stacking them in your freezer so you can quickly find your favorite flavors when cravings strike.
Consider Freezer-Friendly Containers
Instead of using individual silicone molds, you can freeze your ice cream mixture in larger, freezer-friendly containers. After freezing, simply scoop out individual portions as needed. This option is especially useful if you want to create a family-sized batch or need a more compact storage solution.
Conclusion
this easy ice cream cup recipe is a fun, customizable treat perfect for any occasion. With simple ingredients and endless flavor combinations, you can create healthy, portion-controlled ice cream cups that satisfy cravings without guilt. Whether you’re making them for a party, a snack, or a quick dessert, these cups are a crowd-pleaser. Make-ahead options and batch-freezing ideas ensure you always have a delicious treat ready when you need it. So, gather your ingredients and enjoy these fun, frozen delights with family and friends!