combine sweet, fruity flavor with a satisfying crunch, making them a favorite treat for any occasion. Whether you’re snacking, hosting a party, or enjoying a light dessert, their vibrant color and delicious taste make them hard to resist. Kids and adults alike love their versatility, as you can enjoy them in various forms. From store-bought options to homemade versions, you can top them creatively or keep them simple. In this post, we’ll explore why strawberry wafers are so popular, offer tips for making them at home, and suggest healthy alternatives so you can enjoy this sweet treat any time!
What Are Strawberry Wafers?
Understanding Strawberry Wafers and Their Ingredients
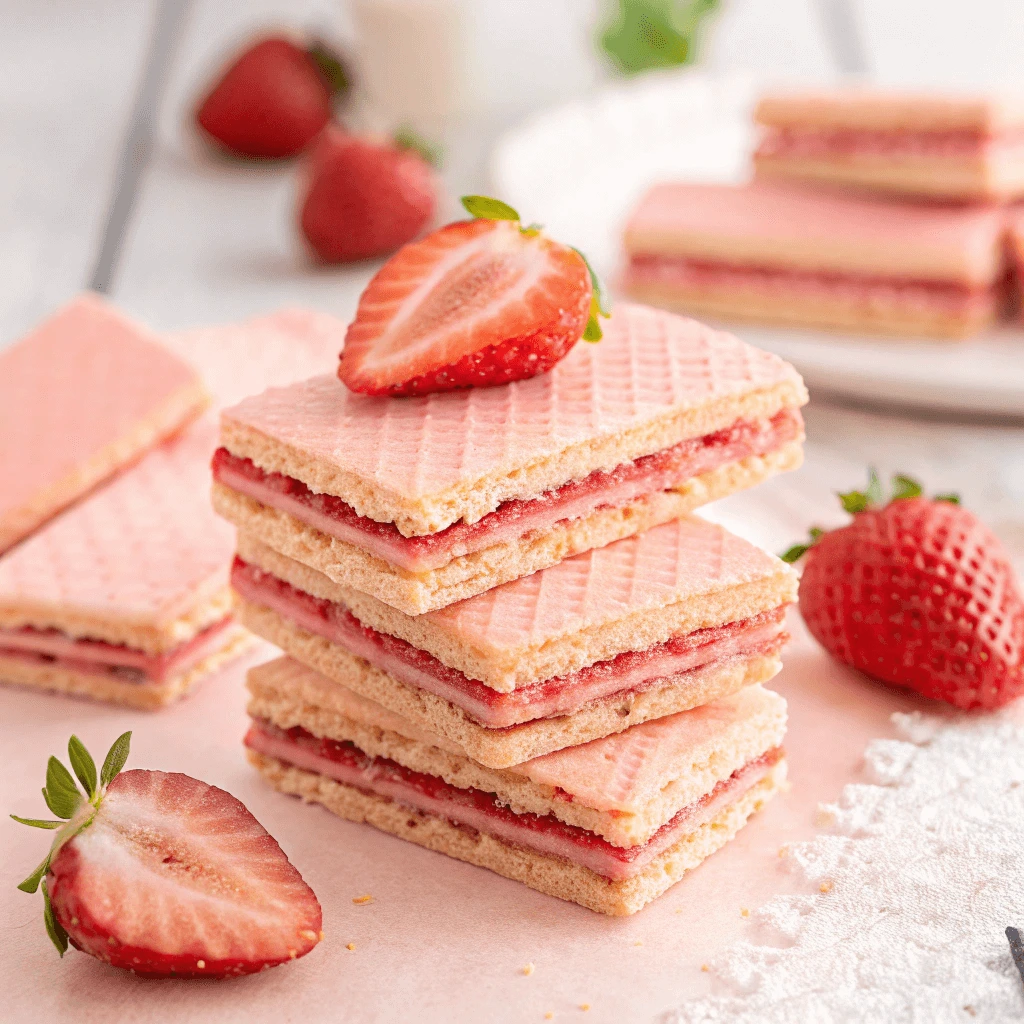
Strawberry wafers are a popular snack loved for their sweet flavor and crispy texture. To truly appreciate them, it’s important to understand what goes into making these delightful treats.
Main Ingredients in Strawberry Wafers
The foundation of strawberry wafers typically includes wheat flour, sugar, and vegetable oil. Wheat flour provides the base structure, giving wafers their light and crunchy consistency. Sugar adds the sweetness that makes these wafers so appealing. Vegetable oil contributes to the wafers’ crisp texture and shelf life.
The Role of Strawberry Flavoring
Strawberry flavoring plays a key role in defining the unique taste of these snacks. Manufacturers often use natural or artificial strawberry extracts to achieve a bright, fruity flavor. Natural extracts come from real strawberries, while artificial flavors are chemically created to mimic the taste.
Additional Ingredients and Their Purpose
Other ingredients such as milk powder, emulsifiers, and leavening agents often appear in the ingredient list. Milk powder enhances flavor and adds richness, while emulsifiers help blend ingredients smoothly and improve texture. Leavening agents create tiny air pockets, making the wafers light and crispy.
Preservatives and Additives: What to Watch For
Many strawberry wafers contain preservatives to extend shelf life and maintain freshness. Common additives might include antioxidants and artificial colors to enhance appearance. While these additives improve product stability, some consumers prefer wafers made with fewer artificial ingredients.
Popular Brands and Variations
Top Brands Known for Strawberry Wafers
Some of the best-known brands include Loacker, Nestlé, and Walkers. Loacker is famous for its Italian-style wafers with thin, crunchy layers and creamy strawberry filling. Nestlé offers smooth and rich wafer snacks, while Walkers provides fun strawberry-flavored wafer varieties.
Different Types of Strawberry Wafers
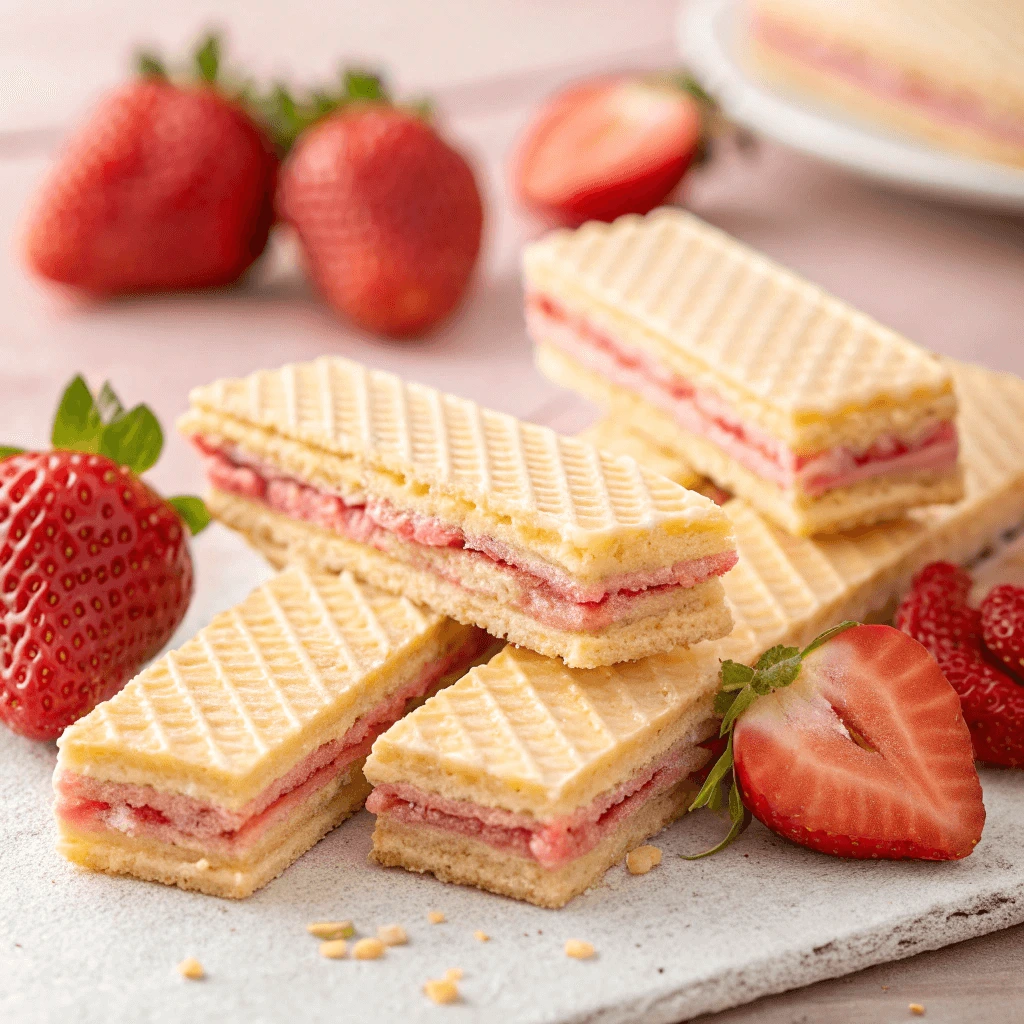
Most strawberry wafers have multiple crispy layers filled with sweet strawberry cream. Others come as single wafers coated with strawberry-flavored icing. Mini wafer bites are also popular for quick snacks and easy sharing.
Special Diet and Packaging Options
Many brands now offer healthier versions with natural fruit extracts, less sugar, and gluten-free or vegan options. Packaging ranges from individually wrapped pieces for convenience to large family-size packs. Bright packaging appeals to kids, while elegant boxes suit gift-giving.
How Strawberry Wafers Are Made
Strawberry wafers start as a simple dough made from wheat flour, sugar, vegetable oil, and sometimes milk powder. This dough transforms into the sweet and crunchy snack many enjoy.
Making the Dough
Manufacturers mix flour, sugar, and oil with water to form a smooth dough. The dough needs to be soft enough to roll out but firm enough to hold its shape.
Rolling and Baking
The dough is rolled into very thin sheets, which give wafers their signature crispness. These thin sheets then bake in ovens until they turn dry and crunchy. Baking must be precise to avoid burning or undercooking.
Adding Strawberry Cream
Once the wafers cool, a sweet strawberry cream is spread between two sheets. This cream contains strawberry flavoring, sugar, and oils to give the wafers their fruity taste and creamy texture.
Layering and Cutting
Multiple wafer layers with cream are stacked to create the final product. Then, large blocks are cut into individual pieces or bars.
Packaging
Finally, the wafers get wrapped to keep them fresh and crunchy until you enjoy them.
The Appeal of Strawberry Wafers: Sweetness and Crunch
The Flavor Profile
Strawberry wafers are loved for their perfect mix of sweetness, fruitiness, and crunch. Let’s explore what makes their flavor so special.
Balanced Sweetness
Strawberry wafers have just the right amount of sugar. The sweetness is enough to satisfy your sweet tooth but not so much that it feels overwhelming. This balance makes the snack enjoyable every time.
Authentic Strawberry Taste
The fruity flavor comes from natural or artificial strawberry extracts. Natural extracts add fresh, real fruit notes, while artificial flavors keep the taste consistent and strong. Together, they create that signature strawberry flavor.
Crunchy and Creamy Texture
The crisp wafer layers give a nice crunch, which contrasts perfectly with the smooth strawberry cream filling. This mix of textures keeps each bite interesting and tasty.
Extra Flavor Notes
Some wafers include subtle hints of vanilla or milk in the cream, adding richness without overpowering the strawberry taste.
Overall, the combination of balanced sweetness, fruity flavor, and crisp texture makes strawberry wafers a delicious treat for any occasion.
Texture Matters: The Crunchy Delight of Wafers
The texture of strawberry wafers plays a major role in their appeal. It’s not just about flavor—how a snack feels when you bite into it can elevate the entire experience.
The Importance of Crunch
Crunchiness gives strawberry wafers their satisfying bite. When you snap into a wafer, the crisp texture creates a delightful sound and sensation. This crunchiness contrasts perfectly with the smooth strawberry cream, making each bite enjoyable and layered.
How Wafers Achieve Their Crispness
Manufacturers create the wafer’s crunch through a precise baking process. They roll the dough into very thin sheets and bake it until it dries out just enough to become crispy without turning brittle. The right balance ensures the wafer remains delicate but sturdy enough to hold the cream filling.
Why Texture Influences Enjoyment
Texture can influence how long you savor a snack. The crunchy layers encourage slower eating, allowing flavors to unfold more fully. This contrasts with softer snacks that often disappear too quickly, leaving less time to enjoy their taste.
Maintaining Crunch Freshness
Packaging plays a crucial role in preserving the wafers’ crunch. Brands wrap individual wafers or bars in airtight packaging to keep moisture out. This careful protection ensures wafers arrive fresh and crispy, ready to delight your senses.
Pairing Strawberry Wafers with Other Snacks and Beverages
Strawberry wafers are versatile snacks that pair well with many other foods and drinks. The sweet and crunchy nature of the wafers complements various flavors, making them a great addition to snack time or dessert platters.
Pairing with Beverages
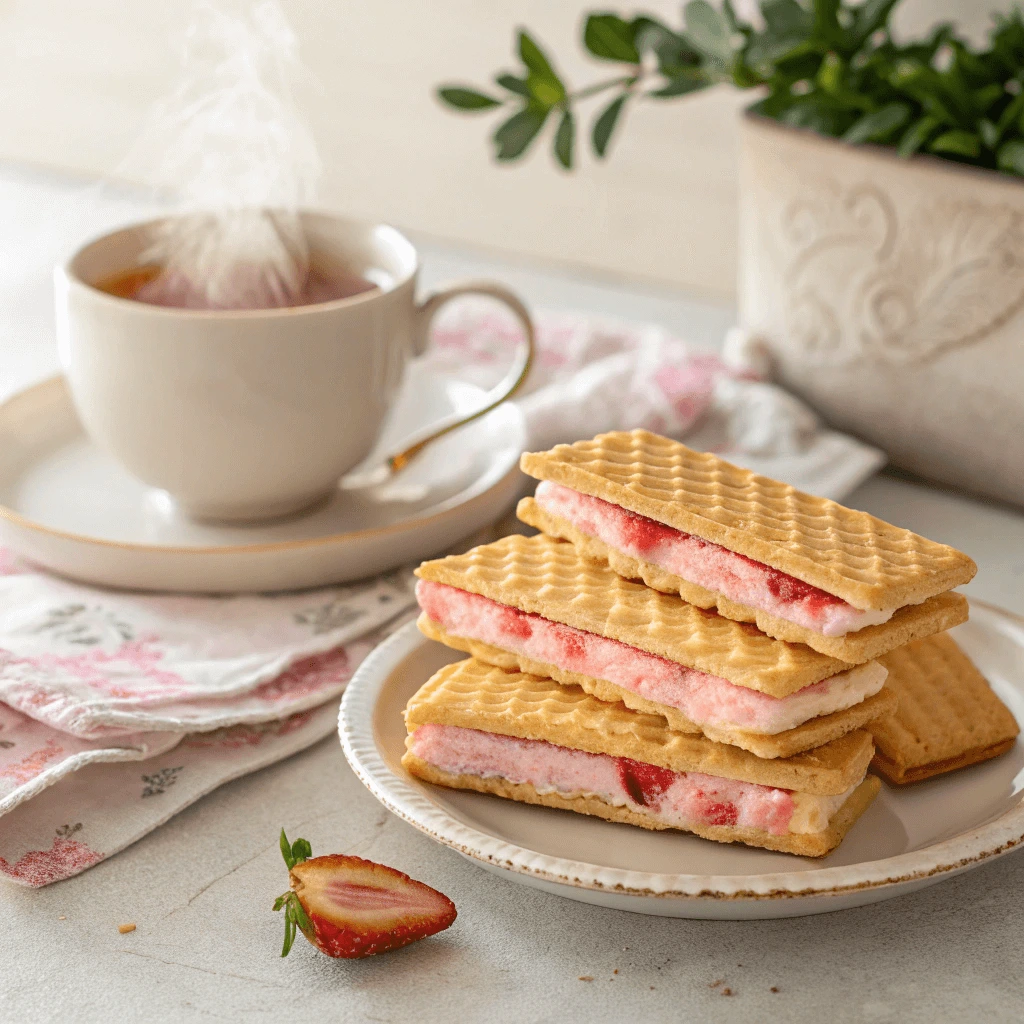
Strawberry wafers go well with several beverages, enhancing the overall tasting experience. A classic choice is milk, whose creamy texture balances the wafer’s sweetness and crunch. The coolness of milk also refreshes the palate between bites.
Tea is another excellent pairing option. Light, unsweetened teas such as green or white tea complement the fruity flavor without overpowering it. Herbal teas, like chamomile or hibiscus, also work well and add a fragrant dimension.
For adults, coffee pairs nicely with strawberry wafers, especially lighter roasts or mild espresso blends. The coffee’s slight bitterness contrasts the wafers’ sweetness, creating a balanced flavor experience.
Pairing with Other Snacks
You can combine strawberry wafers with a variety of snacks for added texture and taste. Fresh fruits such as berries, sliced apples, or bananas provide natural sweetness and juiciness, which contrasts with the wafers’ crispiness.
Yogurt or cream cheese dips make for creamy, tangy accompaniments. These pairings add richness and help balance the sugar content in the wafers. Additionally, nuts like almonds or cashews offer a satisfying crunch and nutty flavor that complements the light wafer texture.
Creating Snack Platters
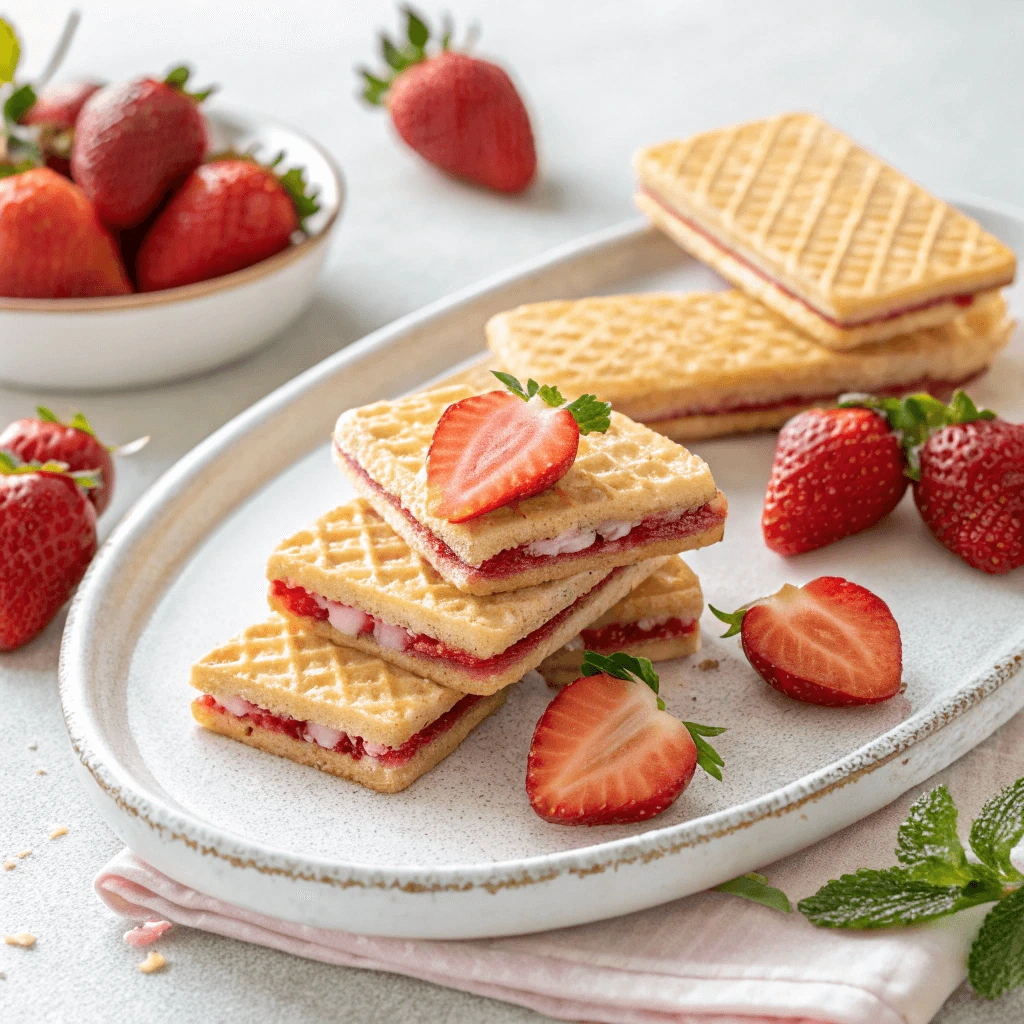
For parties or gatherings, strawberry wafers can be part of an elegant snack platter. Pair them with cheeses, dried fruits, and chocolate pieces to offer a variety of flavors and textures. The colorful wafers add visual appeal and a sweet contrast to savory items.
Occasions Perfect for Strawberry Wafers
Kid-Friendly Snack Ideas Featuring Strawberry Wafers
Strawberry wafers make a fun and tasty snack that kids often love. Their sweet flavor and crunchy texture appeal to young taste buds. You can easily create kid-friendly snacks using strawberry wafers as a base, making snack time both enjoyable and nutritious.
Strawberry Wafer Sandwiches
One simple and creative idea is to make strawberry wafer sandwiches. Take two strawberry wafers and spread a thin layer of cream cheese or peanut butter between them. You can add thin slices of banana or strawberries for extra flavor and nutrition. This snack combines the wafers’ crunch with creamy and fruity textures, making it more satisfying for kids.
Wafer Fruit Kabobs
Turn strawberry wafers into fruit kabobs by threading wafers and fresh fruit pieces, like strawberries, grapes, and melon balls, onto small skewers or sticks. This colorful snack is visually appealing and encourages kids to eat more fruit alongside their favorite treat.
Yogurt and Wafer Parfaits
Create yogurt and wafer parfaits by layering vanilla or strawberry yogurt with crushed strawberry wafers and fresh berries in small cups. Kids enjoy the combination of creamy yogurt, crunchy wafer pieces, and juicy fruit. This snack adds calcium and vitamins while keeping the fun factor high.
Tips for Healthy Snacking
When preparing these snacks, opt for natural peanut butter or low-fat cream cheese to keep them healthier. Also, encourage kids to drink water alongside their sweet snacks to stay hydrated and balance sugar intake.
Using Strawberry Wafers in Parties and Celebrations
Strawberry wafers bring color, flavor, and fun to all kinds of events. Whether you’re hosting a birthday party, a baby shower, or a casual get-together, these sweet treats can enhance your celebration in creative and budget-friendly ways.
Party Platter Favorites
Strawberry wafers add vibrant pink color and crunchy texture to dessert platters. You can place them alongside mini cupcakes, chocolate-dipped pretzels, fresh fruits, and cookies for a visually appealing snack table. Their bright hue pops on any serving tray, making them a natural match for festive occasions.
DIY Dessert Stations
At kids’ parties or family events, set up a DIY wafer dessert station. Offer crushed strawberry wafers as a topping for ice cream, frozen yogurt, or pudding cups. Kids and adults can create their own treats with various mix-ins like sprinkles, whipped cream, and fruit slices. It’s interactive, fun, and encourages creativity.
Themed Dessert Cups and Trifles
You can also layer strawberry wafers into individual dessert cups or trifles. Alternate layers of whipped cream, pudding, and crushed wafers in clear cups for a colorful, mess-free treat. Add fresh strawberries on top for a fancy finish. These easy-to-make cups are perfect for birthdays, or summer picnics.
Custom Party Favors
Pack strawberry wafers in small cellophane bags tied with ribbons for take-home party favors. Add a custom label or tag that matches your party theme. This simple idea turns wafers into personalized gifts that guests will appreciate.
Pairing with Drinks and Other Treats
Offer strawberry wafers with pink lemonade, fruit punch, or strawberry milk to create a cohesive snack theme. For adult gatherings, pair them with light teas or coffee to balance the sweetness.
Quick and Easy Dessert Ideas with Strawberry Wafers
Strawberry wafers aren’t just a sweet snack on their own—they also make excellent ingredients in quick and easy desserts. With minimal prep and no baking required, you can turn these crunchy treats into crowd-pleasing creations in minutes.
1. No-Bake Strawberry Wafer Cheesecake Cups
Transform strawberry wafers into a delightful dessert cup by layering crushed wafers with cream cheese and whipped topping. Start by blending softened cream cheese with a bit of sugar and vanilla. In a clear cup, add crushed wafers as the base, spoon in the cream cheese layer, and top it off with more crushed wafers and a sliced strawberry. Chill briefly, then serve. These cheesecake cups are creamy, crunchy, and ready in under 15 minutes.
2. Strawberry Wafer Ice Cream Sandwiches
For a summer-friendly option, create ice cream sandwiches using full-size strawberry wafers. Simply place a scoop of softened vanilla or strawberry ice cream between two wafers, gently press them together, and freeze until firm. You can roll the edges in mini chocolate chips or crushed nuts for added flair. These are a hit with both kids and adults.
3. Strawberry Wafer Parfaits
Layer strawberry wafers with Greek yogurt and fresh fruit to make a simple parfait. Use clear glasses to highlight the colorful layers: crushed wafers, creamy yogurt, and chopped berries. Repeat the layers, then drizzle with a touch of honey. It’s a quick, semi-healthy dessert that feels fancy but takes less than 10 minutes to assemble.
Nutritional Insights and Dietary Considerations
Calories, Sugar Content, and Nutritional Facts of Strawberry Wafers
Strawberry wafers may taste light and airy, but they pack more calories and sugar than many expect. Understanding their nutritional profile helps you make smarter snack choices.
Calorie Breakdown per Serving
A standard serving of strawberry wafers (typically around 3–4 wafers or 30 grams) contains 150 to 180 calories. The majority of these calories come from refined carbohydrates and added sugars. These empty calories offer energy but provide little nutritional benefit.
High Sugar Levels
Strawberry wafers contain a high amount of added sugar, averaging 11 to 14 grams per serving—that’s roughly three teaspoons. For reference, the American Heart Association recommends that women limit added sugar to 25 grams per day, and men to 36 grams. A single serving of strawberry wafers could make up nearly half that daily allowance.
Fat and Carbohydrates
Most strawberry wafers also include 6 to 9 grams of fat, often from vegetable oils like palm or soybean oil. While some of this fat is unsaturated, many brands still use hydrogenated oils that can contain trans fats—harmful fats linked to heart disease.
Carbohydrate content ranges between 18 and 22 grams per serving, with minimal dietary fiber (often less than 1 gram). That means these snacks can spike blood sugar levels quickly.
Nutritional Value: Low in Vitamins and Minerals
Despite their fruity flavor, strawberry wafers offer little in terms of micronutrients. You’ll find negligible amounts of vitamins, calcium, iron, or potassium. They don’t contain real fruit in most cases—just flavoring and coloring.
Gluten-Free and Vegan Options in Strawberry Wafers
If you follow a gluten-free or vegan diet, you may wonder whether you can still enjoy the sweet crunch of strawberry wafers. The good news is that several brands now offer options that cater to dietary needs. Here’s how to find the right kind for you.
Are Regular Strawberry Wafers Gluten-Free?
Most traditional strawberry wafers contain wheat flour, which means they are not gluten-free. Wheat is the main ingredient in the wafer layers, making them unsuitable for those with celiac disease or gluten intolerance. However, many specialty brands have created gluten-free versions using rice flour, almond flour, or tapioca starch.
Always check the ingredient label and look for a certified gluten-free symbol. This ensures the product was processed in a facility that prevents cross-contamination.
Are Strawberry Wafers Typically Vegan?
Conventional strawberry wafers often include milk solids, whey powder, or artificial coloring derived from animals. These ingredients make them unsuitable for a vegan diet. However, several companies now make plant-based versions that use dairy-free fillings, natural flavors, and plant-based colorants like beet juice extract.
To confirm a product is vegan, scan the label for common non-vegan ingredients and look for a “Certified Vegan” label. Also, watch out for hidden animal-derived additives in flavorings and sweeteners.
Tips for Finding Vegan and Gluten-Free Wafers
- Read the label carefully – Avoid vague terms like “natural flavors” unless clarified.
- Check allergen and certification sections – Many brands indicate if a product is free from gluten, dairy, or eggs.
- Look in health food stores or online – Vegan and gluten-free strawberry wafers are more common in specialty sections or natural food retailers.
Balancing Treats: How to Enjoy Strawberry Wafers in a Healthy Diet
Strawberry wafers may not top the list of healthy snacks, but that doesn’t mean you must avoid them entirely. When eaten in moderation and balanced with nutrient-rich foods, these sweet treats can still fit into a healthy lifestyle. Here’s how to do it.
Practice Portion Control
Start by managing portion size. Many people eat more wafers than they realize, especially since they’re light and easy to over-snack. Stick to a serving of 2–4 wafers rather than mindlessly eating from the package. You can even pre-portion them into small containers to avoid going overboard.
Pair with Nutrient-Dense Foods
Combining strawberry wafers with healthier foods can help improve the nutritional value of your snack. Try pairing them with a handful of unsalted almonds, a serving of Greek yogurt, or fresh fruit like strawberries or banana slices. These additions provide protein, fiber, and healthy fats to slow digestion and reduce sugar spikes.
Choose Smart Timing
It’s best to enjoy fruity wafers after a balanced meal rather than on an empty stomach. When you eat them alongside meals that contain fiber, lean protein, and complex carbs, your blood sugar stays more stable. Treat them like a light dessert, not a standalone snack.
Don’t Let Sweets Crowd Out Essentials
While it’s okay to have occasional treats, make sure they don’t replace more nutritious options in your diet. Focus your daily meals around whole grains, fruits, vegetables, lean proteins, and healthy fats, then allow room for an occasional sweet like a wafer.
Make Mindful Eating a Habit
Avoid eating wafers while watching TV or working. Instead, sit down and savor the flavor. Mindful eating not only improves digestion but also makes smaller portions more satisfying.
Creative Ways to Enjoy Strawberry Wafers
DIY Strawberry Wafer Sandwiches and Snacks
Strawberry wafers are more than a simple treat—you can turn them into creative, fun, and delicious DIY snacks right at home. Whether you’re looking for a quick after-school bite or a festive party option, these ideas will help you make the most of strawberry wafers.
Classic Strawberry Wafer Sandwiches
Make simple wafer sandwiches by spreading a layer of your favorite filling between two strawberry wafers. Try peanut butter, cream cheese, or Nutella for rich and creamy contrast. Add a thin slice of banana or a few strawberry pieces between the layers for extra flavor and nutrition. These sandwiches come together in minutes and satisfy both sweet cravings and snack-time hunger.
Frozen Strawberry Wafer Bites
For a refreshing twist, create frozen wafer bites. Break wafers into halves or quarters, then add a small scoop of frozen yogurt or softened ice cream between two pieces. Freeze them for 20–30 minutes until firm. The result? A mini ice cream sandwich with fruity flair. Kids and adults alike love this quick summer treat.
Strawberry Wafer and Fruit Skewers
Build fun skewer snacks by alternating strawberry wafer pieces with fresh fruits like grapes, strawberries, and melon on bamboo sticks. These are perfect for parties, picnics, or even a cheerful lunchbox addition. The balance of sweetness and freshness makes them a guilt-free way to enjoy wafers without overindulging.
Pro Tips for Better DIY Snacks
- Use natural spreads like almond butter or reduced-fat cream cheese to add nutrients.
- Add crunch by rolling sandwich edges in crushed nuts or granola.
- Store in the fridge for 10–15 minutes before serving to keep fillings firm.
Using Strawberry Wafers as Toppings for Ice Cream and Yogurt
Strawberry wafers make fantastic toppings for both ice cream and yogurt, adding a playful crunch and a burst of sweet, fruity flavor. With just a few extra ingredients, you can turn simple bowls into eye-catching and satisfying desserts.
Create Texture and Flavor Contrast
fruity wafers offer a light, crisp texture that pairs beautifully with smooth, creamy bases like ice cream or yogurt. Crumble a few wafers over vanilla or strawberry ice cream for an instant upgrade. The wafers not only enhance the texture but also add a nostalgic strawberry taste that complements most flavors.
For yogurt, sprinkle crushed wafers over Greek or plant-based varieties. They add a subtle sweetness and visual appeal—perfect for those who find plain yogurt too bland.
Build Dessert Parfaits
Want to take it further? Layer ice cream or yogurt with crumbled strawberry wafers, fresh fruit, and a drizzle of honey or melted chocolate. These quick parfaits look elegant in clear glasses or jars, making them great for entertaining or casual weeknight treats.
For a balanced touch, use sliced strawberries, bananas, or raspberries in your layers. This not only adds vitamins and fiber but also balances out the sweetness of the wafers.
Make It Interactive
Kids love building their own treats, so offer a “build-your-own sundae or yogurt bowl” station. Provide bowls of crushed wafers, fruit, chocolate chips, granola, and other toppings. This turns snack time into a fun and engaging activity.
Tips for Best Results
- Crush gently to avoid turning the wafers into powder.
- Use just enough to maintain texture without overpowering the dish.
- Serve immediately to keep the wafers crunchy and fresh.
Baking with Strawberry Wafers: Recipes and Ideas
Strawberry wafers aren’t just for snacking—they also bring a fun, fruity crunch to baked goods. Their sweet flavor, light texture, and pink hue make them an exciting addition to cookies, cakes, and bars. Here’s how you can incorporate strawberry wafers into your baking.
fruity wafers Crust for Cheesecakes and Tarts
Crushed fruity wafers can be a colorful alternative to graham cracker crusts. Simply pulse the wafers in a food processor until fine, mix them with melted butter, and press the mixture into a pie or tart pan. Bake the crust for 8–10 minutes to set it, then fill it with your favorite cheesecake or pudding filling. The strawberry flavor pairs perfectly with cream cheese, chocolate, or vanilla.
Wafer-Infused Cookie Dough
Add chopped or crumbled strawberry wafers directly into cookie dough for a sweet crunch. Fold the pieces in just before baking. They soften slightly in the oven but still offer texture and pockets of strawberry flavor. Pair them with white chocolate chips or dried strawberries for a bakery-style result.
Topping and Garnish for Cakes and Muffins
Use fruity wafers as a decorative and flavorful topping for cakes, cupcakes, and muffins. Crumble them over frosting or whipped cream for a pop of color and crunch. They look especially lovely on strawberry or vanilla cupcakes and add extra texture to soft, moist baked goods.
fruity wafers Blondies and Bars
Incorporate wafer pieces into blondie or dessert bar batter. As the bars bake, the wafers absorb some moisture and become chewy, blending well with the rich, buttery base. For an extra burst of flavor, drizzle melted white chocolate over the top and sprinkle crushed wafers before serving.
Conclusion
Strawberry wafers offer the perfect balance of crunch and sweetness, making them a delightful snack or dessert component for all ages. Whether enjoyed on their own, layered into parfaits, or baked into creative treats, they bring fun and flavor to any occasion. With options for gluten-free and vegan diets, they can fit into many lifestyles. Just remember to enjoy them in moderation and pair them with more nutritious ingredients when possible. Strawberry wafers truly are a versatile and cheerful snack worth savoring.